How to Clean Your Gun After Exposure to Saltwater
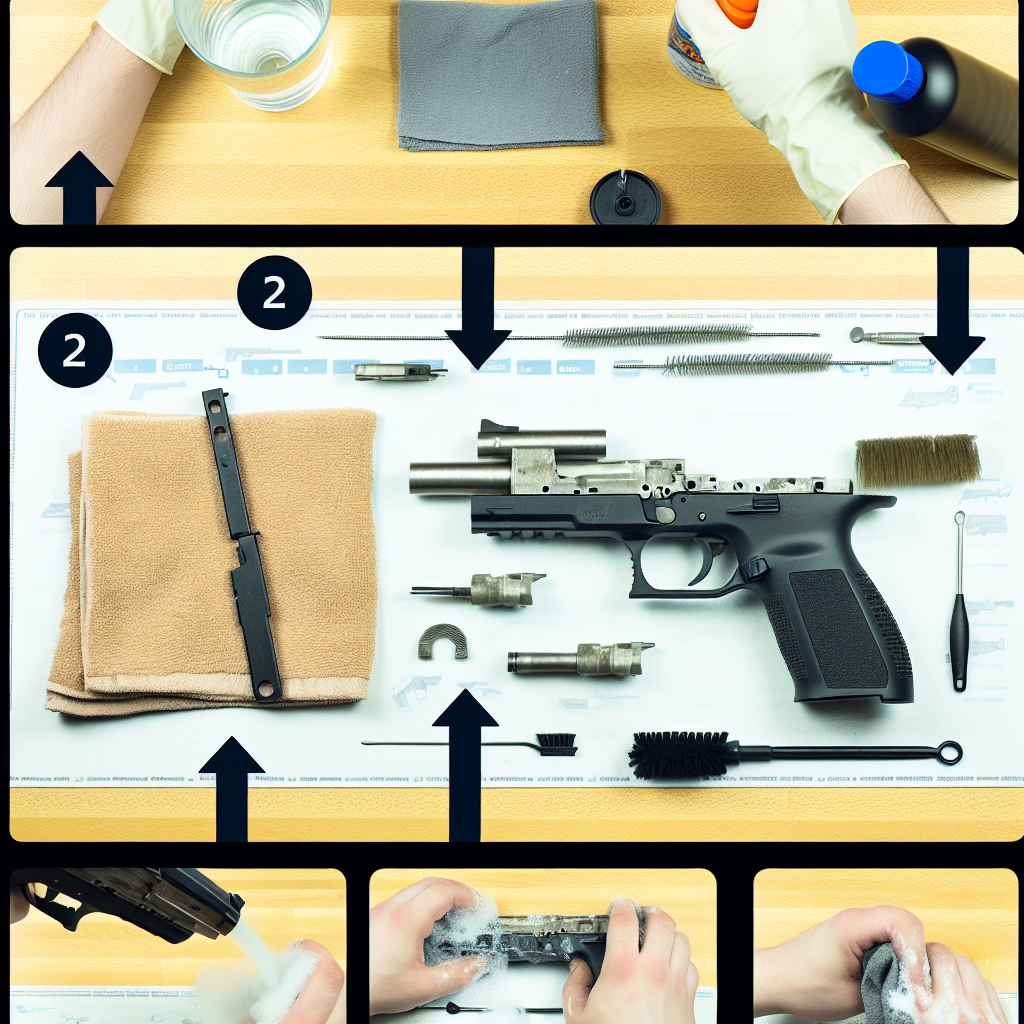
Saltwater exposure can be one of the most damaging environmental factors for firearms. Whether you’re a recreational shooter, a professional in maritime security, or an avid angler who carries a gun for protection, understanding how to properly clean your firearm after saltwater exposure is critical. Saltwater accelerates corrosion, degrades metal surfaces, and can impair the mechanical function of your gun. This comprehensive guide will walk you through the best practices for cleaning and maintaining your firearm after it has been exposed to saltwater, ensuring its longevity and reliable performance.
Why Saltwater is Especially Harmful to Firearms
Saltwater is notoriously corrosive due to its high concentration of sodium chloride (salt) and other minerals. When firearms come into contact with saltwater, several chemical reactions occur that cause deterioration:
- Accelerated Rusting: Salt acts as an electrolyte that speeds up the oxidation process, leading to rapid rust formation on metal surfaces.
- Pitting Corrosion: Saltwater causes localized corrosion resulting in small pits or holes in the metal, which weakens structural integrity.
- Damage to Internal Components: Salt crystals can infiltrate moving parts and springs, causing malfunctions or jams.
- Degradation of Protective Coatings: Many firearms have protective finishes that salt can degrade, leaving metal vulnerable.
A study by the U.S. Naval Research Laboratory found that saltwater immersion can cause significant corrosion on steel components within hours if not properly treated. This underlines the importance of immediate and thorough cleaning after exposure.
Immediate Actions: What To Do Right After Saltwater Exposure
The first few minutes after a firearm has been exposed to saltwater are crucial in preventing damage. Here’s what you should do immediately:
- Do Not Fire the Gun: Firing may push salt particles deeper into the barrel and action.
- Rinse With Fresh Water: If possible, rinse the firearm thoroughly with fresh (preferably distilled) water as soon as possible. This helps remove surface salt and prevents crystallization as water evaporates.
- Avoid Abrasive Cleaning at This Stage: Do not scrub yet; rinsing is meant to dissolve and wash away salt residues gently.
- Dismantle If Familiar: If you are comfortable and knowledgeable about your firearm’s disassembly, take it apart carefully to allow better access for cleaning.
Many boaters and fishermen carry portable freshwater sprayers specifically for this purpose. Having one on hand can prevent long-term damage dramatically.
Step-by-Step Guide: Thorough Cleaning Process After Saltwater Exposure
The cleaning process involves multiple stages to ensure all traces of salt are removed and corrosion is prevented. Follow these detailed steps for best results:
1. Disassemble Your Firearm
Caution: Always ensure the gun is unloaded before disassembly. Consult your owner’s manual for proper instructions specific to your model.
- Remove magazines, bolts, slides, barrels, and other removable parts.
- This allows you to clean internal components that might harbor salt residues.
2. Soak Parts in Warm Fresh Water Solution
Create a mild soapy solution using warm water and a gentle detergent or specialized gun cleaner.
- Soak all metal parts (excluding wooden or sensitive materials) in this solution for 15-20 minutes.
- This helps dissolve residual salts lodged in tight spaces or crevices.
A case study from a coastal police department demonstrated that soaking firearms immediately after saltwater exposure significantly reduced internal corrosion compared to surface-only rinses.
3. Use a Soft Brush for Scrubbing
Using a nylon brush or old toothbrush:
- Gently scrub all surfaces including barrel interiors, chambers, slides, trigger assemblies, and springs.
- Avoid harsh abrasives which could damage finishes; instead use gentle but thorough brushing motions to dislodge any stubborn deposits.
4. Rinse Thoroughly With Clean Water
After scrubbing, rinse each part again with clean fresh water ensuring no soap residue remains—soap left behind can attract moisture leading to rust formation later on.
5. Dry Completely With Compressed Air or Cloths
- Towel dry all parts first using lint-free cloths.
- If available, use compressed air guns to blow out moisture from hard-to-reach areas such as bolt carriers or barrel chambers where water tends to collect.
The U.S. Marine Corps recommends drying firearms within an hour post-exposure because prolonged moisture retention significantly raises corrosion risks.
6. Apply Lubricant and Protective Coating
This step restores lubrication lost during cleaning and provides a protective barrier against future rusting:
- Select high-quality gun oil designed for marine environments; some products contain anti-corrosive additives specifically formulated for salt exposure scenarios.
-
Apply oil sparingly but thoroughly across all metal surfaces, ensuring even coverage. This will help protect your firearm against future corrosion and maintain its functionality.
Regular maintenance is essential to keep your gun in optimal condition, especially after exposure to harsh environments like saltwater.