Reloading for Beginners: Understanding Pressure Signs
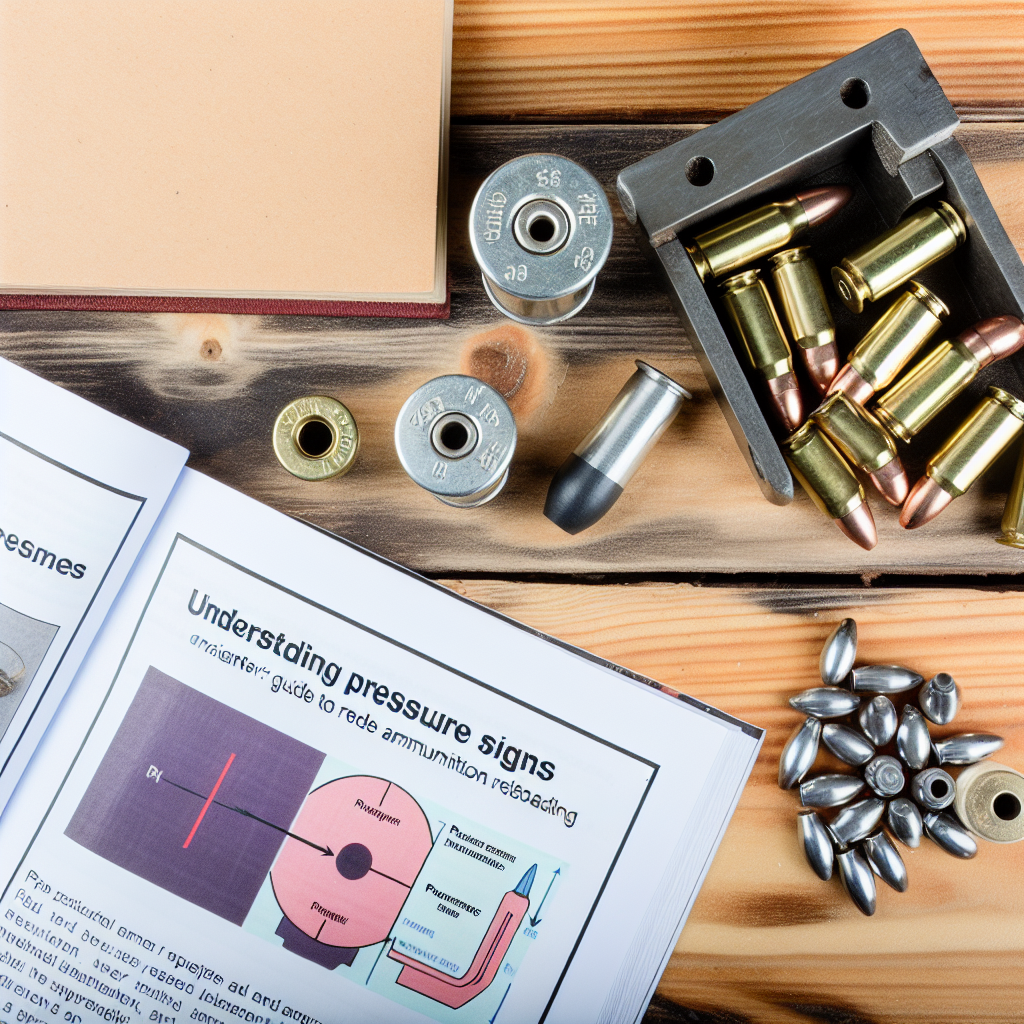
Reloading ammunition is a popular hobby among shooting enthusiasts, hunters, and competitive marksmen. It offers numerous benefits including cost savings, customization, and the satisfaction of crafting your own rounds. However, reloading comes with inherent risks, especially when it comes to pressure management. Understanding pressure signs is crucial for any beginner to ensure safety, maintain firearm integrity, and achieve optimal performance.
This comprehensive guide will explore the fundamentals of pressure signs in reloading, how to recognize them, and best practices to avoid dangerous situations. By the end, you’ll have a solid foundation to reload safely and effectively.
What is Pressure in Reloading?
When a cartridge is fired, the gunpowder ignites inside the case creating rapidly expanding gases. These gases generate high pressure that propels the bullet down the barrel at high velocity. The term “pressure” in reloading refers to the amount of force exerted by these expanding gases within the cartridge case and chamber.
Reloaders must carefully balance powder charges to produce safe pressures. Too low pressure can cause incomplete combustion or squib loads (where the bullet gets stuck in the barrel), while too high pressure can damage firearms or cause catastrophic failures.
Key factors influencing pressure include:
- Type and amount of powder: Different powders burn at different rates and produce varying pressures.
- Bullet weight and seating depth: Heavier bullets or deeper seating increase pressure.
- Case volume: Cases with less internal volume generate higher pressures.
- Barrel length: Shorter barrels can increase perceived pressure due to reduced gas expansion time.
A clear understanding of these variables is essential for interpreting pressure signs and adjusting loads accordingly.
Common Pressure Signs Every Beginner Should Know
Recognizing pressure signs helps reloaders identify unsafe conditions before they escalate. These signs are visible or tactile indicators that the cartridge is generating excessive or abnormal pressure when fired. Familiarity with these signs reduces risk and improves load development success.
1. Primer Flattening or Cratering
The primer is a small metal cup containing a sensitive explosive compound that ignites when struck by the firing pin. Under normal conditions, primers should have a slight indentation from firing pin impact but remain intact.
- Flattening: If primers appear excessively flattened or bulged outward, it may indicate elevated chamber pressures forcing gases backward against the primer face.
- Cratering: This refers to small pits or dents on the primer surface caused by hot gas erosion at high pressures.
Example: A reloader using a heavier powder charge noticed primers were flattening more than usual after several test shots. This sign prompted immediate load reduction before any damage occurred.
2. Case Head Expansion or Bulging
The base of the cartridge case near the rim (case head) should retain its shape after firing. Excessive expansion or bulging indicates abnormally high pressures pushing against the brass walls.
- This can be checked visually by inspecting fired cases under good lighting or using calipers to measure head diameter against unfired brass specifications.
- A bulged case head not only signals high pressure but also compromises brass integrity for future reloads.
Case Study: A novice loader observed slight bulging on several fired cases after increasing powder charge by 0.2 grains beyond recommended loads. He reverted to safer levels after consulting published data confirming this was an unsafe practice.
3. Difficult Extraction
If a spent case sticks stubbornly in the chamber or requires excessive force to extract, this often signals elevated pressures causing brass expansion beyond normal dimensions.
- Difficult extraction may also lead to torn or damaged extractor grooves on cases if ignored over time.
- This symptom requires immediate attention as it poses risks both to firearm function and shooter safety.
4. Ejector Marks on Case Head
Ejector marks are small dents or scratches on the rim of spent cases caused by hard impacts with firearm ejectors during extraction under high-pressure conditions.
- If ejector marks become more pronounced or accompanied by case deformation, it may suggest increased chamber pressure stressing extraction components.
5. Cracked Cases or Split Neck/Shoulder Areas
Casing failures such as cracks or splits are serious indicators of overpressure or fatigued brass due to improper loading practices like excessive powder charges or insufficient neck tension on bullets.
- A cracked neck often results from repeated resizing without proper annealing (softening).
- A split shoulder may occur if pressures exceed safe limits causing brass material failure under stress.
The Science Behind Pressure: How Load Components Affect It
A beginner’s understanding of how each load component affects chamber pressure is key to producing safe ammunition loads. Here’s a closer look at major contributors:
Pistol Powders vs Rifle Powders
Pistol powders generally burn faster producing lower peak pressures suitable for handgun cartridges like 9mm Luger or .45 ACP.
Rifle powders burn slower allowing sustained pressure over a longer duration, which is essential for rifle cartridges that require more energy to propel the bullet effectively.
Understanding these pressure signs and the science behind them is crucial for safe and effective reloading practices.