Installing Aftermarket Sights: A Beginner’s Guide
Upgrading your firearm’s sights can significantly enhance your shooting accuracy, speed, and overall experience. Whether you’re a novice shooter or a seasoned marksman looking to improve your setup, installing aftermarket sights is a practical and rewarding modification. This beginner’s guide will walk you through the essential steps, considerations, and tips for successfully installing aftermarket sights on your firearm.
Understanding Aftermarket Sights: Types and Benefits
Before diving into installation, it’s crucial to understand what aftermarket sights are and why shooters choose to upgrade them. Aftermarket sights replace the factory-installed sights on firearms and come in various styles tailored to different shooting needs.
Common Types of Aftermarket Sights:
- Iron Sights: Traditional metal sights that consist of a front post and rear notch or aperture. Popular upgrades include fiber optic sights and tritium night sights.
- Red Dot Sights: Electronic aiming devices that project a red dot reticle onto a lens for rapid target acquisition.
- Holographic Sights: Advanced electronic optics that provide a holographic reticle for precision aiming.
- Magnified Scopes: Optical devices that magnify the target for long-range shooting.
Benefits of Installing Aftermarket Sights:
- Improved Accuracy: Enhanced sight pictures help shooters align their shots more precisely.
- Faster Target Acquisition: Features like fiber optics or red dots reduce the time it takes to acquire targets.
- Better Low-Light Performance: Tritium or illuminated sights improve visibility in dim environments.
- Customization: Allows personalization based on shooting style, firearm type, and intended use.
A study by the National Shooting Sports Foundation (NSSF) found that shooters upgrading from factory sights to aftermarket fiber optic or night sights reported a noticeable improvement in accuracy by up to 20% during low-light conditions.
Essential Tools and Materials Needed for Installation
A successful installation begins with having the right tools at your disposal. While some aftermarket sights are designed for easy drop-in installation, others may require more precise fitting or gunsmithing skills.
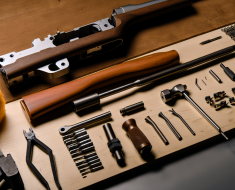
Basic Tools Required:
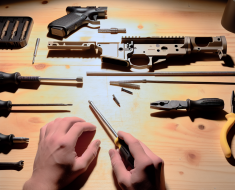
- Screwdrivers (flathead and Phillips) – ensure they fit screw heads perfectly to avoid stripping
- Punch set – for removing pins if necessary
- Boresight tool – helps with initial sight alignment
- Sight pusher tool – useful for dovetail sight installations without damaging the firearm
- Lapping compound – used to fine-tune sight fitment in dovetail slots
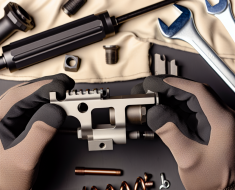
- Tweezers or needle-nose pliers – handle small screws or components
- Thread locker (medium strength) – secures screws against loosening due to recoil
Optional but Recommended Items:
- Shooting glasses – protect eyes during installation and test firing
- Cotton cloth or gun cleaning patches – keep parts clean during installation
- A well-lit workspace with magnification tools – ensures precision work
If you’re installing electronic sights such as red dots, additional items might include batteries specific to your optic model and torque wrenches for mounting screws.
Step-by-Step Installation Process: From Removal to Adjustment
The installation process varies depending on the type of sight and firearm model. However, this section outlines a general approach applicable to most iron sight upgrades and red dot installations.
1. Safety First: Preparing Your Firearm
The foremost rule before any firearm maintenance is safety. Ensure the firearm is unloaded by removing the magazine (if applicable) and visually inspecting the chamber. Work in a clean, well-ventilated area free from distractions.
2. Removing Factory Sights
The method depends on how your factory sights are mounted:
- Dovetail-mounted Front/Rear Sights: Use a sight pusher tool or brass punches to carefully drift out old sights from their slots without damaging the slide.
- Screw-mounted Sights: Unscrew using an appropriately sized screwdriver; apply thread locker removal solvents if screws are stuck.
- Milled Slides for Optics: If you’re replacing factory iron sights with an optic-ready slide, removal may not be necessary as some optics mount directly onto pre-cut plates.
3. Fitting New Aftermarket Sights
- Dovetail Sight Installation: Align new sight in dovetail slot; use sight pusher or gentle taps with brass punch until fully seated. Avoid excessive force which can damage the slide or sight.
- Screw-mounted Sight Installation: Position new sight over mounting holes; tighten screws securely but avoid over-tightening which can strip threads or deform parts.
-
ELECTRONIC OPTICS MOUNTING: Ensure the optic is compatible with your slide and follow the manufacturer’s instructions for securing it in place. Proper alignment is crucial for accuracy.
With the right tools and techniques, installing aftermarket sights can enhance your shooting experience significantly.