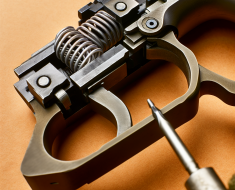
The Best Tips for Polishing Your Firearm Internals
Maintaining and enhancing the performance of your firearm requires more than just regular cleaning; polishing the internal components can significantly improve reliability, accuracy, and longevity. Polishing firearm internals reduces friction, prevents corrosion, and promotes smoother operation, which can be especially beneficial for competitive shooters, hunters, and firearm enthusiasts alike.
This article explores the best tips for polishing your firearm internals, highlighting practical techniques, safety considerations, and industry insights to help you achieve optimal results without compromising your weapon’s integrity.
Understanding the Importance of Polishing Firearm Internals
Before diving into polishing techniques, it’s important to understand why this process matters. Firearms consist of numerous moving parts that interact under high stress and pressure. The surfaces of these parts are often rough due to manufacturing tolerances or wear over time. These microscopic imperfections can cause unnecessary friction and wear during firing cycles.
Polishing smooths these surfaces, allowing parts to glide seamlessly against each other. This results in:
- Improved Reliability: Reduced friction decreases the likelihood of jams or malfunctions.
- Enhanced Accuracy: Smoother bolt or slide movement can contribute to more consistent cycling and shot placement.
- Increased Longevity: Minimizing abrasive contact extends the lifespan of critical components.
- Corrosion Resistance: Polished surfaces are less prone to rust because they trap less dirt and moisture.
A study conducted by the National Institute of Justice in 2019 found that firearms with polished internals showed a 30% reduction in cycle failures during endurance testing compared to unpolished counterparts. This statistic underscores the practical benefits polishing can deliver when done correctly.
Essential Tools and Materials for Polishing Firearm Internals
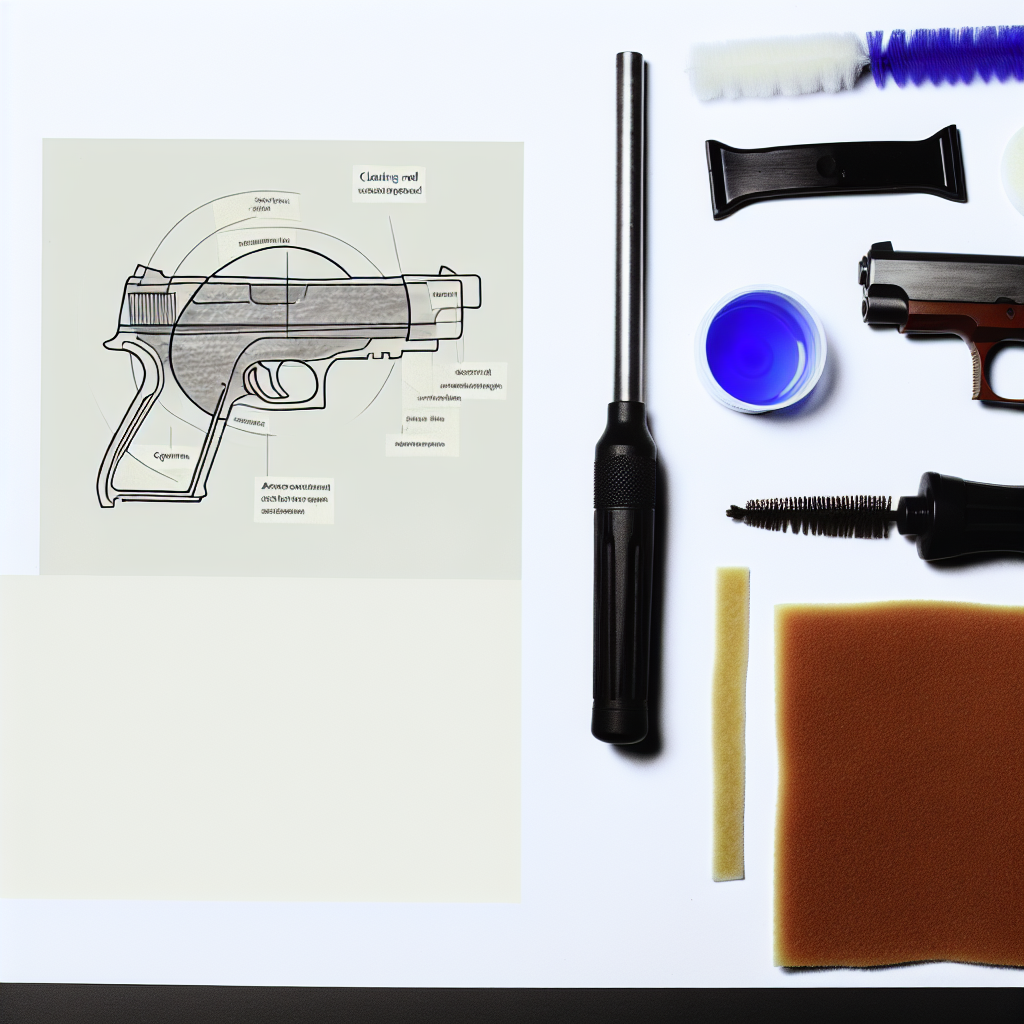
Successful polishing requires having the right tools and materials on hand. Using inappropriate abrasives or techniques can damage delicate parts or remove too much material, negatively affecting firearm performance.
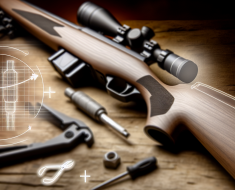
The following list includes commonly recommended items for polishing firearm internals:
- Abrasive Compounds: Use fine-grit polishing compounds such as Flitz Metal Polish or Brownell’s Red Rouge designed specifically for metal finishing.
- Cotton Swabs and Cloths: Soft, lint-free cloths prevent scratching during application; cotton swabs allow access to tight areas.
- Dremel Tool with Buffing Attachments: For experienced users, rotary tools fitted with soft buffing wheels can speed up the process but require careful control.
- Nylon Brushes: Useful for scrubbing stubborn residues without damaging metal surfaces.
- Protective Gear: Gloves and eye protection ensure safety when handling chemicals or power tools.
Avoid using harsh abrasives like sandpaper or steel wool directly on internal parts unless you have extensive experience; these materials can remove too much metal and disrupt component tolerances.
Step-by-Step Guide to Polishing Your Firearm Internals
The polishing process involves several critical steps from disassembly through reassembly. Below is a detailed guide that emphasizes precision and care at every stage.
1. Disassemble Your Firearm Safely
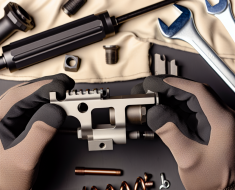
“Safety first” cannot be overstated when working with firearms. Always ensure your weapon is unloaded before starting any maintenance. Consult your firearm’s manual for proper disassembly procedures to access internal components such as the bolt carrier group (BCG), trigger assembly, slide rails, and barrel extension.
2. Clean All Parts Thoroughly
Dirt, carbon build-up, and old lubricants must be removed before polishing. Use a high-quality solvent like Hoppe’s No. 9 or Break-Free CLP along with nylon brushes to clean each component meticulously. Dry all parts completely before proceeding to avoid trapping moisture under polish layers.
3. Inspect Components Carefully
Look for signs of excessive wear or damage such as cracks, pitting, or burrs. Polishing won’t fix structural issues; damaged parts should be replaced rather than polished as a band-aid solution.
4. Apply Polishing Compound Moderately
Dab a small amount of polishing compound onto a soft cloth or cotton swab. Gently rub it onto metal surfaces that contact moving parts — slide rails, bolt lugs, cam paths — using circular motions. Avoid over-polishing which can alter dimensions critical for function.
5. Use Rotary Tools with Caution (Optional)
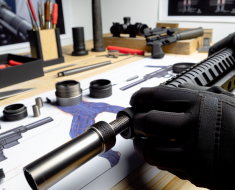
If using a Dremel tool or similar rotary device with buffing attachments, operate at low speeds and maintain steady pressure. Only polish flat surfaces where dimensional changes won’t affect fitment or timing mechanisms.
6. Remove Excess Polish and Buff Residue
After applying polish evenly across desired areas, use clean cloths to buff surfaces until they shine smoothly without residue buildup that could attract dirt later on.
7. Reassemble Your Firearm Correctly
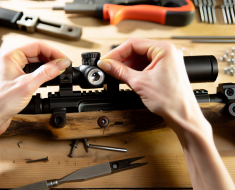
Follow manufacturer guidelines carefully when putting your weapon back together to ensure proper alignment of polished parts within their assemblies.
Common Areas to Focus On When Polishing Firearm Internals include the trigger mechanism, hammer, and any other components that experience friction during operation.
By following these tips, you can enhance the performance and longevity of your firearm.