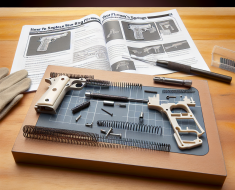
How to Install an Extended Bolt Release: A Comprehensive Guide
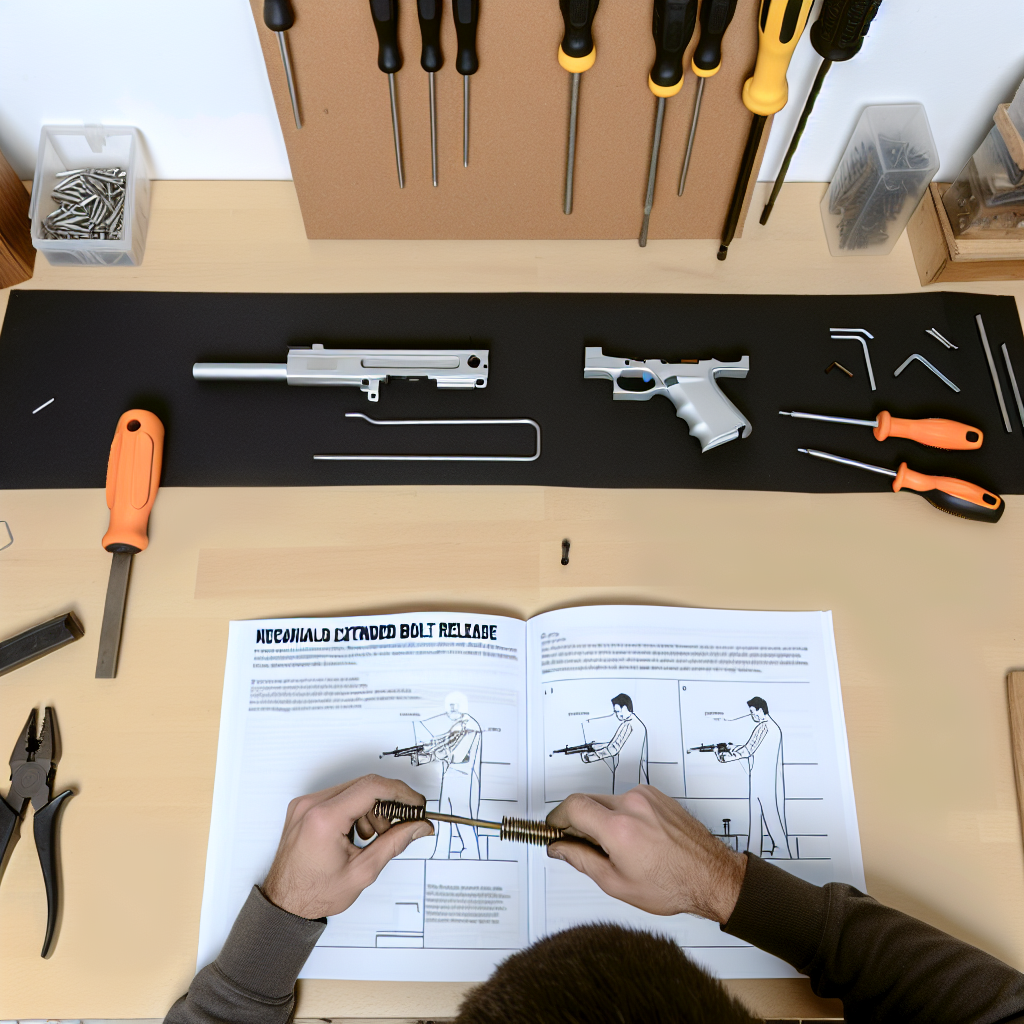
Installing an extended bolt release on your firearm can significantly enhance its functionality and ergonomics. Whether you are a seasoned shooter or a beginner looking to upgrade your rifle, understanding the installation process is crucial for both safety and performance. This article will provide you with a detailed, step-by-step guide on how to install an extended bolt release, along with valuable insights into its benefits, common challenges, and practical tips.
Understanding the Extended Bolt Release and Its Benefits
The bolt release is a small but essential component on many rifles, particularly AR-15 style platforms. It controls the movement of the bolt carrier group (BCG), allowing the shooter to release the bolt after it has been locked back. An extended bolt release is a modified version designed to be larger or more accessible than the standard part.
Here are some of the key benefits of installing an extended bolt release:
- Improved Accessibility: The extended design allows shooters to engage the bolt release more easily without shifting their grip or hand position drastically.
- Faster Reloads: By making it easier to drop the bolt, shooters can achieve quicker follow-up shots and reduce downtime between rounds.
- Enhanced Ergonomics: Especially beneficial for shooters with smaller hands or those wearing gloves, as it reduces fumbling during operation.
- Customization Options: Extended bolt releases come in various styles and materials, allowing users to personalize their firearm’s aesthetics and functionality.
According to a survey conducted by Shooting Sports Retailer in 2023, nearly 60% of AR-15 owners who installed an extended bolt release reported improved handling and faster reload times. This statistic underscores the practical advantages of this upgrade.
Tools and Materials Needed for Installation
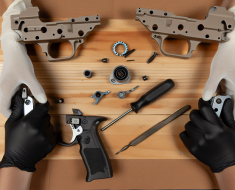
Before beginning the installation process, gather all necessary tools and materials. Having everything prepared ensures a smooth workflow and reduces the risk of damaging your firearm or parts.
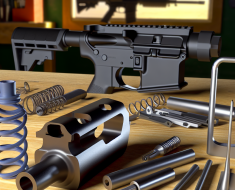
- Extended Bolt Release Kit: Purchase a high-quality kit compatible with your rifle model. Brands like Magpul, Strike Industries, and BCM offer reliable options.
- Punch Set: Used for driving out pins safely without marring your firearm.
- Screwdriver Set: Depending on your model, you may need flathead or Phillips screwdrivers.
- Armorer’s Wrench: Optional but helpful for certain models requiring torque adjustments.
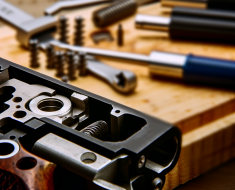
- Cleaning Supplies: A basic cleaning kit including brushes, cloths, and lubricant to clean components before reassembly.
- Safety Gear: Eye protection is essential when working with springs and pins that can fly out unexpectedly.
A well-lit workspace with a sturdy bench or table will also improve precision during installation. Make sure you have ample time set aside—rushing increases errors and safety risks.
Step-by-Step Guide to Installing an Extended Bolt Release
The installation process varies slightly depending on your rifle platform but generally follows these core steps. For this guide, we’ll focus on the AR-15 platform as it is one of the most popular rifles utilizing extended bolt releases.
Step 1: Ensure Safety First
The most important step before any firearm maintenance is confirming that your weapon is unloaded. Remove the magazine, pull back the charging handle to check the chamber visually and physically for any rounds. Engage the safety if applicable.
Step 2: Remove the Lower Receiver from the Upper Receiver
You will need to separate these components for easier access to internal parts. Push out both takedown pins located at the front and rear of the lower receiver using a punch tool if necessary. Carefully separate the two parts while ensuring no small springs or detents fall out during disassembly.
Step 3: Locate and Remove the Existing Bolt Release
The bolt release lever is situated on the left side of most AR-15 lowers near where your thumb rests when holding the rifle. To remove it:
- Use a punch tool to push out the roll pin securing it in place gently.
- Avoid excessive force—if stuck, apply penetrating oil sparingly and wait a few minutes before retrying.
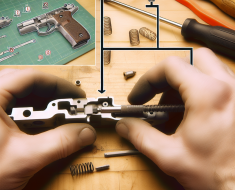
- Once free, carefully extract the lever along with its spring mechanism; keep track of all small parts for reinstallation.
Step 4: Clean Components Before Installation
This step is often overlooked but critical for smooth operation. Use cleaning brushes and cloths to remove any carbon buildup or dirt from inside the lower receiver around where your new extended bolt release will sit. Apply light lubrication afterward to reduce friction during use.
Step 5: Install Your New Extended Bolt Release
The process here mirrors removal but in reverse order:
- Insert any required springs into their proper position as specified by your manufacturer’s instructions—some kits include enhanced springs for better tension control.
- Place your new extended lever into its slot carefully aligning holes with existing pin channels.
-
Using a roll pin punch tool, drive in the roll pin slowly ensuring it is fully seated without damaging the surrounding components. Once secured, test the functionality of the extended bolt release to ensure it operates smoothly.
Following these steps will enhance your firearm’s usability and efficiency.