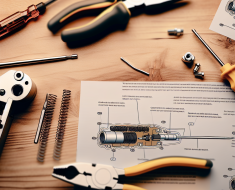
Installing a Custom Ambidextrous Safety: A Comprehensive Guide
The modern firearm enthusiast often seeks to enhance their weapon’s ergonomics, functionality, and safety features. One popular upgrade is the installation of a custom ambidextrous safety. This modification caters to both left- and right-handed shooters, improving accessibility and control. In this detailed article, we will explore the benefits of ambidextrous safeties, the installation process, tools required, and tips to ensure a smooth upgrade.
Understanding Ambidextrous Safeties: What Are They and Why Do They Matter?
An ambidextrous safety is a firearm component designed to allow the shooter to engage or disengage the safety mechanism with either hand. Unlike traditional safeties that are often only accessible on one side of the firearm—usually the left side for right-handed shooters—ambidextrous safeties feature levers or switches on both sides of the weapon.
This design offers several advantages:
- Inclusivity for Left-Handed Shooters: Approximately 10% of the population is left-handed, but many firearms are tailored primarily for right-handed users. Ambidextrous safeties help level this playing field by making controls equally accessible.
- Improved Tactical Flexibility: In dynamic situations where a shooter might need to switch hands—due to injury or tactical positioning—having controls accessible from either side can be life-saving.
- Enhanced Ergonomics: Even right-handed shooters benefit from ambidextrous safeties by reducing the need to shift grip excessively or adjust hand position to disengage the safety.
According to a 2021 survey conducted by Pew Research Center on firearm usage, over 35% of respondents expressed interest in upgrading their firearms with more ergonomic and customizable features, including ambidextrous controls. This growing trend reflects an increasing demand for user-friendly modifications that enhance both safety and performance.
Types of Ambidextrous Safeties: Choosing the Right One for Your Firearm
Before diving into installation, it’s crucial to understand the different types of ambidextrous safeties available. The choice largely depends on your firearm model and personal preferences.
- Extended Ambidextrous Safety Levers: These replace the standard safety lever with longer levers on both sides. They provide easier reach and tactile feedback.
- Push-Button Ambidextrous Safeties: Common in some pistol models, these require pushing buttons on either side instead of flipping levers.
- Selector Switches (Common in AR-15 Platforms): These allow seamless switching between safe and fire modes using either hand. Custom selectors often feature enhanced tactile engagement.
- Custom-Machined Ambi Safeties: For enthusiasts looking for precision fit and unique aesthetics, some manufacturers offer custom-machined parts made from premium materials like titanium or stainless steel.
A case study from Gun Digest in 2023 reviewed three popular AR-15 ambi safety kits: Battle Arms Development’s Enhanced Ambi Safety Selector, BCM Gunfighter Ambi Safety Selector, and Seekins Precision Enhanced Safety Selector. Each offered improved ergonomics and durability over stock parts but varied in ease of installation and price points ranging from $40 to $120.
Tools and Materials Needed for Installation
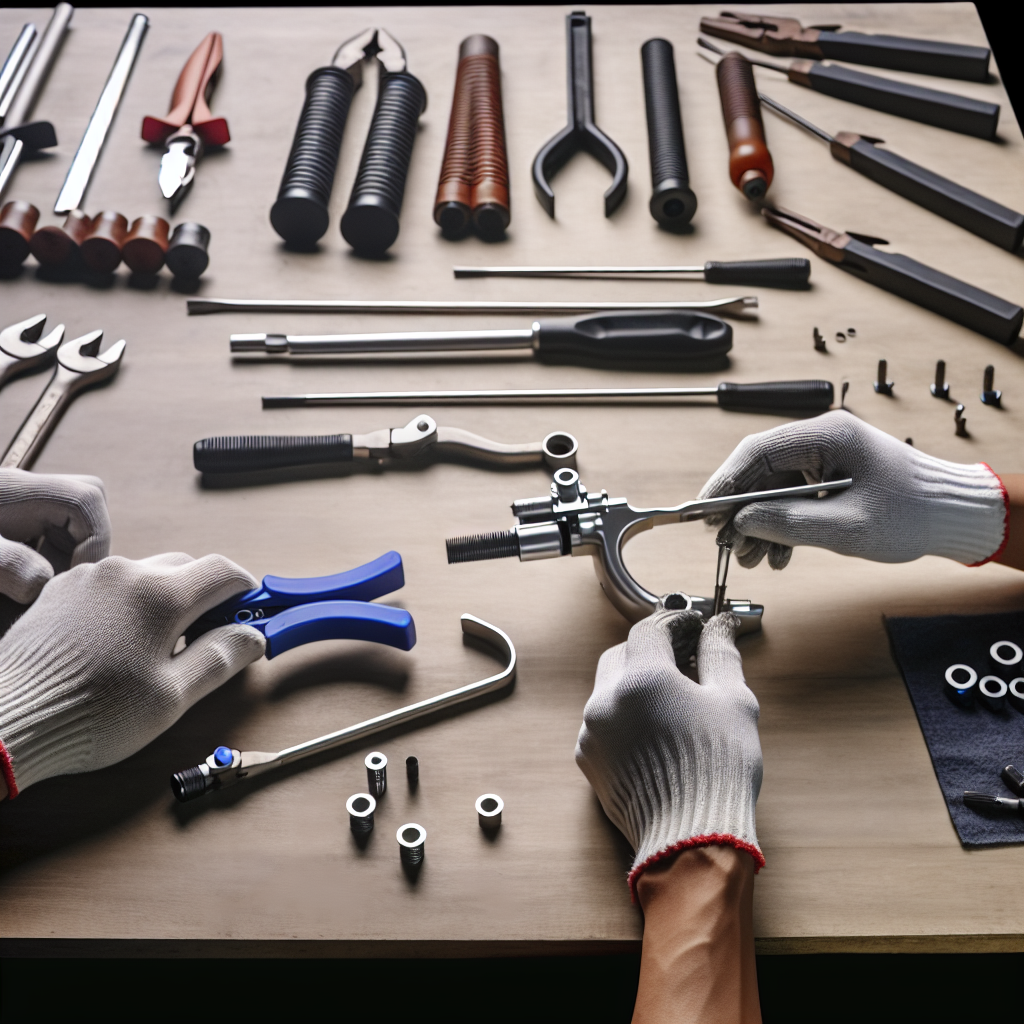
The installation process requires careful preparation and precision tools. Depending on your firearm type (e.g., AR-15 rifle or semi-automatic pistol), some tools may vary slightly.
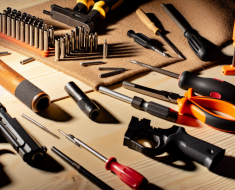
- Screwdrivers or Hex Drivers: Most ambi safeties use screws or pins that require specific driver sizes (e.g., T15 Torx bit).
- Punch Set: Necessary for removing existing pins safely without damaging your firearm’s finish.
- Small Hammer or Mallet: Used alongside punches for pin removal/installation.
- Gun Cleaning Kit: Recommended before installation to ensure all parts fit smoothly without debris interference.
- Lubricant or Anti-Seize Compound: Helps prevent corrosion and ensures smooth operation after installation.
- User Manual or Installation Guide: Always consult manufacturer-specific instructions if available.
A well-organized workspace with ample lighting is also essential. A non-slip mat can prevent small parts from rolling away during disassembly/reassembly phases.
Step-by-Step Installation Process
The following example outlines installing an ambidextrous safety lever on an AR-15 platform—a common upgrade among firearms enthusiasts due to its modularity. Always ensure your firearm is unloaded before beginning any work.
Step 1: Safety First – Clear Your Firearm
Remove all ammunition from your workspace. Double-check that the chamber is empty by physically inspecting it and cycling the action several times.
Step 2: Disassemble Existing Safety Mechanism
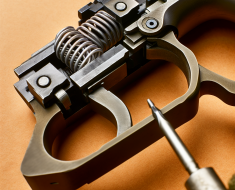
- You’ll need to remove the existing safety selector lever by first detaching any retaining pins using punches carefully aligned with their grooves.
- If applicable, remove the pistol grip since some selectors are accessed through this area on AR-style rifles.
Once the existing safety mechanism is disassembled, you can proceed with the installation of the new ambidextrous safety lever, ensuring all components are aligned properly.
With careful attention to detail, you can significantly enhance the functionality of your firearm.