How to Install a Custom Safety Selector: A Comprehensive Guide
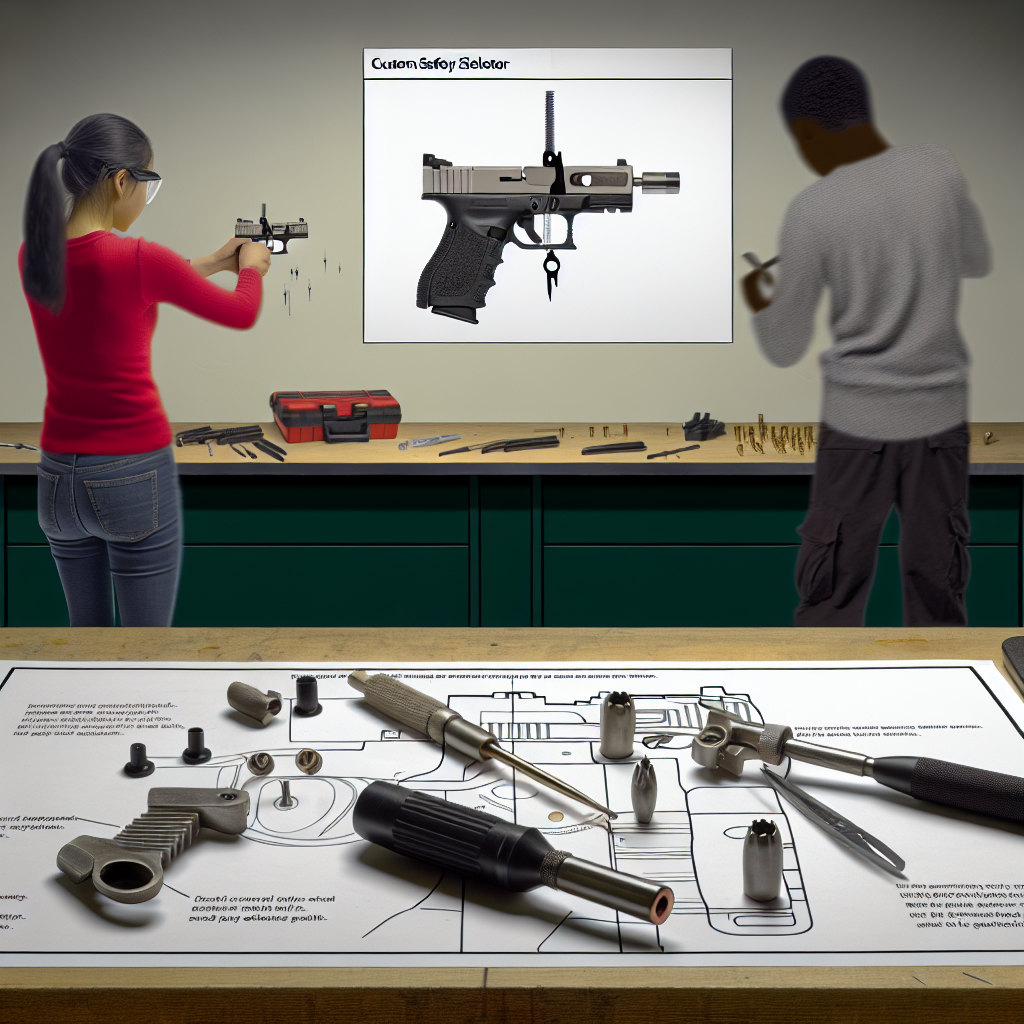
Installing a custom safety selector on your firearm can significantly enhance both its ergonomics and functionality. Whether you’re a competitive shooter, a tactical enthusiast, or simply seeking to personalize your rifle, upgrading this component can improve your shooting experience. This detailed guide will walk you through the process of installing a custom safety selector, providing key insights, step-by-step instructions, and helpful tips to ensure a smooth installation.
Understanding the Safety Selector and Its Importance
The safety selector is a critical component of many firearms, particularly rifles like the AR-15 platform. It controls whether the weapon is in “safe” mode (unable to fire) or “fire” mode (ready to shoot). Some selectors also feature additional modes such as “semi-auto” or “full-auto,” depending on the firearm’s capabilities.
Installing a custom safety selector offers several advantages:
- Improved Ergonomics: Ambidextrous or extended selectors can make it easier for shooters to switch modes quickly without changing their grip.
- Enhanced Durability: Aftermarket selectors are often made from higher-quality materials like steel or aluminum alloys, increasing longevity.
- Aesthetic Customization: Custom selectors come in various finishes and designs, allowing shooters to personalize their firearms.
- Increased Functionality: Some selectors feature unique mechanisms or detents that improve tactile feedback and prevent accidental switching.
According to a survey conducted by Pew Research Center in 2021, approximately 30% of gun owners in the U.S. have customized at least one part of their firearm, with safety selectors being among the most common upgrades. This statistic highlights the growing trend toward personalization and performance enhancement within the shooting community.
Preparing for Installation: Tools and Safety Precautions
Before diving into installation, preparation is key. Ensuring you have the right tools and understanding safety protocols will make the process efficient and safe.
Tools Required
- Armorer’s Wrench: Designed specifically for working with firearm components.
- Punch Set: For driving out pins if necessary during disassembly or reassembly.
- Screwdrivers or Allen Keys: Depending on your selector model’s screws or bolts.
- Small Hammer: Useful for tapping pins gently without damaging parts.
- Lubricant: High-quality gun oil for maintaining smooth operation post-installation.
- Towel or Mat: To keep parts organized and prevent loss during installation.
Safety First
-
Unload Your Firearm Completely: Remove the magazine and check chamber status visually and physically to ensure no ammunition is present.
-
Work in a Clean Environment: A clutter-free workspace helps prevent losing small parts.
-
Wear Protective Gear: Safety glasses protect your eyes from springs or pins that may eject unexpectedly.
-
Follow Manufacturer Instructions: Always refer to both your firearm’s manual and the custom safety selector’s guide for specific recommendations.
The Step-by-Step Process of Installing a Custom Safety Selector
This section outlines a generalized procedure applicable to most AR-15 style rifles, which are among the most common platforms for safety selector customization. Always consult your specific firearm’s manual for any variations or unique steps.
Step 1: Disassemble Your Firearm
The first step is separating the upper and lower receivers of your rifle. This separation provides access to internal components including the existing safety selector mechanism.
- <pEnsure firearm is unloaded and safe as described above.
- <pPush out takedown pins located at the front and rear of the lower receiver using a punch if necessary.
- <pSeparate upper receiver from lower receiver carefully.
Step 2: Remove Existing Safety Selector
The original safety selector must be removed before installing your custom part. This involves carefully removing detent springs and pins that hold it in place.
- <pUsing an armorer’s wrench or punch tool, gently push out the retaining pin holding the current selector in place.
- <pCarefully remove detent spring located beneath the selector lever; keep track of small parts as they are easy to lose.
- <pExtract original safety selector from its slot within the lower receiver body.
Step 3: Install Custom Safety Selector Components
Your new safety selector kit will typically include several parts such as levers (right side/left side), detents, springs, and sometimes screws or bolts for ambidextrous models. Follow these general guidelines:
- <pApply a small amount of lubricant on moving parts to ensure smooth operation after assembly.
- <pInsert new detent spring into its designated hole within the lower receiver carefully
Insert new detent spring into its designated hole within the lower receiver carefully, ensuring it sits properly.
Once everything is in place, reassemble the components and test the selector for proper functionality.