How to Install a Custom Trigger Guard: A Comprehensive Guide
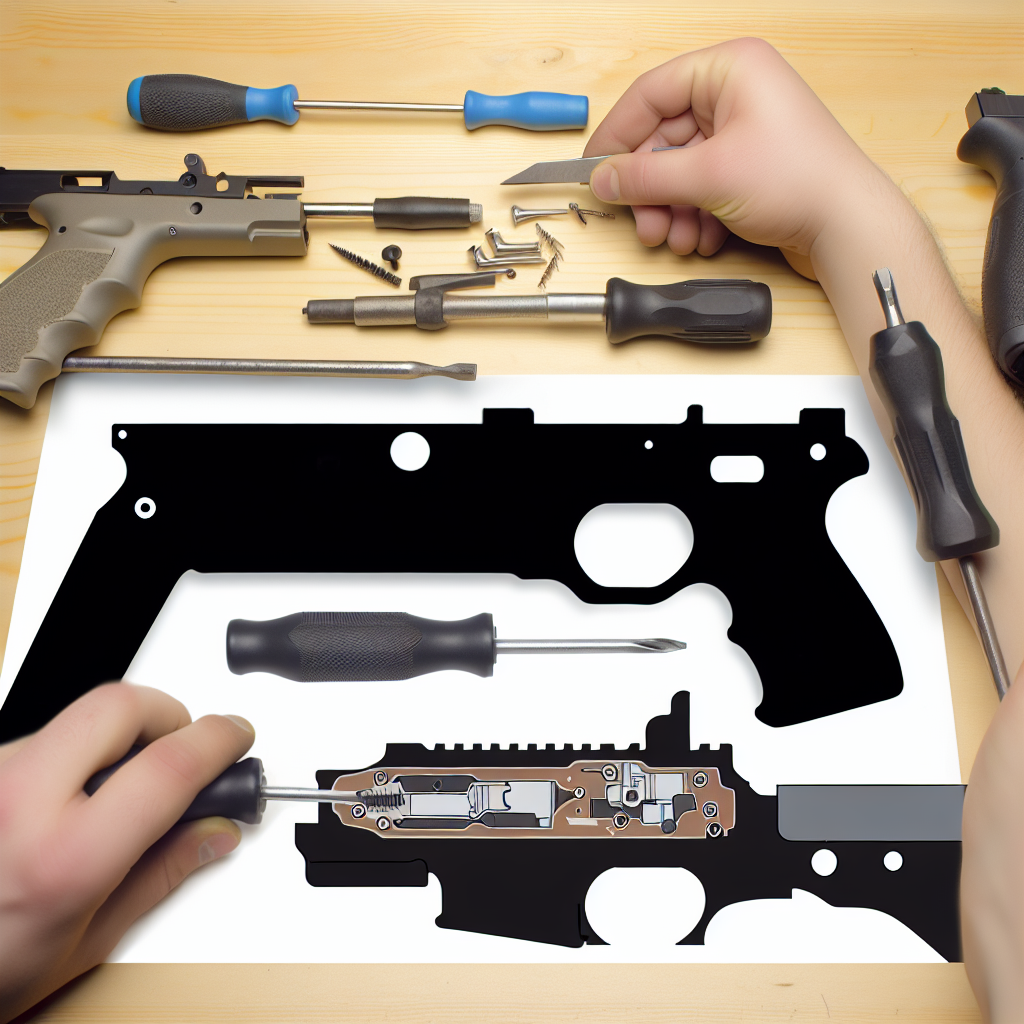
Upgrading your firearm with a custom trigger guard can significantly improve both functionality and aesthetics. Whether you’re a seasoned gunsmith or an enthusiast looking to personalize your weapon, understanding the installation process is essential. This article explores everything you need to know about installing a custom trigger guard, from preparation and tools to step-by-step instructions, practical tips, and safety considerations.
Understanding the Role of a Trigger Guard
The trigger guard is an often-overlooked yet critical component of any firearm. It surrounds the trigger mechanism, preventing accidental discharges by shielding the trigger from unintended contact. Beyond its safety function, a custom trigger guard can offer improved ergonomics, enhanced durability, or stylistic appeal.
For example, competitive shooters often opt for trigger guards with an enlarged opening to accommodate gloved hands or faster access during rapid firing sequences. Meanwhile, tactical operators might choose guards made from high-strength materials like billet aluminum or steel for ruggedness.
According to a 2021 survey by the National Shooting Sports Foundation (NSSF), nearly 35% of firearm owners have customized at least one component of their weapon, with trigger guards ranking among the top five modifications due to their direct impact on handling and safety.
Tools and Materials Required for Installation
Before beginning any modification project on your firearm, it’s crucial to gather the proper tools and materials. Having everything ready will ensure a smooth installation process without unnecessary interruptions.
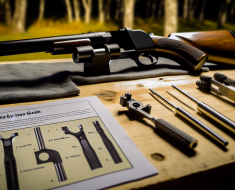
- Custom Trigger Guard: Choose one compatible with your specific firearm model. Brands like Timney, VZ Grips, and Radian Weapons offer high-quality options tailored for various firearms.
- Screwdrivers or Hex Keys: Depending on your firearm’s design, you may need flathead, Phillips screwdrivers, or Allen wrenches.
- Punch Set: Used to remove pins that secure the existing trigger guard in place.
- Hammer (preferably brass): For gently tapping pins out without damaging components.
- Cleaning Supplies: Rags, solvent, and lubricant to clean parts during reassembly.
- Work Mat or Bench Block: To provide a stable surface and prevent loss of small parts.
- Safety Glasses: Always wear eye protection when working with firearms.
Additionally, having access to your firearm’s user manual or manufacturer’s instructions can provide valuable guidance specific to your model.
Step-by-Step Guide to Installing Your Custom Trigger Guard
The installation process varies slightly depending on the make and model of your firearm but generally follows similar steps. Below is a detailed walkthrough for installing a custom trigger guard on a common semi-automatic pistol platform such as the Glock or Smith & Wesson M&P series.
Step 1: Ensure Firearm Safety
This is paramount. Before starting any work:
- Unload the firearm completely by removing the magazine and checking the chamber visually and physically for any rounds.
- Engage any manual safety features if available.
- Work in a well-lit area free of distractions with no ammunition present nearby.
Step 2: Disassemble Your Firearm as Needed
Your goal is to access the existing trigger guard securely attached to the frame. For many pistols:
- You may need to remove the slide assembly first by following standard field-stripping procedures outlined in your user manual.
- This provides better access to pins or screws holding the trigger guard in place.
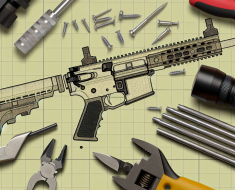
If working on rifles like an AR-15 platform:
- You’ll likely only need to separate the upper and lower receivers using takedown pins for better access.
Step 3: Remove Existing Trigger Guard
The existing trigger guard is typically held by pins or screws:
- If secured by pins: Use an appropriate punch and hammer to gently drive them out while supporting the frame on a bench block.
- If secured by screws: Use corresponding screwdrivers or hex keys to carefully unscrew without stripping heads.
Caution: Take note of how parts are oriented during removal for easier reassembly later. Consider taking photos at each step as reference points.
Step 4: Prepare Frame and New Trigger Guard for Installation
Before attaching the new part:
- Clean mounting surfaces thoroughly using solvent and rags to remove debris or oil residues that could affect fitment.
- If applicable, lightly lubricate moving contact points with gun oil for smoother operation without attracting dirt excessively.
Step 5: Install Custom Trigger Guard
Align your new custom trigger guard carefully with mounting holes on the frame. Then:
- If using pins: Gently tap them back into place using punches ensuring they are flush but not overly tight which might impede movement or damage threads.
- If using screws: Tighten them evenly and firmly but avoid overtightening which can strip threads or deform components.