How to Install and Adjust a Drop-In Trigger: A Comprehensive Guide
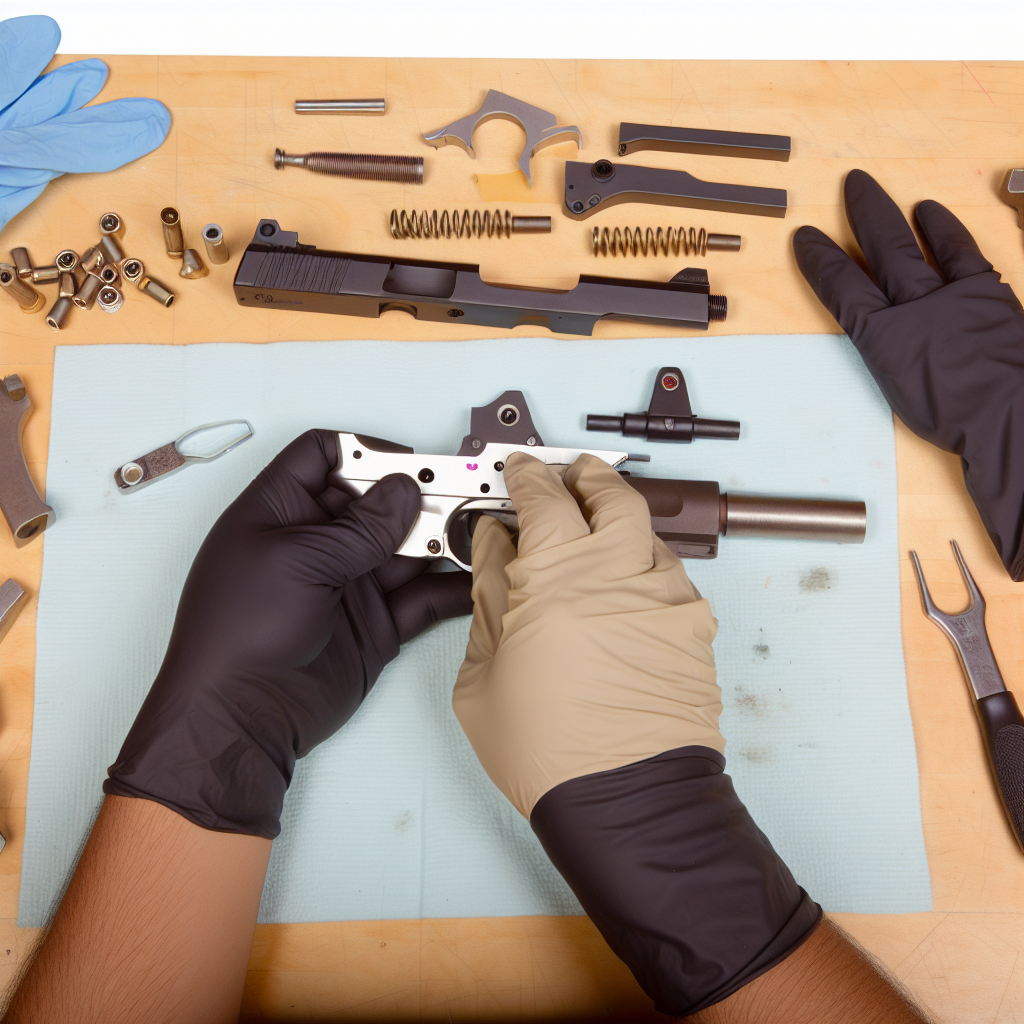
Upgrading your firearm with a drop-in trigger is one of the most effective ways to enhance shooting performance, accuracy, and overall trigger feel. Whether you’re a competitive shooter, a hunter, or simply an enthusiast looking to improve your rifle’s functionality, understanding how to properly install and adjust a drop-in trigger is essential. This article provides a detailed, step-by-step guide on installation and adjustment, backed by expert insights and practical examples.
What Is a Drop-In Trigger? Understanding the Basics
A drop-in trigger is a pre-assembled trigger unit designed to replace the factory trigger system in rifles such as the AR-15, Ruger 10/22, or Remington 700. Unlike traditional triggers that require disassembly and reassembly of multiple parts, drop-in triggers are engineered for straightforward installation—usually requiring minimal tools and time.
The key advantages of drop-in triggers include:
- Improved Trigger Pull: Smoother and lighter trigger pulls reduce shooter fatigue and improve accuracy.
- Consistency: Factory triggers often vary in pull weight and feel; drop-in units offer consistent performance.
- Ease of Installation: Pre-assembled components mean fewer steps during installation.
- Customization: Many drop-in triggers allow for adjustments in pull weight, overtravel, and reset.
Popular models like the Timney Calvin Elite or the Geissele SSA-E have become favorites among marksmen due to their reliability and ease of use.
Preparing for Installation: Tools, Safety, and Preliminary Steps
Before beginning any work on your firearm, preparation is crucial. A proper setup ensures safety and streamlines the installation process. Here’s what you need to know:
Essential Tools for Installation
- Armorer’s Wrench or Multi-tool: Depending on your rifle model.
- Punch Set: For removing pins safely without damaging components.
- Screwdrivers: Flathead or Phillips, as required by your trigger unit.
- Small Hammer or Mallet: To tap out pins gently if needed.
- Torque Wrench (optional): For precise tightening according to manufacturer specifications.
Safety First: Handling Your Firearm
Your safety should always be the top priority when working with firearms. Follow these essential safety steps before starting:
- Unload Your Firearm: Remove all ammunition from the chamber and magazine. Visually inspect multiple times.
- Work in a Clean Area: Choose a well-lit workspace free from distractions or clutter.
- Wear Safety Glasses: Protect your eyes from springs or small parts that may fly loose during disassembly.
- Create an Organized Layout: Use trays or containers for small parts to avoid loss.
Preliminary Disassembly
The exact disassembly process depends on your rifle model but generally involves removing the upper receiver (for AR-platform rifles) or separating the stock from the action (for bolt-action rifles). Consult your firearm’s manual for specific instructions before proceeding.
The Step-by-Step Installation Process of a Drop-In Trigger
This section outlines a general approach applicable to popular rifle platforms such as AR-15s and Remington-style bolt actions. Always reference your specific trigger manufacturer’s instructions as designs can vary slightly.
Step 1: Remove the Factory Trigger Group
-
If you’re working on an AR-15 platform, start by separating the upper receiver from the lower receiver by pushing out the takedown pins. Then remove the existing hammer and trigger pins using punches carefully to avoid pin damage.
-
Bolt-action rifles may require unscrewing retaining bolts or pins holding the factory trigger in place before removal.
Step 2: Inspect Components for Wear
This is an excellent opportunity to examine your fire control group housing for any signs of excessive wear or damage that might affect performance. Replace any worn springs or parts before installing the new unit.
Step 3: Insert the Drop-In Trigger Unit
-
Simplify this step by aligning your new drop-in trigger with existing holes in the receiver carefully; it should fit snugly without forcing it into place.
-
If applicable, insert retaining pins through both sides of the receiver to secure it firmly — ensure they are flush but not overly tight which could bind moving parts.
Step 4: Reassemble Your Rifle
If you separated components earlier (such as upper/lower receivers), reassemble them now ensuring all takedown pins lock firmly into place. Perform basic function checks like dry firing (with no ammunition present) to ensure smooth movement of hammer/sear mechanisms.
A key benefit of many modern drop-in triggers is their adjustability, allowing you to fine-tune the pull weight, overtravel, and reset to your preference.
By following these steps, you can enhance your rifle’s performance and ensure a more enjoyable shooting experience.