How to Install an Adjustable Trigger Shoe: A Comprehensive Guide
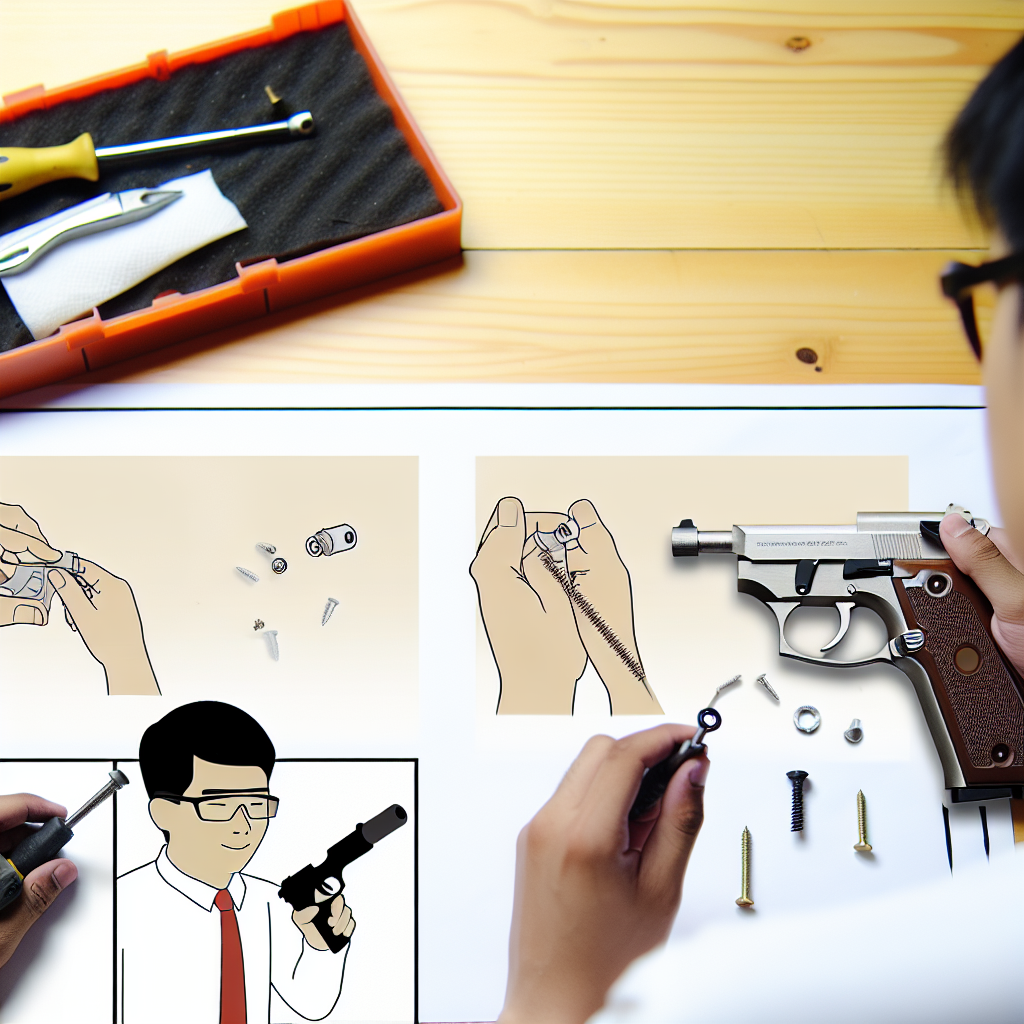
Installing an adjustable trigger shoe is a valuable upgrade for firearm enthusiasts seeking enhanced control, precision, and comfort. Whether you are a competitive shooter aiming for tighter groups or a hunter looking to improve shot accuracy, an adjustable trigger shoe can significantly enhance your shooting experience. This article provides a detailed, step-by-step guide on how to install an adjustable trigger shoe, complete with practical tips, safety considerations, and relevant examples.
Understanding the Adjustable Trigger Shoe: What It Is and Why It Matters
Before diving into the installation process, it’s essential to understand what an adjustable trigger shoe is and why it has become a popular upgrade among shooters.
An adjustable trigger shoe is a component that replaces or modifies the existing trigger face on a firearm. It allows the user to customize the trigger pull weight, travel distance, and sometimes the trigger’s shape and texture. This customization leads to improved shooting accuracy and comfort by tailoring the trigger’s feel to the shooter’s preferences.
Key benefits of an adjustable trigger shoe include:
- Improved Accuracy: A lighter and smoother trigger pull reduces the likelihood of jerking or flinching during firing.
- Enhanced Control: Adjustments allow shooters to find their ideal balance between safety and responsiveness.
- Customization: Adjustable shoes can be shaped or textured for better finger placement and tactile feedback.
A 2019 study conducted by the National Shooting Sports Foundation (NSSF) indicated that shooters who used adjustable triggers improved their target grouping by up to 25% compared to factory triggers. This statistic underscores the tangible benefits of upgrading your trigger system.
Preparing for Installation: Tools, Safety, and Initial Checks
Proper preparation is crucial for safely installing an adjustable trigger shoe. This stage involves gathering tools, ensuring safety protocols are followed, and performing preliminary checks on your firearm.
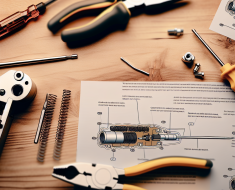
Tools Required for Installation
- Screwdrivers (flathead and Phillips)
- Hex keys or Allen wrenches (depending on your firearm model)
- Punch set for pin removal
- A small hammer or mallet
- Trigger pull gauge (optional but recommended)
- Cleaning cloth and lubricant
The exact tools may vary depending on your firearm make and model. For example, installing an adjustable trigger shoe on an AR-15 platform might require different tools than a Glock pistol due to differences in design and assembly methods.
Safety First: Handling Firearms Responsibly
The fundamental rule when working with firearms is to ensure they are unloaded before starting any maintenance or upgrades. Follow these safety steps rigorously:
- Unload the Firearm: Remove all ammunition from the chamber, magazine, and surrounding area.
- Double Check: Physically inspect the chamber with your finger or a flashlight to confirm it’s empty.
- Work in a Controlled Environment: Choose a clean workspace free from distractions with good lighting.
- Avoid Live Rounds Nearby: Keep live ammunition stored separately during installation.
This protocol not only ensures your safety but also protects others around you during the process.
The Step-by-Step Installation Process
The installation of an adjustable trigger shoe can vary slightly depending on specific firearm models; however, most procedures share common steps. Below is a general guide suitable for many popular firearms like AR-15s, bolt-action rifles, or semi-automatic pistols.
Step 1: Disassemble Your Firearm
This initial step involves removing necessary components to access the trigger assembly safely.
- Select a stable surface to work on.
- Remove any magazines or detachable parts that could interfere with disassembly.
- If applicable, separate the upper receiver from the lower receiver (common in AR-style rifles).
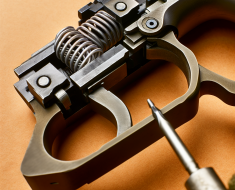
- Carefully remove pins securing the trigger guard or housing using punches as needed.
Example: For an AR-15 rifle, you would push out the rear takedown pin first before accessing internal parts like the hammer and trigger group.
Step 2: Remove the Existing Trigger Shoe
The next step is detaching your current trigger shoe from its mounting point:
- Slightly depress or disengage any retaining clips or screws holding the shoe in place.
- If pins secure it, gently drive them out using appropriate punches without damaging surrounding parts.
- Cautiously extract the old trigger shoe from its housing without applying excessive force.
Caution: Avoid losing tiny springs or components during this process as they may be critical for reassembly or function.
Step 3: Install Your New Adjustable Trigger Shoe
This is where customization begins:
- Align your new adjustable trigger shoe with existing mounting holes or slots precisely as per manufacturer instructions.
- If screws are provided for adjustment mechanisms (e.g.
, do not overtighten them to ensure smooth operation. Step 4: Test the Trigger Functionality Once installed, test the trigger to confirm it operates correctly and adjust as necessary for your preferred pull weight.
With careful installation, your new adjustable trigger shoe can enhance your shooting experience significantly.