How to Replace Your Firearm’s Springs: A Comprehensive Guide
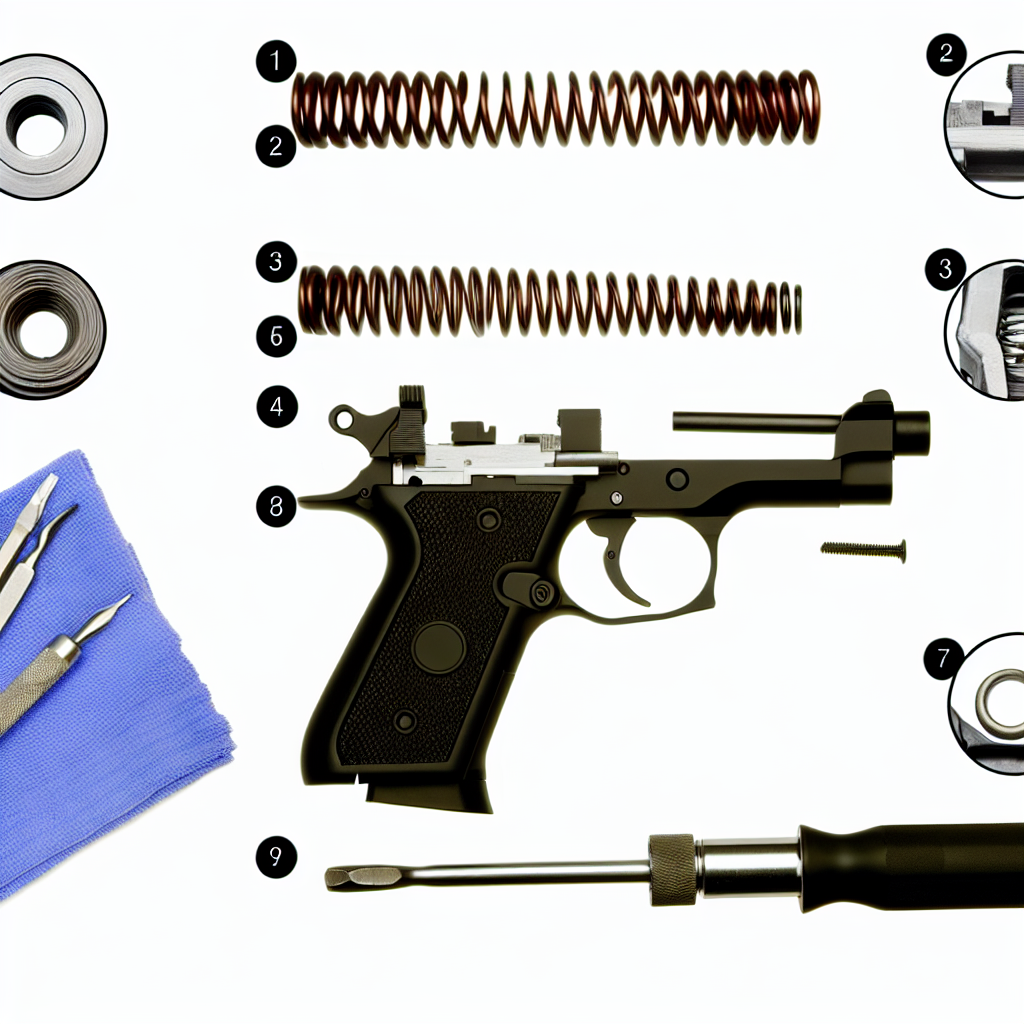
Maintaining your firearm is essential for ensuring its reliability, safety, and performance. One of the most critical yet often overlooked maintenance tasks is replacing the springs within your firearm. Springs are integral components that affect everything from the trigger pull to the cycling of your weapon. Over time, these springs wear out, lose tension, and can lead to malfunctions or inconsistent operation.
In this article, we will delve into the step-by-step process of replacing your firearm’s springs, discuss why it matters, highlight common spring types and their roles, and provide practical tips supported by real-world examples and expert insights.
Understanding the Importance of Firearm Springs
Before diving into the replacement process, it’s crucial to understand why springs are so important in firearms. Springs serve several functions depending on their location and type:
- Recoil Springs: Absorb and manage recoil energy, facilitating proper cycling of semi-automatic firearms.
- Trigger Springs: Affect trigger pull weight and reset speed.
- Magazine Springs: Push cartridges upward for reliable feeding.
- Firing Pin Springs: Control firing pin movement for safe and consistent primer strikes.
The quality and condition of these springs directly influence firearm performance. For example, a worn recoil spring can cause failures to eject or feed, while a weakened trigger spring may result in a mushy or inconsistent trigger pull. According to a study by the National Shooting Sports Foundation (NSSF), nearly 40% of firearm malfunctions reported by users were traced back to worn or damaged springs.
Identifying When It’s Time to Replace Your Firearm’s Springs
Knowing when to replace springs can prevent frustrating jams or unsafe conditions. Here are some signs that indicate spring replacement is necessary:
- Decreased Performance: Noticeable drop in reliability such as failures to feed, eject, or fire.
- Trigger Issues: Heavier or inconsistent trigger pull; sluggish reset.
- Physical Wear: Visible corrosion, kinks, deformation, or breakage of springs during inspection.
- Shooting Volume: Manufacturer recommendations often suggest replacing recoil springs after every 3,000–5,000 rounds depending on caliber and firearm type.
A practical example comes from competitive shooters who often replace recoil springs every few thousand rounds as part of preventive maintenance to ensure peak performance during matches. Likewise, law enforcement agencies incorporate scheduled spring replacement in their armory protocols to reduce downtime caused by malfunctions.
The Tools and Materials You’ll Need
Replacing springs may sound daunting but with the right tools and preparation it becomes manageable even for enthusiasts with moderate technical skills. Here’s what you typically need:
- Screwdrivers/Hex Wrenches: Depending on your firearm model.
- Punch Set: For driving out pins if necessary.
- Spring Replacement Kit: High-quality OEM or aftermarket springs specific to your firearm model.
- Tweezers or Needle-Nose Pliers: To handle small parts safely.
- Cleaning Supplies: Solvent, brushes, cloths for cleaning parts before reassembly.
- User Manual or Armorer’s Manual: Essential for reference on disassembly and assembly steps specific to your firearm.
A study published by the Journal of Firearms Technology emphasizes the importance of using original equipment manufacturer (OEM) springs when possible due to their tested durability and reliability compared to generic aftermarket alternatives. However, reputable aftermarket brands such as Wolff Gunsprings also offer high-quality replacements tailored for enhanced performance in various applications like competition shooting or tactical use.
The Step-by-Step Process of Replacing Your Firearm’s Springs
The exact procedure varies widely depending on the firearm model—be it a semi-automatic pistol like a Glock or a rifle such as an AR-15—but the general principles remain consistent. Below is an overview of the typical steps involved in replacing common springs such as recoil or trigger springs in a handgun:
Step 1: Safety First — Unload and Clear Your Firearm
This cannot be overstated: always ensure your firearm is completely unloaded before beginning any maintenance work. Remove the magazine if applicable and check both chamber and magazine well visually and physically to confirm no ammunition is present.
Step 2: Field Strip Your Firearm
Your owner’s manual will guide you through disassembling your firearm into its major components — typically slide/barrel/frame for pistols. This allows access to internal parts including recoil spring assemblies and trigger mechanisms where many springs reside.
Step 3: Remove Old Springs Carefully
- If dealing with a recoil spring assembly on pistols like Glocks or Smith & Wesson M&P series:
- You’ll usually remove the guide rod along with the recoil spring itself after compressing it slightly.
- If replacing trigger return springs:
- You may need punch tools to remove
If replacing trigger return springs: You may need punch tools to remove the old springs carefully from their housing without damaging other components.
Always ensure to reassemble your firearm correctly and function test it before use.
- You may need punch tools to remove