How to Clean and Maintain Your Gun’s Action
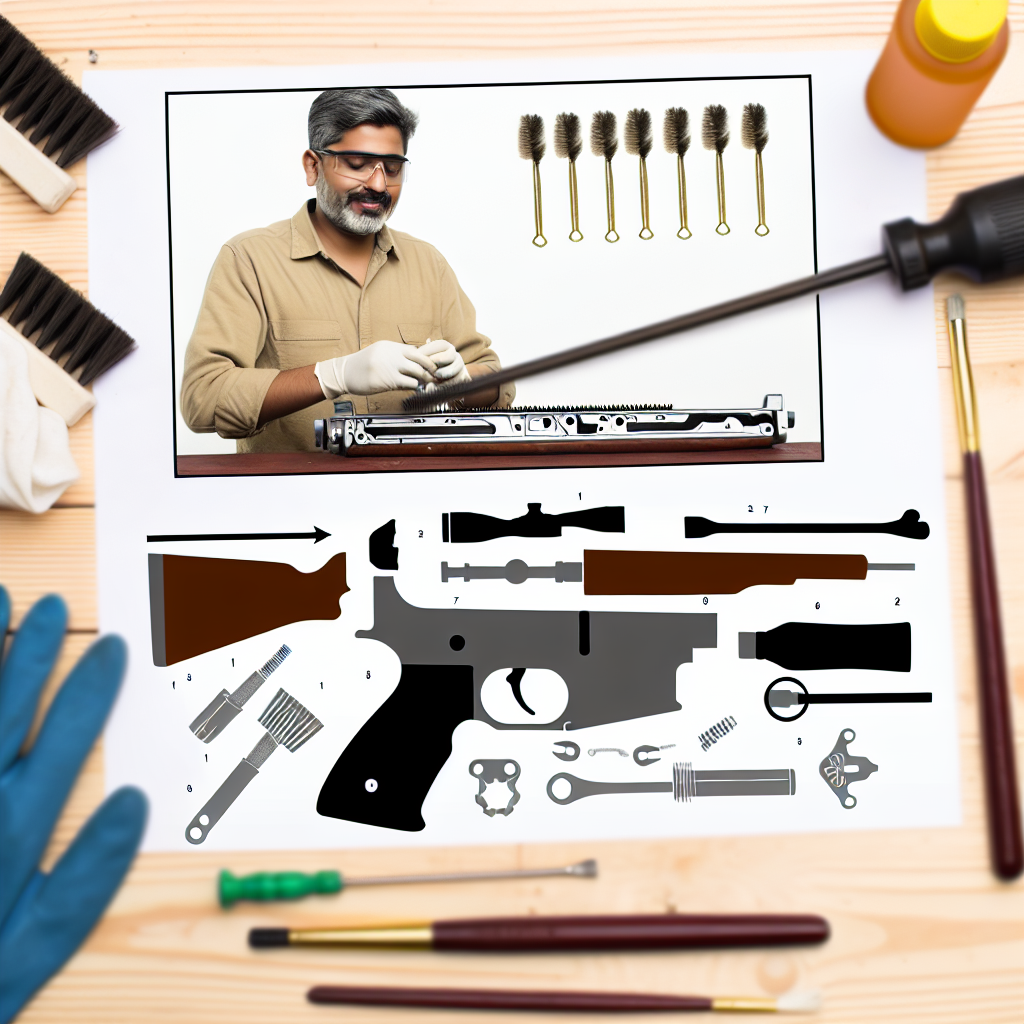
Proper maintenance of your firearm is essential not only for its longevity but also for safe and reliable operation. One of the most critical components to focus on is the gun’s action—the mechanism responsible for loading, firing, and ejecting cartridges. Neglecting this part can lead to malfunctions, reduced accuracy, and potentially dangerous situations. This comprehensive guide will walk you through how to clean and maintain your gun’s action effectively, supported by expert tips, examples, and practical advice.
Understanding the Gun’s Action: Types and Importance
The “action” of a firearm refers to the assembly that handles the loading, firing, extraction, and ejection of cartridges. Understanding its function is the first step in effective maintenance.
- Types of Actions: There are several common types of gun actions:
- Bolt Action: Manually operated by lifting and pulling back a bolt handle.
- Semi-Automatic: Automatically cycles the next round after each shot but requires a trigger pull for each shot.
- Lever Action: Uses a lever below the receiver to cycle rounds.
- Pump Action: Cycles rounds by sliding a fore-end back and forth.
- Break Action: Opens at a hinge point to manually load rounds.
- Why Clean the Action? The action is exposed to carbon buildup, powder residue, dirt, and moisture during firing. These contaminants can cause:
- Jamming or failure to feed/eject
- Corrosion or rust
- Reduced accuracy and reliability
A well-maintained action ensures smooth cycling and reduces wear on parts.
The Essential Tools and Materials for Cleaning Your Gun’s Action
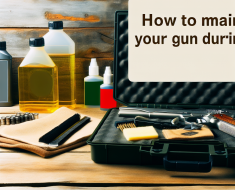
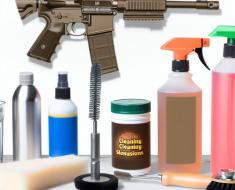
Before beginning any cleaning process, it’s important to gather the right tools. Using inappropriate materials can damage sensitive components.
- Bore Brush and Cleaning Rod: To clean inside the barrel and action chambers.
- Nylon or Brass Brushes: For scrubbing away carbon buildup without scratching metal surfaces.
- Cotton Patches or Cleaning Cloths: Used with solvents to wipe down parts.
- SOLVENTS: Specialized gun cleaning solvents dissolve powder residue and fouling effectively (e.g., Hoppe’s No. 9).
- Lubricants/Oils: Gun-specific lubricants reduce friction between moving parts (e.g., CLP – Cleaner Lubricant Protectant).
- Picks or Toothpicks: For reaching small crevices in the action mechanism.
- Screwdrivers or Punches: For disassembling certain action components if necessary (refer to manufacturer guidelines).
A well-stocked cleaning kit tailored to your firearm model will save time and prevent frustration during maintenance.
The Step-by-Step Process: How to Clean Your Gun’s Action Safely
The following detailed steps apply broadly but always refer to your firearm’s user manual for specific disassembly instructions.
Step 1: Ensure Safety First
Your safety is paramount. Before handling your firearm for cleaning:
- Unload all ammunition from the firearm completely—check both chamber and magazine.
- Work in a well-ventilated area away from open flames due to solvent fumes.
- If possible, wear safety glasses and gloves to protect yourself from chemicals.
Step 2: Field Strip Your Firearm
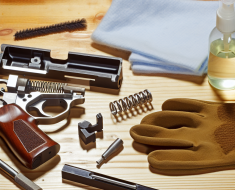
This involves disassembling your gun into major components so you can access the action. Typical parts include the bolt carrier group (in semi-autos), bolt (in bolt actions), slide (in pistols), or lever mechanism (in lever actions).
A case study by firearms instructor John Krupa showed that shooters who regularly field strip their guns for cleaning reported fewer malfunctions during competitive shooting events by as much as 40% compared to those who cleaned less thoroughly.
Step 3: Apply Solvent and Scrub the Action
- Dab solvent onto brushes or patches—never pour directly onto parts as this wastes product and creates messes.
- Scrub all metal surfaces of the action thoroughly including rails, locking lugs, extractor arms, firing pin channels, etc.
- A toothbrush-sized nylon brush works well for detailed scrubbing without damaging finishes.
- If stubborn carbon deposits remain after initial scrubbing, let solvent soak for a few minutes before reapplying effort.
Step 4: Wipe Down with Clean Patches
After loosening residue with solvent, use clean cotton patches or microfiber cloths to wipe away dissolved fouling until patches come out clean. This step prevents abrasive grit from remaining in moving parts which can accelerate wear over time.
Step 5: Lubricate Critical Moving Parts to ensure smooth operation and prevent wear. Apply a light coat of lubricant to areas such as the slide rails and other moving components.
Regular maintenance will enhance your gun’s performance and longevity, ensuring reliable function when you need it most.