How to Clean a Revolver Properly: A Comprehensive Guide
Owning a revolver comes with the responsibility of proper maintenance, and cleaning is a critical part of that process. Regular and thorough cleaning ensures the firearm’s reliability, longevity, and safety. Unlike semi-automatic pistols, revolvers have a unique mechanism that requires specific attention to detail during cleaning. This article will guide you through the step-by-step process of cleaning your revolver properly, backed by practical advice, expert tips, and safety precautions.
Understanding the Importance of Cleaning Your Revolver
Before diving into the cleaning process, it’s essential to understand why maintaining a clean revolver is crucial. Residue from gunpowder, lubricants, and environmental contaminants accumulate after each use. This buildup can lead to:
- Malfunctions: Dirt and residue can cause misfires or jamming.
- Corrosion: Moisture and residue left on metal parts can cause rust.
- Reduced Accuracy: Fouling inside the barrel affects bullet trajectory.
- Safety Risks: Failure to clean may lead to dangerous misfires or mechanical failure.
A study by the National Shooting Sports Foundation (NSSF) found that over 70% of firearm malfunctions in recreational shooting stem from poor maintenance practices. Therefore, regular cleaning is not just about aesthetics—it’s about ensuring your revolver functions correctly every time you need it.
Gathering Essential Cleaning Supplies
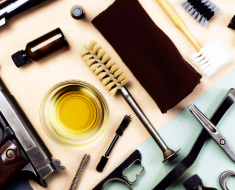
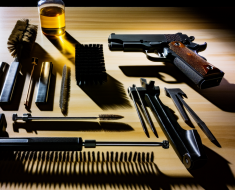
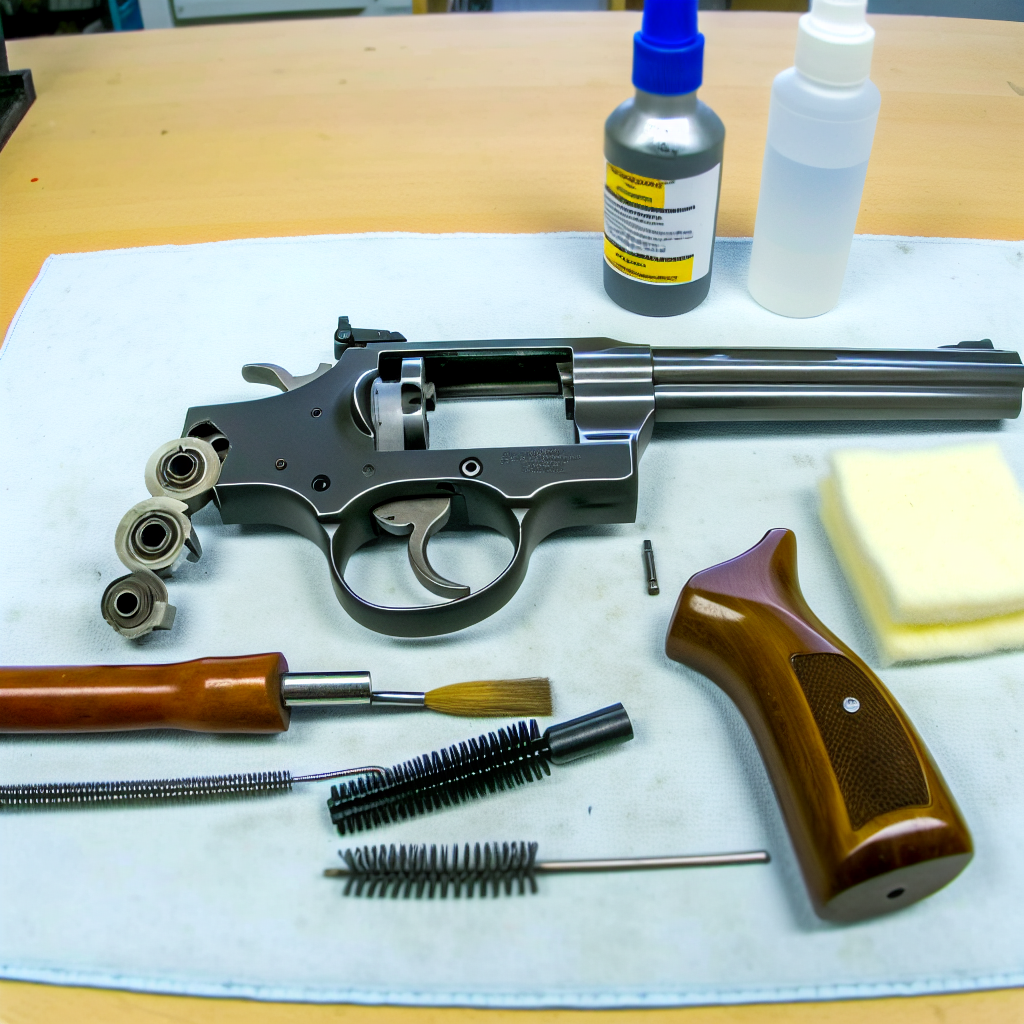
A proper cleaning session begins with assembling the right tools. Using improper or low-quality supplies can damage your firearm or leave it inadequately cleaned. Below is a list of essential items required for cleaning most revolvers:
- Cleaning Rod: A sturdy rod compatible with your revolver’s caliber.
- Bore Brushes: Nylon or bronze brushes matching your barrel size.
- Patches: Cotton patches for applying solvent and oil.
- Solvent: Specifically designed gun-cleaning solvent to break down carbon and powder residue.
- Lubricating Oil: High-quality gun oil to protect moving parts from wear and corrosion.
- Nylon Brushes or Toothbrush: For scrubbing tight spots like the cylinder face and forcing cone.
- Cotton Swabs: Useful for reaching small crevices.
- Cleaning Mat or Towel: To protect your workspace and catch debris.
- Screwdrivers or Allen Wrenches: If disassembly is needed (ensure they fit properly to avoid damage).
Avoid using household cleaners or oils like WD-40 as they may not be suitable for firearms and could damage internal components or leave harmful residues.
Step-by-Step Guide: How to Clean Your Revolver
The following steps detail a comprehensive approach to cleaning most revolvers safely and effectively. Always refer to your manufacturer’s manual for model-specific instructions before starting.
1. Ensure Safety First
Your safety is paramount when handling firearms. Follow these critical safety steps before beginning the cleaning process:
- Unload the Revolver: Open the cylinder and remove all cartridges. Double-check visually and physically that no rounds remain in any chamber.
- Create a Safe Environment: Work in a well-ventilated area away from distractions, children, and pets.
- Avoid Smoking or Open Flames: Gun solvents are often flammable; keep them away from ignition sources.
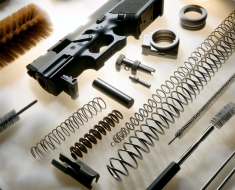
2. Disassemble According to Manufacturer Guidelines
The level of disassembly varies depending on your revolver model. For many modern revolvers, removing the cylinder suffices for deep cleaning without full teardown. Common steps include:
- Ejecting all rounds and opening the cylinder fully.
- Pushing out or releasing the cylinder latch (varies by model) to remove it safely.
- If possible and necessary, removing grips for access to frame components (only if comfortable doing so).
Avoid forcing parts apart; consult your manual if unsure. Over-disassembling can damage pins, springs, or screws that are difficult to replace without professional help.
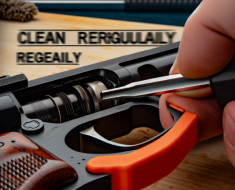
3. Clean the Barrel and Cylinder Chambers
The barrel bore and cylinder chambers accumulate most fouling from powder residue and lead deposits. Follow these steps for thorough cleaning:
- Dip a bore brush into solvent and insert it into each chamber/barrel from the breech end (never push through the muzzle as this risks damaging the crown).
- Run several back-and-forth strokes with moderate pressure to loosen debris.
- Create a patch jag on your rod, then run dry patches through until they come out clean (usually after several passes).
- If stubborn fouling persists, repeat brushing with solvent until patches show no residue.
A case study conducted by Guns & Ammo magazine demonstrated that skipping bore cleaning significantly increased accuracy deviation by up to 15%, emphasizing this step’s importance in
A case study conducted by Guns & Ammo magazine demonstrated that skipping bore cleaning significantly increased accuracy deviation by up to 15%, emphasizing this step’s importance in maintaining optimal performance.
Regular cleaning not only enhances accuracy but also extends the life of your revolver, ensuring it remains reliable for years to come.