How to Clean and Protect Your Gun’s Trigger Mechanism
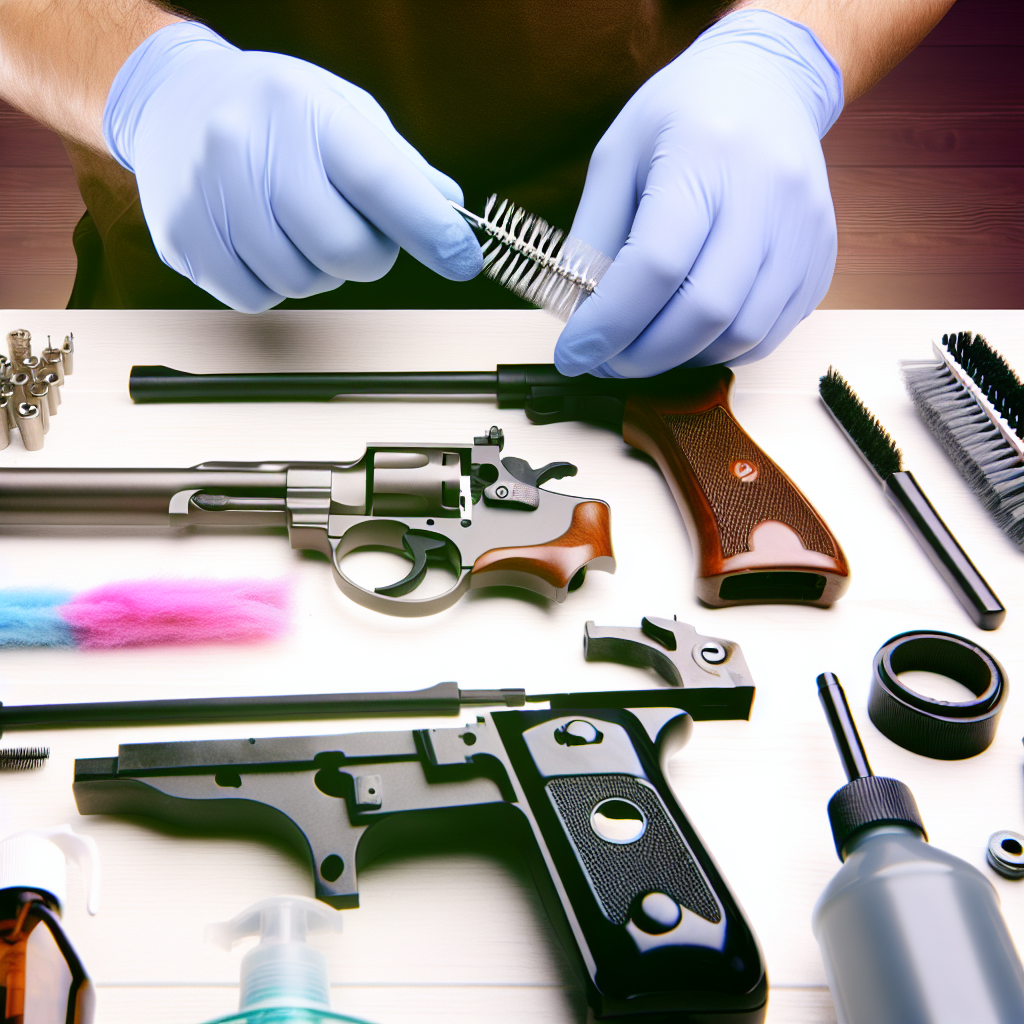
The trigger mechanism is arguably one of the most critical components of any firearm. It directly influences the gun’s performance, safety, and reliability. Proper maintenance of this delicate mechanism ensures smooth operation, prevents malfunctions, and extends the life of your firearm. However, cleaning and protecting the trigger assembly requires care, precision, and knowledge of the right techniques and products.
In this comprehensive guide, we will explore why maintaining your gun’s trigger mechanism is essential, how to clean it effectively, and ways to protect it from wear and corrosion. Whether you are a seasoned shooter or a novice firearm owner, understanding these processes will enhance your shooting experience and ensure your safety.
Understanding the Importance of Maintaining Your Trigger Mechanism
The trigger mechanism is composed of multiple intricate parts including the trigger itself, sear, springs, pins, and sometimes electronic components in modern firearms. These parts work in harmony to release the firing pin or striker when you pull the trigger.
Here are some reasons why maintaining this component is vital:
- Safety: A malfunctioning trigger can cause accidental discharges or failure to fire when needed.
- Reliability: Proper maintenance prevents jams and misfires which could be critical in self-defense or hunting scenarios.
- Longevity: Dirt, debris, and corrosion can accelerate wear on metal parts leading to expensive repairs or replacements.
- Smooth Operation: A well-maintained trigger provides consistent pull weight and crisp breaks that improve accuracy.
A study published by the Journal of Forensic Sciences in 2019 highlighted that approximately 15% of firearm malfunctions during shooting competitions were linked to improper maintenance of internal components such as triggers. This statistic underscores the necessity of regular upkeep.
Tools and Materials Needed for Cleaning Your Gun’s Trigger Mechanism
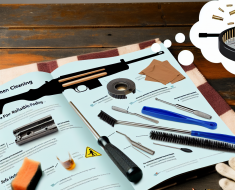
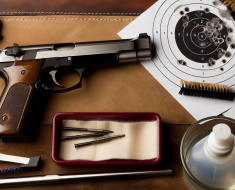
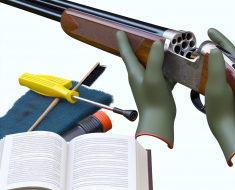
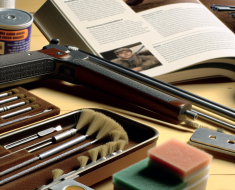
Before beginning any cleaning process, it’s essential to gather all necessary tools and materials. Having the right equipment ensures you can perform maintenance safely and effectively without damaging sensitive parts.
- Gun cleaning kit: Includes brushes (nylon or brass), cleaning rods, patches, and jags.
- Cleaning solvents: Specifically designed gun cleaners that remove carbon buildup and fouling.
- Lubricants: High-quality gun oils or grease formulated for firearms to reduce friction.
- Compressed air or canned air duster: For blowing out dust and debris from tight spaces.
- Small picks or dental tools: Useful for dislodging stubborn dirt without scratching metal surfaces.
- Cotton swabs or microfiber cloths: For gentle wiping and applying lubricants.
- Screwdrivers or punches: To disassemble components if necessary (always follow manufacturer guidelines).
- Nitrile gloves: Protect your hands from chemicals while maintaining grip on small parts.
A thorough preparation phase can save time during cleaning sessions while minimizing risks of damage or injury.
Step-by-Step Guide: Cleaning Your Gun’s Trigger Mechanism
The procedure for cleaning a trigger mechanism varies slightly depending on your firearm model—whether it’s a semi-automatic pistol, bolt-action rifle, or shotgun. Always refer to your owner’s manual for specific instructions. Below is a generalized approach applicable to many common firearms:
1. Ensure Safety First
This cannot be overstated: always unload your firearm completely before starting any maintenance work. Remove the magazine (if applicable), open the action to check chamber emptiness visually and physically with a finger or tool. Work in a well-ventilated area away from open flames since many solvents are flammable.
2. Disassemble as Needed
If comfortable doing so, partially disassemble your gun following manufacturer guidelines to access the trigger assembly directly. Some models allow easy removal of pins holding the trigger group without fully stripping down other parts. Avoid forcing anything; improper disassembly can cause damage or void warranties.
3. Remove Loose Debris
Use compressed air or a soft brush to clear out dust particles around springs, sears, and pins carefully. This step removes loose grit that could scratch surfaces during more intensive cleaning later on.
4. Apply Cleaning Solvent
Dab a small amount of solvent onto a cotton swab or soft brush then gently clean all accessible parts within the trigger mechanism. Focus on areas with visible fouling such as carbon deposits from powder residue that accumulate over time with firing rounds. Avoid soaking springs excessively as this may degrade tension properties.
5. Scrub Gently but Thoroughly
If buildup persists after solvent application, use nylon brushes or dental picks cautiously to loosen hardened deposits—especially in corners where dirt tends to collect like behind sear hooks or inside pinholes. Reapply solvent as necessary but avoid excessive saturation that could drip into other firearm sections undesirably.
6. Wipe Clean
Use clean microfiber cloths or patches to remove dissolved grime along with excess solvent residue after scrubbing completes satisfactorily.
Ensure no lint remains stuck inside delicate spaces since these fibers could interfere with mechanical function. Proper maintenance will ensure your gun’s trigger mechanism remains reliable and performs optimally.