How to Clean and Maintain Gun Bolt Assemblies
The bolt assembly is a critical component of many firearms, playing a vital role in chambering rounds, locking the action, and ensuring reliable cycling of the weapon. Proper cleaning and maintenance of gun bolt assemblies not only enhance performance but also extend the life of your firearm. Neglecting this essential task can lead to malfunctions, decreased accuracy, and potentially dangerous situations.
In this comprehensive guide, we will explore how to effectively clean and maintain gun bolt assemblies. We will discuss the tools required, step-by-step procedures, common pitfalls, and best practices that ensure your firearm operates smoothly and safely.
Understanding the Importance of Bolt Assembly Maintenance
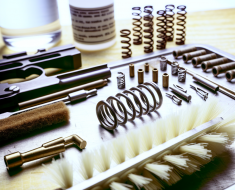
The bolt assembly includes several moving parts such as the bolt carrier, firing pin, extractor, ejector, and springs. Each component works in unison to load a cartridge into the chamber, fire it, extract the spent casing, and prepare for the next round. Over time, residue from powder combustion, lubricants, dirt, and metal fouling accumulate within the bolt assembly.
According to a study published by the Journal of Forensic Sciences (2019), failure to properly clean firearm components was linked to a 45% increase in cycling failures among semi-automatic rifles during testing. This illustrates that routine maintenance directly impacts reliability.
- Residue Build-up: Powder fouling can cause friction and impede movement.
- Corrosion: Moisture trapped inside can lead to rust and pitting.
- Wear and Tear: Lack of lubrication accelerates metal-on-metal abrasion.
Therefore, regular cleaning ensures that your firearm remains dependable whether you are at the range or in critical situations such as hunting or self-defense.
Tools and Supplies Needed for Cleaning Bolt Assemblies
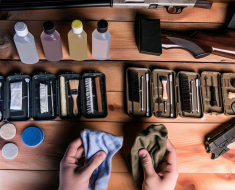
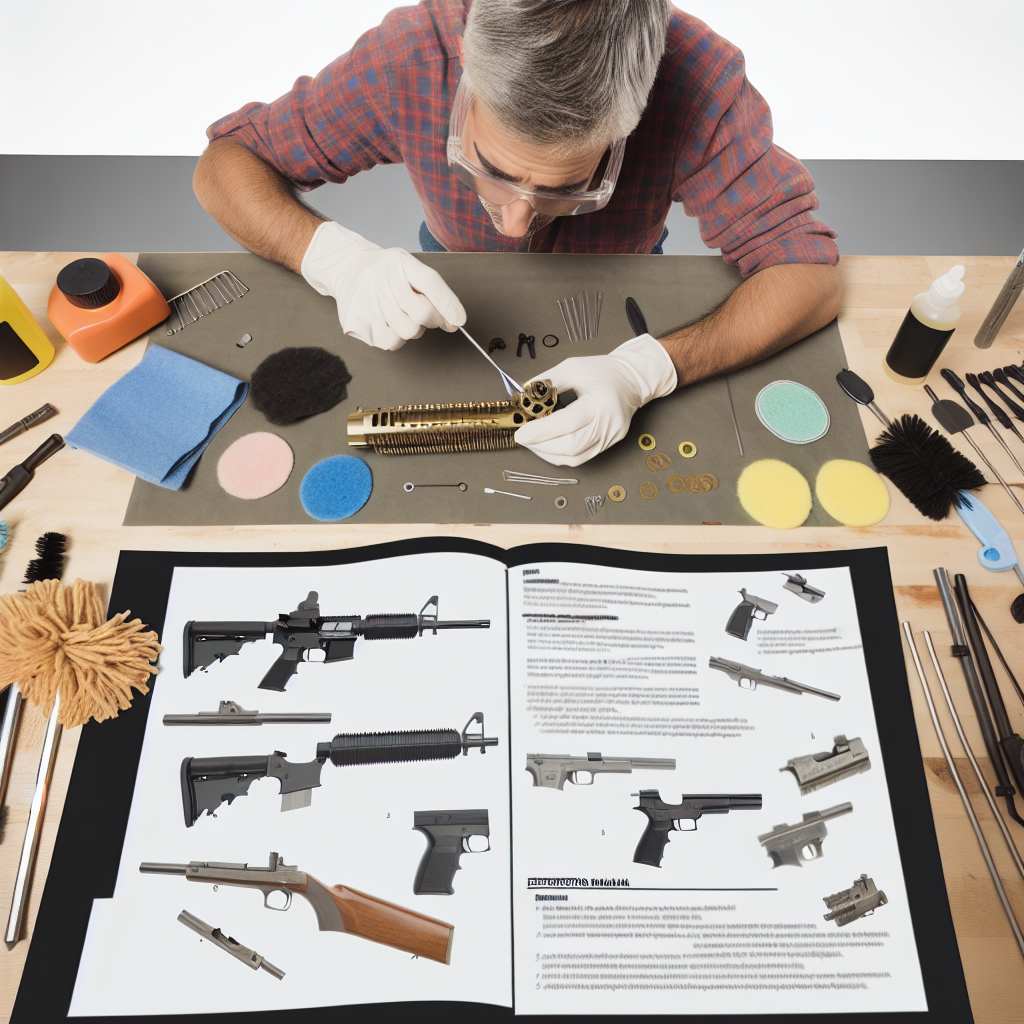
Before beginning any maintenance routine on your gun’s bolt assembly, it is essential to gather appropriate tools and cleaning supplies. Using improper materials can damage delicate parts or leave behind residues that affect performance.
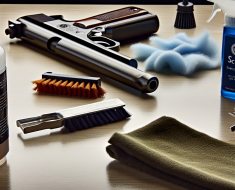
- Cleaning Solvent: Choose a high-quality solvent designed for breaking down carbon fouling without harming metal surfaces. Popular options include Hoppe’s No. 9 or M-Pro 7.
- Bore Brushes and Cleaning Picks: Nylon or brass brushes help scrub away stubborn deposits; picks assist in reaching small crevices.
- Lint-free Cloths or Patches: Used for wiping down components after applying solvent or oil.
- Lubricant/Oil: A light gun oil such as CLP (Clean-Lubricate-Protect) protects against corrosion while reducing friction.
- Screwdrivers or Punches: For disassembly if required by your firearm model.
- Nitrile Gloves: Protect your hands from solvents and oils during cleaning.
A clean workspace with good lighting is also recommended to prevent losing small parts during disassembly.
Step-by-Step Guide to Cleaning Gun Bolt Assemblies
The exact process for cleaning a bolt assembly varies depending on your firearm type—whether it’s an AR-15 style rifle, a bolt-action rifle like a Remington Model 700, or a semi-automatic pistol. However, some fundamental steps apply universally:
1. Safety First: Ensure Your Firearm Is Unloaded
“Always treat every firearm as if it is loaded.”
This cannot be overstated. Remove all ammunition from the area and check multiple times that both magazine and chamber are empty before proceeding with disassembly or cleaning.
2. Disassemble the Bolt Assembly
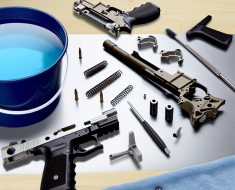
Your owner’s manual will provide detailed instructions specific to your gun model. Typically this involves removing the upper receiver (for AR-style rifles), then extracting the bolt carrier group (BCG). For bolt-action rifles, you may need to remove pins or screws holding the bolt in place before pulling it out.
If unsure about disassembly steps or encounter resistance during removal, consult manufacturer resources or professional gunsmiths rather than forcing components apart which risks damage.
3. Apply Solvent to Remove Carbon Fouling
Dab solvent onto all parts of the bolt assembly using patches or brushes. Pay close attention to areas like the bolt face where powder residue accumulates heavily around firing pin holes and extractor recesses.
- Allow solvent to sit for several minutes to loosen deposits.
- Use nylon brushes to scrub surfaces gently but thoroughly.
- Clean inside firing pin channels carefully using cotton swabs or pipe cleaners without damaging seals or springs.
4. Inspect Components for Damage or Excessive Wear
This is an excellent opportunity to check parts like extractor claws for cracks or chips; springs should have proper tension; firing pins should be straight without burrs. Early detection prevents malfunctions later on during use.
5. Wipe Dry and Re-lubricate Moving Parts
Avoid leaving solvent residue on metal parts as this can attract dirt or cause corrosion over time.
Use clean cloths to dry components thoroughly before applying lubricant sparingly: Lubricate contact points such as cam paths on bolts and other moving surfaces to ensure smooth operation.
Regular maintenance of your gun bolt assembly will enhance its performance and longevity.