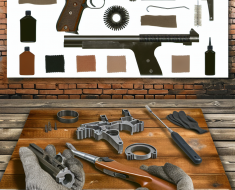
How to Clean Gun Springs and Pins: A Comprehensive Guide
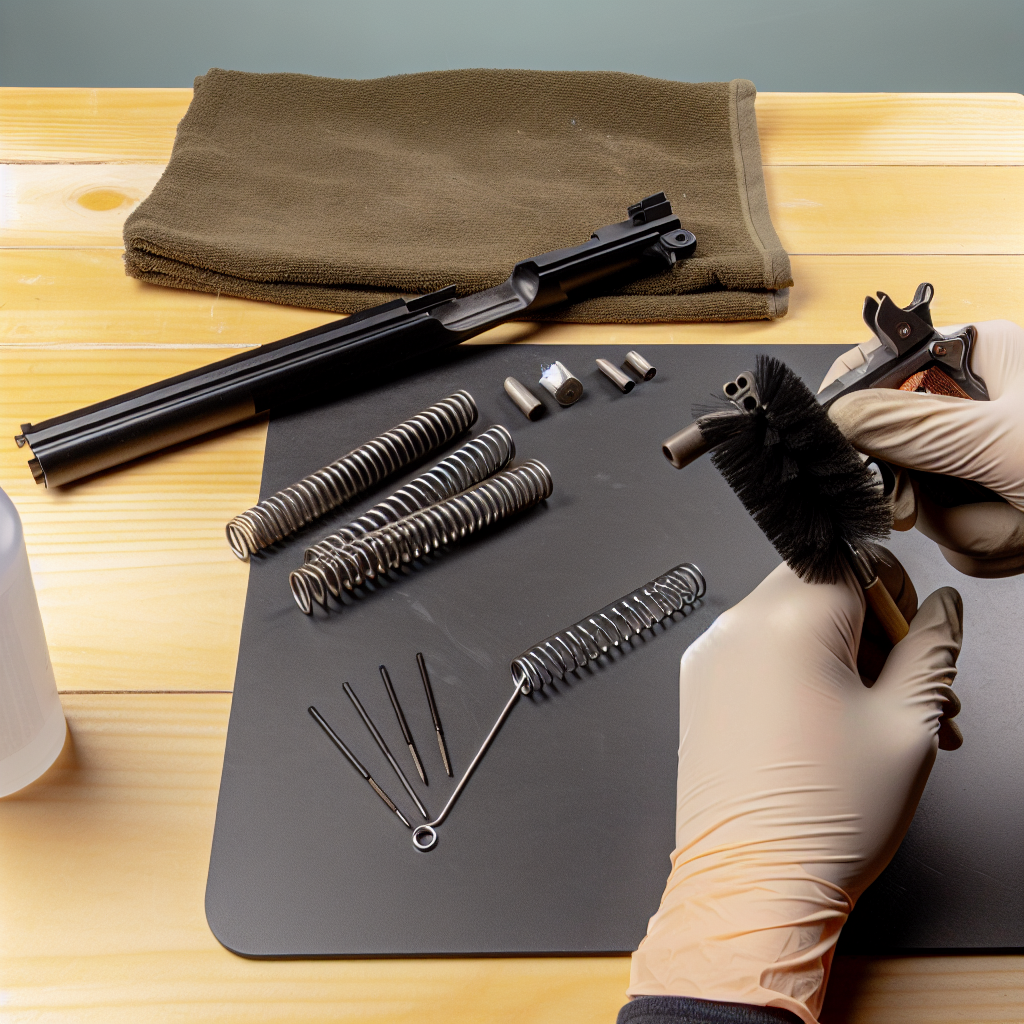
Maintaining a firearm involves much more than just cleaning the barrel or lubricating the slide. Critical internal components such as springs and pins require proper care to ensure your gun functions reliably and safely. Over time, these small but essential parts can accumulate dirt, corrosion, and debris that may compromise performance. This article delves into the best practices for cleaning gun springs and pins, providing detailed guidance, helpful tips, and insights from industry experts.
Understanding the Importance of Cleaning Gun Springs and Pins
Gun springs and pins are often overlooked during routine maintenance, yet they play vital roles in the firearm’s operation. Springs provide tension for mechanisms like the firing pin, trigger assembly, magazine release, and recoil system. Pins act as pivot points or retainers that hold various parts together.
If these components become dirty or corroded, they can cause malfunctions such as misfires, failure to eject rounds, or difficulty in cocking the firearm. According to a 2021 study by the National Shooting Sports Foundation (NSSF), over 65% of reported firearm malfunctions were linked to improper maintenance of internal parts including springs and pins.
Keeping these parts clean not only extends their lifespan but also enhances safety and ensures smooth operation. Understanding their function helps emphasize why meticulous cleaning is indispensable.
Essential Tools and Supplies for Cleaning Springs and Pins
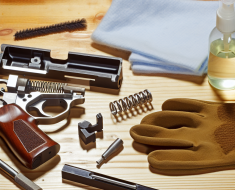
Before diving into the cleaning process, it’s crucial to gather appropriate tools and materials. Using the right supplies prevents damage while ensuring thorough cleaning.
- Cleaning solvents: Use dedicated gun cleaning solvents designed to break down carbon buildup without harming metal parts.
- Lubricants: High-quality firearm lubricants or oils protect metal surfaces from rust after cleaning.
- Small brushes: Nylon or brass-bristle brushes help remove dirt from hard-to-reach crevices without scratching surfaces.
- Cotton swabs/Q-tips: Ideal for precision cleaning around tiny pins and delicate springs.
- Microfiber cloths or lint-free rags: For wiping off excess solvent and oil.
- Tweezers or needle-nose pliers: Assist in handling small pins carefully during disassembly and reassembly.
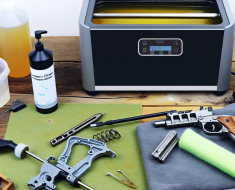
- Ultrasonic cleaner (optional): Provides an effective way to deep-clean springs and pins using sound waves to remove contaminants.
Investing in quality tools not only makes the process easier but also protects your firearm from accidental damage.
Step-by-Step Process for Cleaning Gun Springs and Pins
The following stepwise approach outlines a safe and effective way to clean your gun’s springs and pins:
1. Safely Disassemble Your Firearm
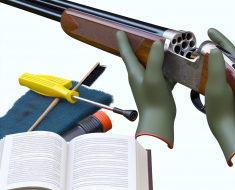
“Safety first.” Always ensure your gun is completely unloaded before starting any maintenance. Remove all ammunition from the workspace. Consult your firearm’s manual for proper disassembly instructions—incorrect handling can cause damage or injury.
Carefully extract springs and pins using appropriate tools such as punch sets or tweezers. Keep track of each component’s placement; photographing each step can help during reassembly.
2. Initial Cleaning with Solvent
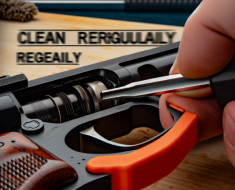
Dip a small brush or cotton swab into your chosen solvent and gently scrub each spring and pin. This removes surface dirt, carbon deposits, old lubricant residues, and minor corrosion spots.
If you have access to an ultrasonic cleaner, place the springs and pins inside with a suitable cleaning solution designed for metals. Run the cleaner according to manufacturer instructions—usually for about 5-10 minutes—to thoroughly dislodge embedded grime.
3. Drying Thoroughly
Avoid moisture retention which promotes rust formation. After cleaning, dry all parts immediately using a microfiber cloth or compressed air if available. Ensure no solvent remains trapped inside coils of springs or around pin grooves.
4. Inspect for Damage or Wear
This is an opportune moment to check each spring’s tension integrity—springs can lose elasticity over time—and examine pins for bends, cracks, or corrosion that may necessitate replacement rather than cleaning alone.
5. Lubricate Appropriately
A light application of lubricant on cleaned springs helps maintain flexibility while protecting metal surfaces from oxidation. Similarly, apply a thin layer on pins before reinserting them into their respective positions during reassembly.
6. Reassemble Carefully
Follow your manual’s guidance closely when putting everything back together to avoid misalignment that could impair function. Test mechanical actions manually before loading any ammunition to confirm everything operates smoothly.
Troubleshooting Common Issues Related to Springs and Pins
No maintenance routine is complete without understanding how to diagnose common problems linked to these components:
- Difficult trigger pull: Often caused by dirt buildup on trigger springs; thorough cleaning followed by lubrication typically resolves this issue.
- Slam fires (unintended discharge): Can result from broken firing pin springs—inspection during cleaning helps catch wear early.
- Pinned parts sticking or jamming: Corroded or bent pins may cause mechanical binding; replacing
these pins is essential to ensure proper function and safety.
Regular maintenance of gun springs and pins not only enhances performance but also prolongs the lifespan of your firearm.