How to Clean Your Gun Without Damaging the Finish
Maintaining a firearm is essential not only for its proper function but also for preserving its aesthetic and resale value. One of the most common concerns among gun owners is how to clean their firearms effectively without damaging the finish. Whether you own a vintage collector’s piece or a modern tactical weapon, improper cleaning techniques can lead to corrosion, fading, or scratches that diminish the firearm’s value and longevity.
This comprehensive guide will walk you through expert tips, best practices, and common pitfalls to avoid when cleaning your gun. We’ll delve into appropriate cleaning materials, techniques tailored to different finishes, and insights from industry professionals to ensure your firearm remains in pristine condition.
Understanding Gun Finishes: Why It Matters
The first step to protecting your gun’s finish is understanding what type of finish it has. The finish on a firearm serves as a protective layer against corrosion, wear, and environmental damage. Different finishes require different care methods.
- Blued Finish: A traditional steel finish created by controlled oxidation. It offers moderate rust resistance but requires regular oiling.
- Stainless Steel: Naturally corrosion-resistant but can still be scratched or dulled by abrasive cleaners.
- Parkerized (Phosphated): A matte, textured finish that provides excellent corrosion resistance but can trap moisture if not dried properly.
- Cerakote and Other Ceramic Coatings: Durable polymer-ceramic coatings that are highly resistant to wear but can be compromised by harsh solvents or abrasives.
- Anodized Aluminum: Often found on frames or accessories; anodizing increases surface hardness but requires gentle cleaning agents.
Knowing your gun’s finish will inform your choice of cleaning solvents, oils, and tools—critical for avoiding damage during maintenance.
Selecting the Right Cleaning Materials
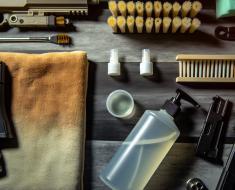
Using the correct cleaning materials is paramount in protecting your gun’s finish. Harsh chemicals and abrasive tools may remove dirt effectively but at the cost of scratching or stripping protective coatings.
Recommended Cleaning Agents
- PCL (Powdered Cleaners): Mildly abrasive powders designed specifically for firearms that remove fouling without harming finishes.
- Synthetic Gun Solvents: Products like Hoppe’s Elite or M-Pro7 are formulated to dissolve carbon and copper fouling gently without damaging metal finishes.
- Citrus-Based Solvents: Natural and less toxic options that clean effectively with minimal risk of corrosion or finish damage.
- Gun Oil: Essential for lubrication and rust prevention; choose oils specifically designed for firearms like CLP (Cleaner-Lubricant-Protectant).
Avoid These Harmful Substances
- Abrasive Cleaners: Avoid household products like steel wool, sandpaper, or aggressive scrubbing pads.
- Harsh Chemicals: Ammonia-based cleaners, acetone, or strong degreasers can strip finishes and cause discoloration.
- Solvent Soaks: Prolonged soaking in solvents not designed for firearms can degrade bluing or coatings over time.
A good practice is always to test a small inconspicuous area before applying any solvent broadly on the firearm.
The Step-by-Step Cleaning Process: Gentle Yet Effective
A systematic approach ensures thorough cleaning while minimizing risks to the firearm’s finish. Below is an expert-recommended step-by-step process suitable for most guns with various finishes.
Step 1: Disassemble Carefully
“Always refer to your firearm’s manual.”
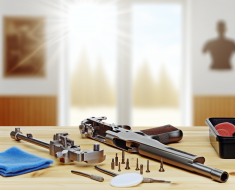
Dismantle your gun as recommended by the manufacturer. Proper disassembly allows access to all parts needing cleaning without forcing components that could scratch surfaces or damage coatings.
Step 2: Remove Loose Debris
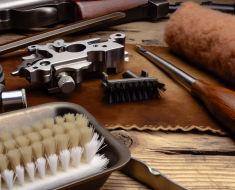
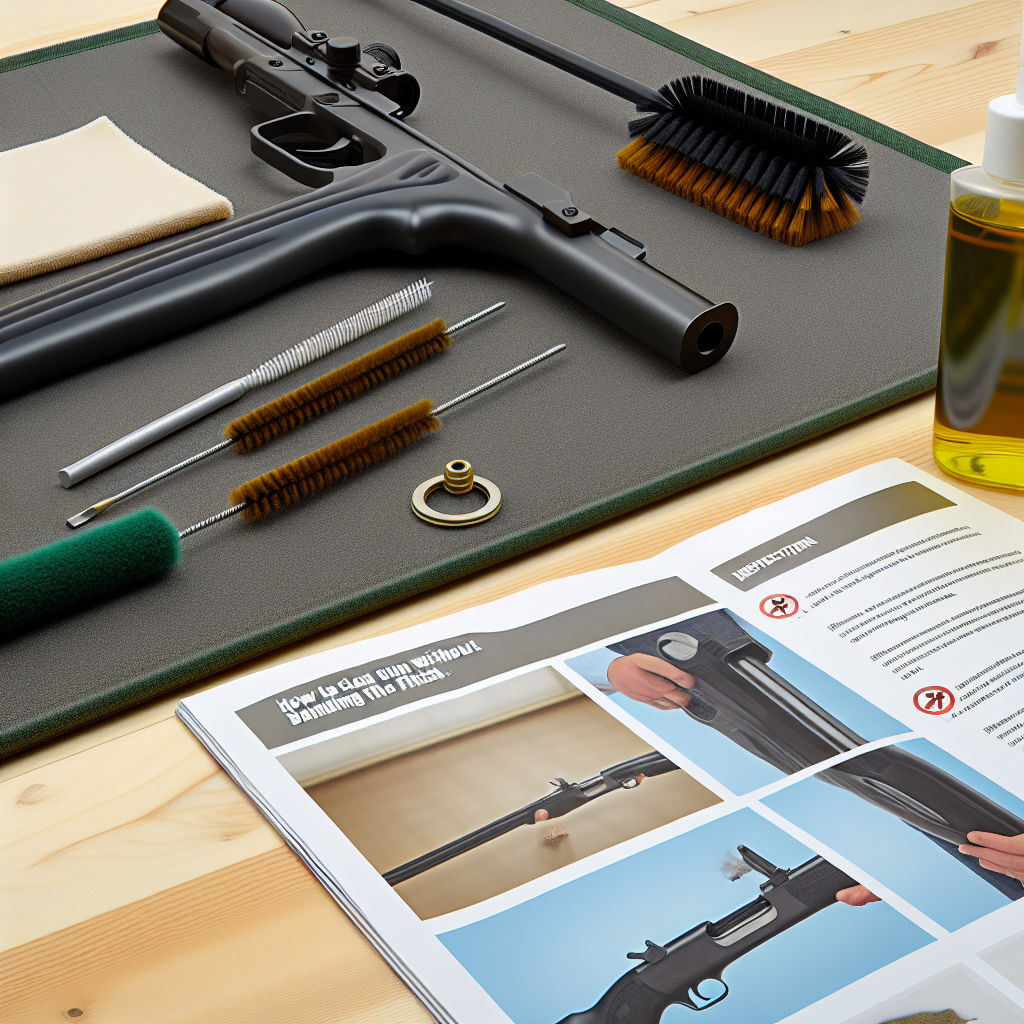
Use a soft brush—preferably nylon bristles—to gently remove loose dirt and carbon deposits from surfaces. Avoid wire brushes unless they are brass-tipped and used sparingly on steel parts only (never on finished surfaces).
Step 3: Apply Solvent Sparingly
Dab a small amount of solvent onto patches or cloths rather than pouring directly onto metal parts. This reduces oversaturation that could seep into finishes or wooden grips causing warping or discoloration.
Step 4: Clean Barrel Using Appropriate Tools
- Bore Brushes: Use bronze bore brushes sized correctly for your caliber; bronze is soft enough not to harm rifling yet effective at removing fouling.
- Patches: Use high-quality cotton patches to wipe away loosened residue gently after brushing each section of the barrel.
Avoid steel wool inside the barrel as it leaves behind particles that may corrode over time.
Step 5: Wipe Down Exterior Surfaces Carefully
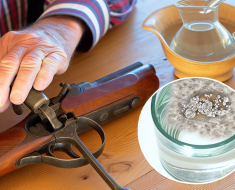
Dampen a microfiber cloth with solvent and wipe down all external metal surfaces using smooth strokes following the grain where applicable.
For wood stocks or grips, use specialized wood cleaners or lightly dampened cloths avoiding excess moisture that could damage the finish.
By following these steps, you can maintain your firearm’s appearance and functionality without compromising its finish.