How to Clean and Lubricate Revolver Cylinders: A Comprehensive Guide
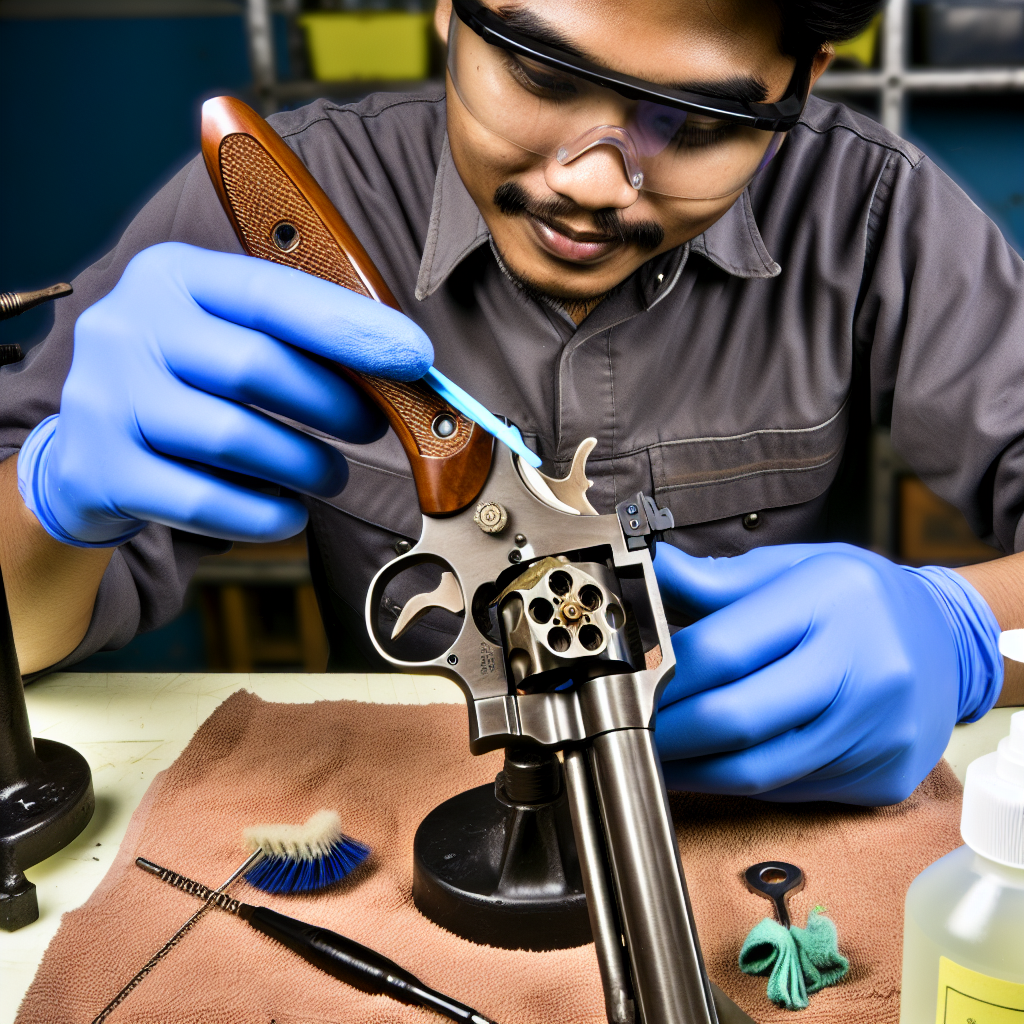
Maintaining a revolver is crucial for ensuring its reliability, longevity, and safety. Among the various parts of a revolver, the cylinder plays a pivotal role as it holds and rotates the cartridges during firing. Proper cleaning and lubrication of the revolver cylinder not only enhance performance but also prevent malfunctions that could jeopardize safety. This article delves into the step-by-step process of cleaning and lubricating revolver cylinders, providing practical insights backed by examples and expert recommendations.
Understanding the Importance of Cleaning and Lubricating Revolver Cylinders
The cylinder of a revolver is subjected to high pressures, heat, and residue buildup after firing rounds. Over time, uncleaned residues such as carbon fouling, lead deposits, and gunpowder residue accumulate inside the chambers and on the exterior surfaces. This buildup can cause:
- Misfires or failure to rotate properly
- Increased wear on moving parts
- Corrosion and rust formation
- Reduced accuracy due to fouling affecting bullet seating
Lubrication complements cleaning by minimizing friction between moving parts like the cylinder’s crane (the arm that swings out the cylinder), the ratchet teeth that engage with the hand, and the ejector rod mechanism. Neglecting lubrication can lead to stiff action or premature mechanical wear.
A study conducted by the National Rifle Association (NRA) revealed that proper maintenance of firearms could reduce mechanical failures by up to 60%, emphasizing how essential routine cleaning and lubrication are for revolvers.
Gathering Essential Tools and Materials
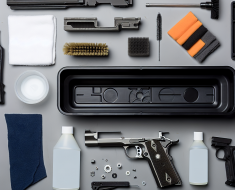
Before starting the cleaning process, having the right tools will make your job efficient and effective. Here’s what you need:
- Bore brush: A nylon or bronze brush sized appropriately for your revolver’s caliber.
- Cleaning patches: Cotton patches for wiping down chambers.
- Cleaning rod: To push brushes and patches through each chamber.
- Solvent: A quality gun cleaning solvent to dissolve carbon, lead, and powder residues.
- Lubricant/oil: A light gun oil or specialized lubricant designed for firearm components.
- Nylon or brass picks: For removing stubborn fouling in tight spots.
- Cotton swabs or pipe cleaners: For detailed cleaning inside chambers.
- Lint-free cloths or microfiber towels: For wiping down surfaces.
- Screwdriver set: If partial disassembly of the revolver is needed (consult manufacturer guidelines).
- Safety equipment: Gloves and eye protection to handle chemicals safely.
A good example is Otis Technology’s cleaning kits tailored for revolvers; these kits include all necessary components sized correctly for popular calibers such as .38 Special or .357 Magnum.
The Step-by-Step Process: Cleaning Your Revolver Cylinder
The process begins with safety precautions followed by systematic cleaning steps. Here’s a detailed breakdown:
1. Safety First: Unload Your Revolver
“Always treat every firearm as if it is loaded.”
This fundamental rule cannot be overstated. Open the cylinder fully to visually inspect each chamber to confirm no ammunition remains inside. Remove all rounds before proceeding with any cleaning or maintenance activities.
2. Disassemble If Necessary
If your revolver allows for easy removal of the cylinder (common in some models like Smith & Wesson’s), remove it following manufacturer instructions. This step provides better access to chambers but is not mandatory if you prefer in-frame cleaning.
3. Apply Solvent to Chambers
Dab solvent onto a patch or directly into each chamber using a dropper or brush. Let it soak for several minutes (usually 5-10) to loosen carbon deposits and other fouling materials.
4. Scrub Chambers with Bore Brush
Using an appropriately sized bore brush attached to a cleaning rod, vigorously scrub each chamber several times. The goal is to break down stubborn residues without damaging metal surfaces.
5. Remove Residue with Patches
Punch clean patches through each chamber until they come out relatively clean. Repeat this process as needed—sometimes requiring multiple passes depending on how fouled your cylinder is.
6. Clean External Surfaces
The outside of the cylinder also accumulates residue from firing gases escaping through gaps between chambers. Use a soft cloth moistened with solvent and a nylon brush or pick for grooves around ratchet teeth or other intricate areas.
7. Dry Thoroughly Before Lubrication
Avoid applying lubricant over wet surfaces—ensure all solvent residues have evaporated or been wiped off completely with dry patches or cloths before moving forward.
Lubricating Your Revolver Cylinder: Techniques and Tips
Lubrication reduces friction between moving parts, ensuring smooth rotation of the cylinder during firing sequences.
However, over-lubrication can attract dirt or cause malfunctions, so use only a small amount of lubricant on the moving parts.
Regular cleaning and lubrication will help maintain your revolver’s performance and longevity.