How to Replace Your Firearm’s Firing Pin
The firing pin is a critical component of any firearm, responsible for striking the primer of a cartridge to ignite the propellant and fire the bullet. Over time, firing pins can wear out, become damaged, or break, leading to misfires or failure to fire. Knowing how to replace your firearm’s firing pin not only ensures reliable operation but also enhances safety and longevity of your weapon.
In this comprehensive guide, we will walk you through the step-by-step process of replacing a firing pin, discuss the tools required, provide safety tips, and highlight common issues you might encounter. Whether you’re a seasoned gunsmith or an enthusiastic firearm owner looking to perform your own maintenance, this article will equip you with valuable knowledge to maintain your firearm’s performance.
Understanding the Role and Types of Firing Pins
Before diving into the replacement process, it is essential to understand what a firing pin does and how its design varies among different firearms.
- Function: The firing pin is a slender metal rod that strikes the primer of the cartridge when the trigger is pulled, causing ignition of the gunpowder.
- Types: There are generally two main types:
- Striker-fired systems: Here, the firing pin itself acts as a striker and is spring-loaded.
- Hammer-fired systems: These have a separate hammer that hits the firing pin which then strikes the primer.
- Materials: Firing pins are typically made from hardened steel or other durable metals designed to withstand repeated impacts.
The design differences mean that replacement procedures may vary slightly depending on your firearm model. For example, replacing a firing pin in a Glock pistol differs from doing so in an AR-15 bolt carrier group.
Signs That Indicate You Need to Replace Your Firing Pin
Recognizing when your firing pin needs replacement is crucial for maintaining safe and reliable firearm operation. Common symptoms include:
- Failure to fire: If your firearm consistently fails to discharge even with properly loaded ammunition, it may indicate that the firing pin is not striking the primer effectively.
- Light primer strikes: You might notice dents on primers are shallow or inconsistent.
- Visible damage: Cracks, bends, or corrosion on the firing pin upon inspection.
- Unusual noises: Clicking sounds without actual firing could indicate mechanical malfunction involving the firing pin or its spring.
A study conducted by the National Shooting Sports Foundation (NSSF) found that approximately 12% of reported malfunctions were due to worn or damaged firing pins. Regular inspection and timely replacement can prevent such issues and improve overall shooting reliability.
Tools and Safety Precautions for Replacing a Firing Pin
Your safety and having the right tools are paramount when working on your firearm. Below is a list of essential tools and safety tips before you begin:
- Basic Tools Needed:
-
<liPunch or small hammer (for pins)
<liplastic or brass drift punch (to avoid damaging components)</lili
<liscrewdrivers (flathead and Phillips as needed)</lili
<lishop rags or cleaning cloths</lili
<ligun lubricant/oil</lili
<lifirearm manual specific to your model (for reference)</lili
-
<lipoint your firearm in a safe direction at all times</lipoint
<liclear all ammunition from your workspace; double-check chamber and magazine</liclear
<lidisassemble only in well-lit area with no distractions</lidisassemble
<limake sure hands are dry and clean for better grip</limake
<linotify others nearby that you are handling firearms</linotify
If you are unfamiliar with disassembly or lack confidence in handling firearms safely, consider consulting a professional gunsmith rather than attempting repairs yourself. Incorrect assembly can cause dangerous malfunctions.
Step-by-Step Guide: How to Replace Your Firearm’s Firing Pin
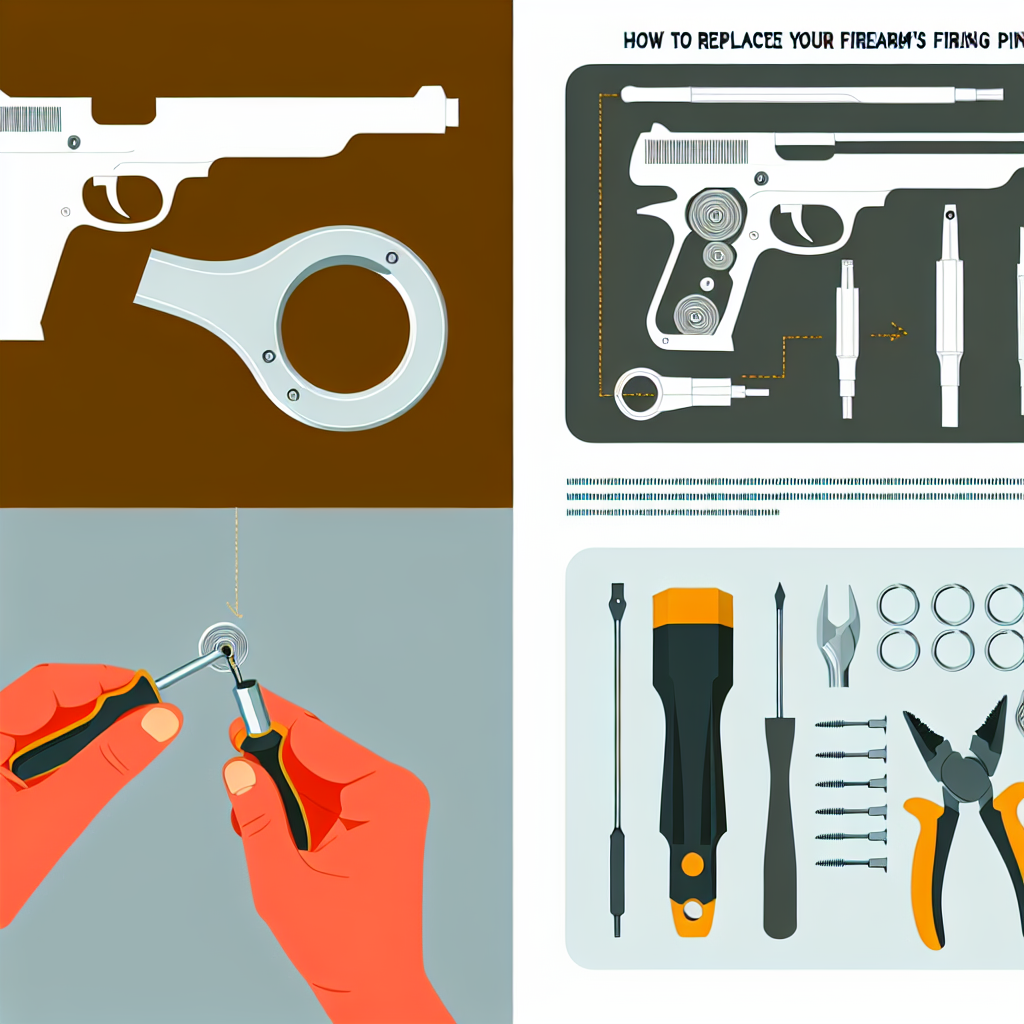
The following steps outline a general procedure for replacing a firing pin in common semi-automatic pistols such as Glock models. Always refer to your specific firearm’s manual for exact instructions as designs vary widely.
Step 1: Prepare Your Workspace and Firearm
-
<liEnsure your workspace is clean and well-organized.
<liUnload your firearm completely by removing magazine and checking chamber visually and physically.
<liDisassemble slide from frame according to manufacturer instructions—usually involves pulling slide back slightly while pressing takedown levers or buttons.
Step 2: Remove Existing Firing Pin Assembly
-
<liLocate the firing pin assembly inside the slide; this usually includes the firing pin itself, spring, and retaining plate or block.
- Slowly remove spring tension to safely extract the firing pin assembly from the slide.
<liRemove any retaining pins or blocks holding it in place using punches or screwdrivers carefully—avoid scratching surfaces.
<liSlowly remove spring tension
Following these steps will help ensure a successful firing pin replacement, enhancing the reliability of your firearm.