Adding Tactical Rails to Your Rifle: Enhancing Versatility and Performance
In the world of firearms, customization and adaptability have become paramount for both enthusiasts and professionals. One of the most effective ways to enhance your rifle’s functionality is by adding tactical rails. These rails provide a platform to mount a variety of accessories, transforming a basic rifle into a versatile and mission-ready weapon system. Whether you are a competitive shooter, hunter, law enforcement officer, or military professional, understanding how to add and utilize tactical rails can significantly improve your shooting experience.
Understanding Tactical Rails: What They Are and Why They Matter
Tactical rails, often referred to as Picatinny rails or Weaver rails depending on their design standards, are mounting platforms attached to rifles. They allow users to affix accessories such as scopes, red dot sights, flashlights, lasers, bipods, foregrips, and more.
The two most common types of tactical rails are:
- Picatinny Rails (MIL-STD-1913): Standardized by the U.S. military in the 1990s, these rails feature evenly spaced slots that provide reliable accessory mounting.
- Weaver Rails: An older design with similar purpose but slightly different slot spacing and width; some accessories fit both Weaver and Picatinny rails.
The significance of tactical rails lies in their ability to improve weapon modularity. Instead of being limited to fixed sights or configurations, shooters can tailor their rifles for specific missions or shooting conditions by swapping or adding accessories quickly.
The Benefits of Adding Tactical Rails to Your Rifle
The decision to add tactical rails should be based on an understanding of how they can enhance your rifle’s performance. Here are some key benefits:
- Improved Accessory Compatibility: Tactical rails provide standardized mounting points for a wide range of accessories from different manufacturers.
- Enhanced Accuracy and Target Acquisition: Adding optics like scopes or red dot sights can dramatically improve aiming precision at various distances.
- Increased Tactical Flexibility: Mounting lights and lasers helps in low-light or close-quarters environments.
- Ergonomics and Handling: Foregrips and bipods mounted on rails improve stability and comfort during shooting.
- Future-Proofing Your Rifle: As new accessories emerge, having tactical rails allows easy upgrades without modifying the rifle itself.
A study conducted by the National Shooting Sports Foundation (NSSF) found that over 65% of modern sporting rifles sold in the U.S. come equipped with at least one tactical rail. This statistic reflects the widespread adoption of modularity as a key feature in firearms design.
Choosing the Right Tactical Rail System for Your Rifle
Selecting the appropriate rail system depends on several factors including your rifle model, intended use, and personal preferences. Here’s an overview of popular options:
- M-LOK (Modular Lock): Developed by Magpul Industries, M-LOK is a lightweight attachment system featuring slots rather than raised ridges. It allows for quick accessory installation with minimal added weight. Many modern rifles incorporate M-LOK handguards for superior ergonomics.
- KeyMod: Another modular rail system that uses keyhole-shaped slots for accessory attachment. It was popular before M-LOK but has seen declining adoption due to M-LOK’s advantages in durability and ease of use.
- Picatinny Rail Sections: Some rifles come with partial Picatinny rail sections on handguards or receivers; additional sections can be added as needed for specific accessories.
- Full-Length Picatinny Rails: These cover the entire top (and sometimes sides) of the rifle’s handguard or receiver, providing maximum flexibility but adding weight.
Your choice should balance versatility with weight considerations. For example, competitive shooters often prefer lighter systems like M-LOK to reduce fatigue during long events while maintaining sufficient mounting options.
The Installation Process: How to Add Tactical Rails Safely and Effectively
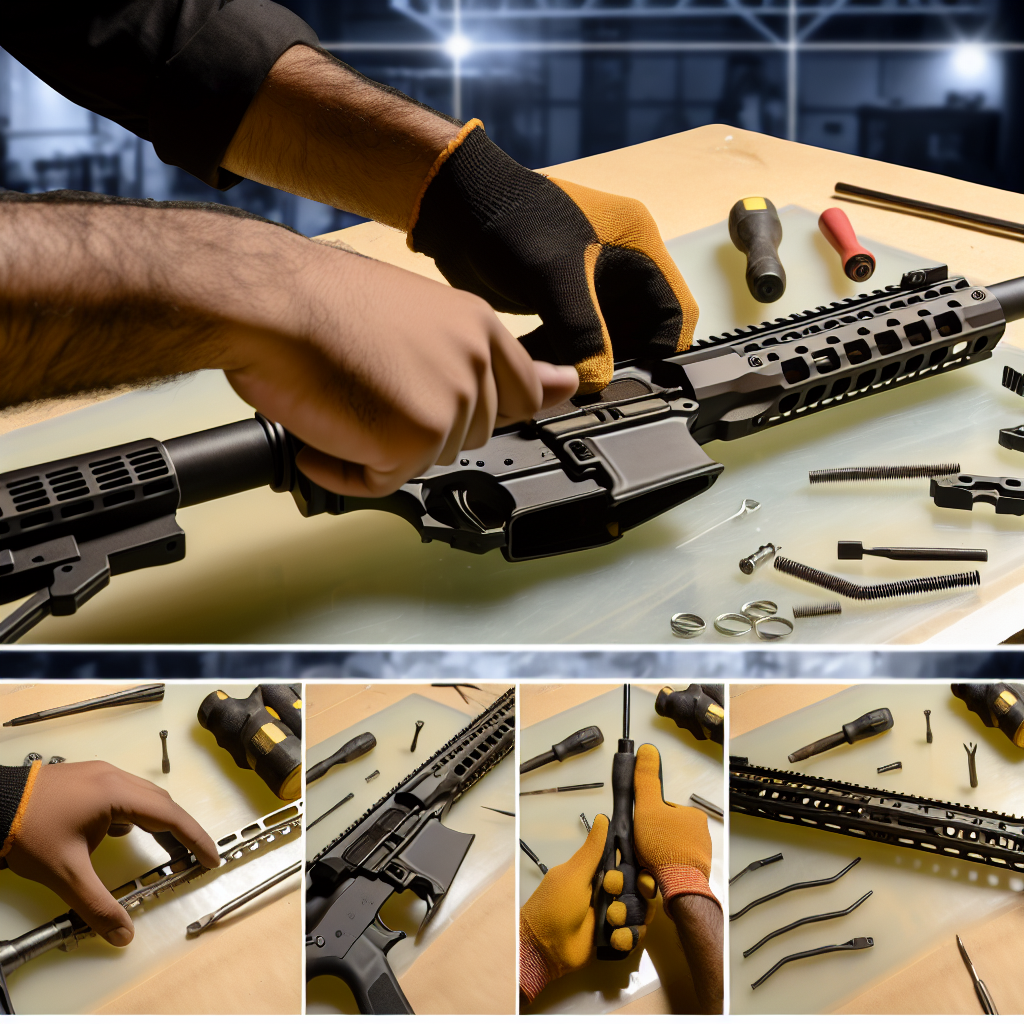
Addition of tactical rails may seem daunting but is manageable with proper tools and knowledge. Below is a step-by-step guide outlining best practices when installing rails on your rifle:
- Assess Compatibility: Confirm that your rifle model supports aftermarket rail installation or has mounting points available (e.g., threaded holes).
- Select Quality Components: Choose reputable brands known for durability and precise fitment to avoid issues such as misalignment or loosening during use.
- Gather Necessary Tools: Common tools include hex wrenches/Allen keys, torque drivers, screwdrivers, thread locker (blue Loctite), cleaning cloths, and possibly a gunsmithing bench vise.
- Prepare Your Rifle: Ensure firearm safety by unloading it completely before starting work. Clean mounting surfaces to remove oil or debris which could affect adhesion or fitment.
- MOUNT THE RAILS CAREFULLY:
- Align the rail properly according to manufacturer instructions—misalignment
MOUNT THE RAILS CAREFULLY: Align the rail properly according to manufacturer instructions—misalignment can lead to instability and affect performance. Always double-check your work to ensure everything is secure and functioning correctly.
By following these steps, you can enhance your rifle’s versatility and performance with tactical rails.
- Align the rail properly according to manufacturer instructions—misalignment