How to Install a Free-Float Handguard: A Comprehensive Guide
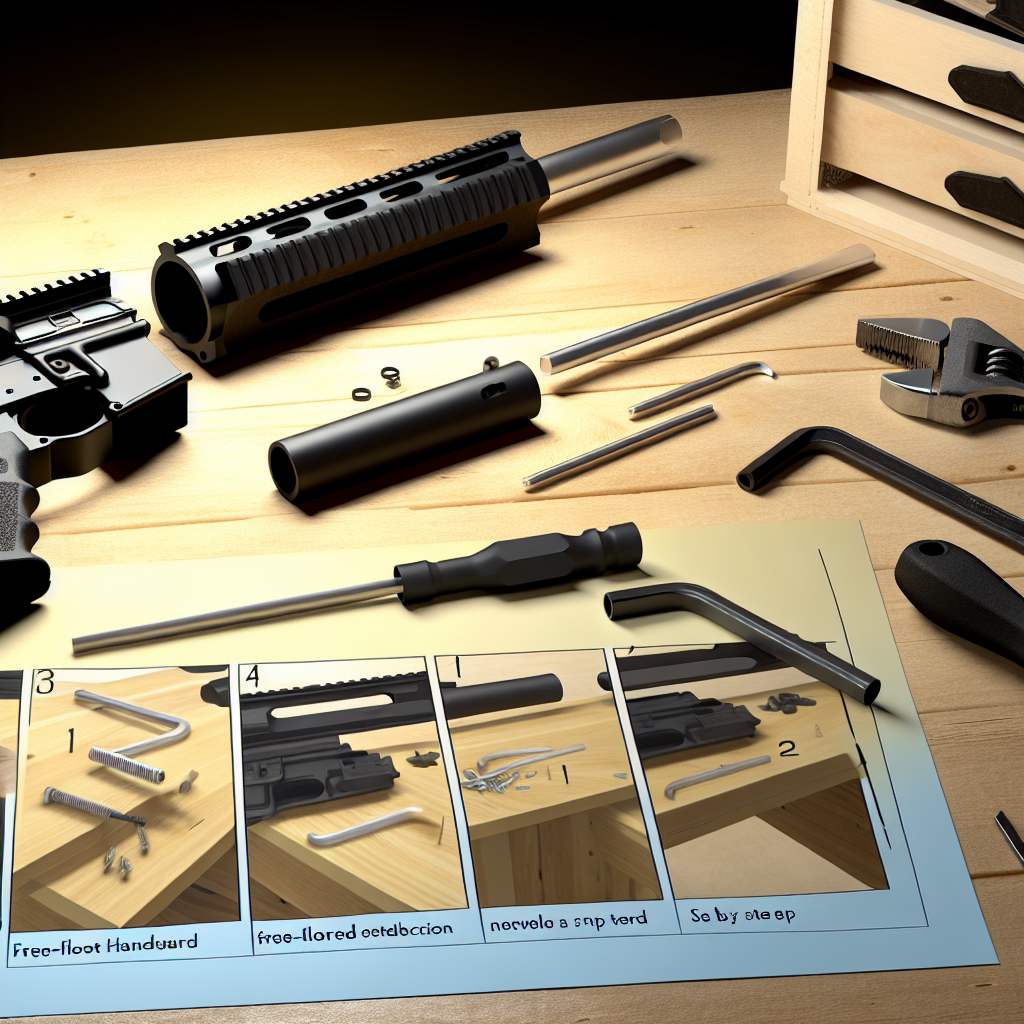
Upgrading your rifle with a free-float handguard is one of the most popular and effective modifications you can make to improve accuracy, ergonomics, and customization options. Unlike traditional drop-in handguards, free-float designs attach only at the receiver, eliminating barrel contact and allowing for better barrel harmonics and heat dissipation.
This article will walk you through the step-by-step process of installing a free-float handguard on an AR-15 style rifle. We will cover essential tools, preparation, installation techniques, and troubleshooting tips to ensure your upgrade is both successful and safe. Additionally, we will explore the benefits of free-float handguards backed by expert opinions and real-world examples.
Understanding the Benefits of Free-Float Handguards
Before diving into installation, it’s important to understand why free-float handguards are highly regarded among firearm enthusiasts and professionals alike.
- Improved Accuracy: Because free-float handguards do not touch the barrel except at the receiver, they reduce external forces that can cause barrel deflection or inconsistent harmonics. According to a study published in the Journal of Ballistics Research, rifles equipped with free-float handguards demonstrated up to a 25% reduction in group size at 100 yards compared to drop-in models.
- Better Heat Dissipation: Many free-float handguards are made from lightweight aluminum with vented or open designs that facilitate airflow around the barrel. This helps keep the barrel cooler during rapid fire or extended shooting sessions.
- Enhanced Customization: Free-float rails often come with modular mounting options such as M-LOK or KeyMod slots, allowing users to attach accessories like lights, lasers, grips, and bipods without interfering with barrel performance.
- Improved Ergonomics: The sleek profile of many free-float handguards offers a more comfortable grip and better control over the rifle compared to bulkier traditional handguards.
For example, competitive shooters often upgrade to free-float systems to gain a competitive edge by improving their shot consistency. Military units also prefer them for their ruggedness and adaptability in field conditions.
Tools and Materials Needed for Installation
A successful installation starts with having the right tools and materials on hand. Here’s what you’ll typically need:
- Free-Float Handguard Kit: Includes the handguard itself along with necessary mounting hardware such as barrel nuts and screws.
- Armorer’s Wrench: Specialized wrench designed for tightening barrel nuts and other firearm-specific components.
- Torque Wrench: Essential for applying precise torque settings recommended by manufacturers (usually between 30-80 ft-lbs depending on the component).
- Punch Set: Useful for removing pins if disassembly is needed.
- Screwdrivers/Allen Keys: Depending on your specific hardware.
- Lubricant or Anti-Seize Compound: Helps prevent galling on threads during installation.
- Cleaning Supplies: Cloths, solvent, and brushes for prepping parts before assembly.
If you don’t already have these tools, many firearm shops offer armorer tool kits tailored for AR-style rifles that bundle everything you need in one package. Investing in quality tools will make your installation smoother and protect your components from damage.
Step-by-Step Installation Process
The following steps outline a typical installation procedure for most AR-15 style rifles equipped with upper receivers compatible with free-float systems. Always consult your specific handguard manufacturer’s instructions as designs may vary slightly.
Step 1: Ensure Safety & Prepare Your Work Area
“Safety first”. Before starting any work on your firearm:
- Muzzle should be pointed in a safe direction at all times.
- Remove magazine and clear all ammunition from your workspace.
- Double-check chamber is empty by visually inspecting it.
A clean well-lit workspace will help prevent lost parts or mistakes during assembly.
Step 2: Remove Existing Handguard
If your rifle currently has a drop-in or older style handguard installed:
- You may need to remove delta rings or retaining clips using punches or specialized tools.
- If there is a front sight post or gas block obstructing removal, those may need partial disassembly depending on your setup (some gas blocks are pinned).
This step varies widely based on existing configuration but generally involves detaching retaining mechanisms so that you can slide off the old handguard without damaging other components.
Step 3: Remove Existing Barrel Nut (if required)
The free-float system typically requires replacing the factory barrel nut with a proprietary one supplied in your kit. Using an armorer’s wrench:
- You will loosen and remove the existing barrel nut carefully by turning counterclockwise (lefty-loosey).
This step may require some force if the nut is particularly tight, so ensure you have a good grip and apply steady pressure. Once removed, you can proceed to install the new barrel nut according to the manufacturer’s instructions.
With careful assembly and attention to detail, your new free-float handguard will enhance your rifle’s performance and customization options.