How to Clean Your Gun After Exposure to Sand and Dust
Whether you are an avid hunter, a shooting sports enthusiast, or a professional in the field, your firearm’s maintenance is crucial for its reliability and longevity. One of the most challenging environments for firearms is exposure to sand and dust—common elements in deserts, beaches, and dry terrains. These abrasive particles can cause significant damage if not properly cleaned and maintained.
This article delves into the best practices for cleaning your gun after exposure to sand and dust, outlining practical steps, tools needed, and expert advice to ensure your firearm remains in optimal working condition.
Understanding the Impact of Sand and Dust on Firearms
Sand and dust are more than just superficial nuisances; they pose serious risks to your firearm’s functionality. The fine particles can infiltrate moving parts, causing friction, wear, and ultimately malfunctions. According to a study by the U.S. Army Research Laboratory, sand particles as small as 20 microns can significantly accelerate wear on metal surfaces when trapped between moving components.
Moreover, the abrasive nature of sand can scratch the metal finish or polymer parts of your gun, diminishing its aesthetic appeal and potentially exposing it to corrosion. Dust particles can combine with moisture or oils inside the firearm to form gritty residues that impede performance.
- Fouling of critical components: Sand in the barrel or action can cause jamming or misfeeds.
- Increased friction: Dust acts as an abrasive that wears down springs, slides, and other moving parts faster.
- Corrosion risk: Dust combined with moisture accelerates rust formation on metal parts.
Understanding these risks highlights why immediate and thorough cleaning is necessary after exposure.
The Essential Tools and Supplies for Cleaning After Sand Exposure
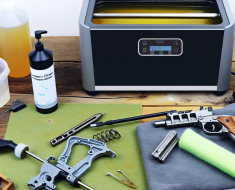
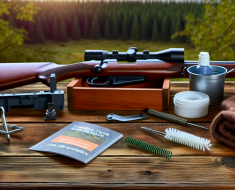
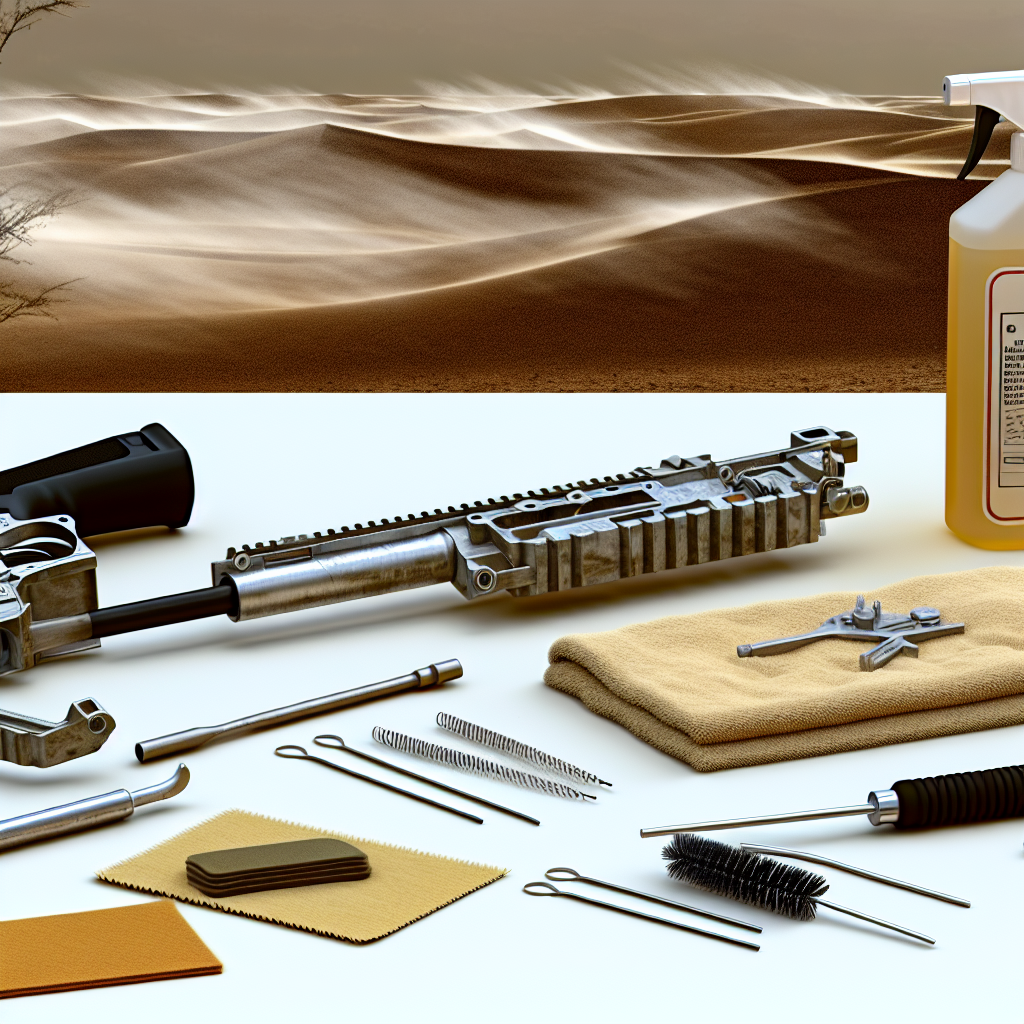
Before starting any cleaning process, it’s vital to have the right tools at hand. Using improper materials can worsen damage or fail to remove abrasive particles effectively.
- Cleaning rod with appropriate bore brushes: A nylon or bronze brush suited for your firearm caliber helps dislodge sand from inside the barrel without scratching it.
- Patches and cleaning cloths: High-quality cotton patches absorb dirt and solvents effectively; microfiber cloths are excellent for wiping down external surfaces.
- Synthetic cleaning picks or toothpicks: Useful for accessing tight crevices where dust tends to accumulate.
- Gun cleaning solvent: Specialized solvents break down fouling but also help loosen embedded particles like sand.
- Lubricant/oil: Essential for protecting metal parts after cleaning; helps prevent rust and reduces friction.
- Compressed air or a small air blower: A safe way to blow out loose dust from delicate parts without disassembling too much.
A well-prepared cleaning kit tailored for sandy conditions improves efficiency and minimizes risk during maintenance.
Step-by-Step Guide: Cleaning Your Gun After Exposure to Sand and Dust
The process involves careful disassembly (as per manufacturer instructions), removal of abrasive debris, thorough cleaning of all components, drying, lubrication, and reassembly. Here’s a detailed breakdown:
1. Safety First: Unload Your Firearm
This step cannot be overstated—always ensure your gun is completely unloaded before handling it for cleaning.
- Remove the magazine (if applicable).
- Check the chamber visually and physically to confirm no ammunition remains.
2. Disassemble According to Manufacturer Guidelines
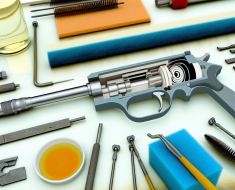
A partial field strip usually suffices; removing slides, bolts, magazines, or barrels allows better access for cleaning without risking damage by over-disassembly.
3. Remove Loose Sand Using Compressed Air
A gentle blast of compressed air will dislodge most loose sand particles from external surfaces and hard-to-reach areas like trigger assemblies or slide rails. Avoid harsh blowing that could drive particles deeper inside mechanisms.
4. Clean the Barrel Thoroughly
- Dab a patch soaked with gun solvent onto a cleaning rod; push it through the barrel several times until patches come out clean of debris.
- If sand is stubborn inside the barrel rifling grooves, use a nylon brush (bronze brushes can scratch some barrels) dipped in solvent to scrub gently but thoroughly.
- Follow with dry patches until all solvent residues are removed.
5. Clean Other Components with Solvent and Cloths
- Dip synthetic picks into solvent to clean crevices around bolt faces, firing pins, ejectors where sand may lodge deeply.
- Wipe down all surfaces using microfiber cloths soaked lightly in solvent; this loosens dirt while preventing scratches.
6. Inspect All Parts for Residual Debris or Damage
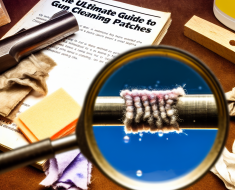
A magnifying glass may help identify tiny grains still stuck between moving parts. Repeat solvent application if necessary until all grit is removed. Check springs and pins for signs of abrasion or deformation caused by sand exposure; replace if needed.
7.
Dry completely before lubricating all moving parts to ensure smooth operation and prevent rust. Proper maintenance after exposure to sand and dust is essential for the longevity and performance of your firearm.