How to Disassemble Your Gun for Cleaning: A Comprehensive Guide
Proper firearm maintenance is crucial for ensuring reliability, safety, and longevity of your weapon. One of the most essential aspects of this maintenance is regular cleaning, which requires disassembling your gun safely and correctly. Whether you are a seasoned shooter or a novice firearm owner, understanding how to disassemble your gun for cleaning is fundamental to responsible gun ownership.
This article provides an in-depth, step-by-step guide on how to disassemble your firearm safely and efficiently. We will cover general principles applicable to most firearms, specific examples from popular models, and tips to avoid common pitfalls. By the end of this guide, you will have the confidence and knowledge to maintain your firearm properly.
Why Disassemble Your Gun for Cleaning?
Before diving into the how-to, it’s important to understand why disassembly is necessary. Firearms operate through a series of moving parts that come into contact with powder residue, dirt, moisture, and other contaminants each time you fire a shot.
Neglecting regular cleaning can lead to:
- Malfunctions: Accumulated fouling can cause jams, misfires, or failure to feed/eject.
- Corrosion: Moisture trapped inside the firearm can cause rust and damage metal components.
- Decreased Accuracy: Dirty barrels affect bullet trajectory and overall shooting performance.
- Safety Risks: A poorly maintained firearm may pose safety hazards during operation.
A thorough cleaning requires partial or full disassembly of the firearm so that each component can be cleaned individually and inspected for wear or damage.
General Safety Precautions Before Disassembly
Disassembling a firearm demands strict adherence to safety protocols. Here are essential steps you must follow before attempting any disassembly:
- Unload the Firearm: Always ensure the gun is completely unloaded by removing the magazine (if applicable) and checking the chamber visually and physically.
- Work in a Clean Area: Choose a well-lit space with a flat surface free of clutter where small parts won’t get lost.
- Use Proper Tools: Some firearms require specialized tools such as punches or wrenches. Avoid using makeshift tools that could damage components.
- Wear Eye Protection: Springs and pins may suddenly release during disassembly; eye protection helps prevent injury.
- Consult Your Owner’s Manual: Manufacturer instructions provide model-specific guidance critical for safe handling.
An example illustrating these precautions can be found in a study by the National Shooting Sports Foundation (NSSF), which reported that over 80% of accidental discharges during cleaning occurred due to failure in ensuring the gun was unloaded beforehand.
The Basic Steps of Gun Disassembly
The exact process varies widely between firearm types—handguns, rifles, shotguns—and specific models. However, most guns follow a general pattern for field stripping (partial disassembly sufficient for cleaning). Let’s explore these core steps using common handguns as examples:
Pistol Disassembly Example: Glock 19
- Step 1: Ensure Safety: Remove magazine and verify chamber is empty.
- Step 2: Dry Fire: Pull trigger in a safe direction to release tension on firing pin (for Glock pistols).
- Step 3: Slide Removal: Pull back slide slightly (about a quarter inch), pull down on both slide lock levers located on either side of the frame simultaneously, then push slide forward off frame.
- Step 4: Barrel Removal: Remove recoil spring assembly by compressing slightly and lifting out; lift barrel out from slide.
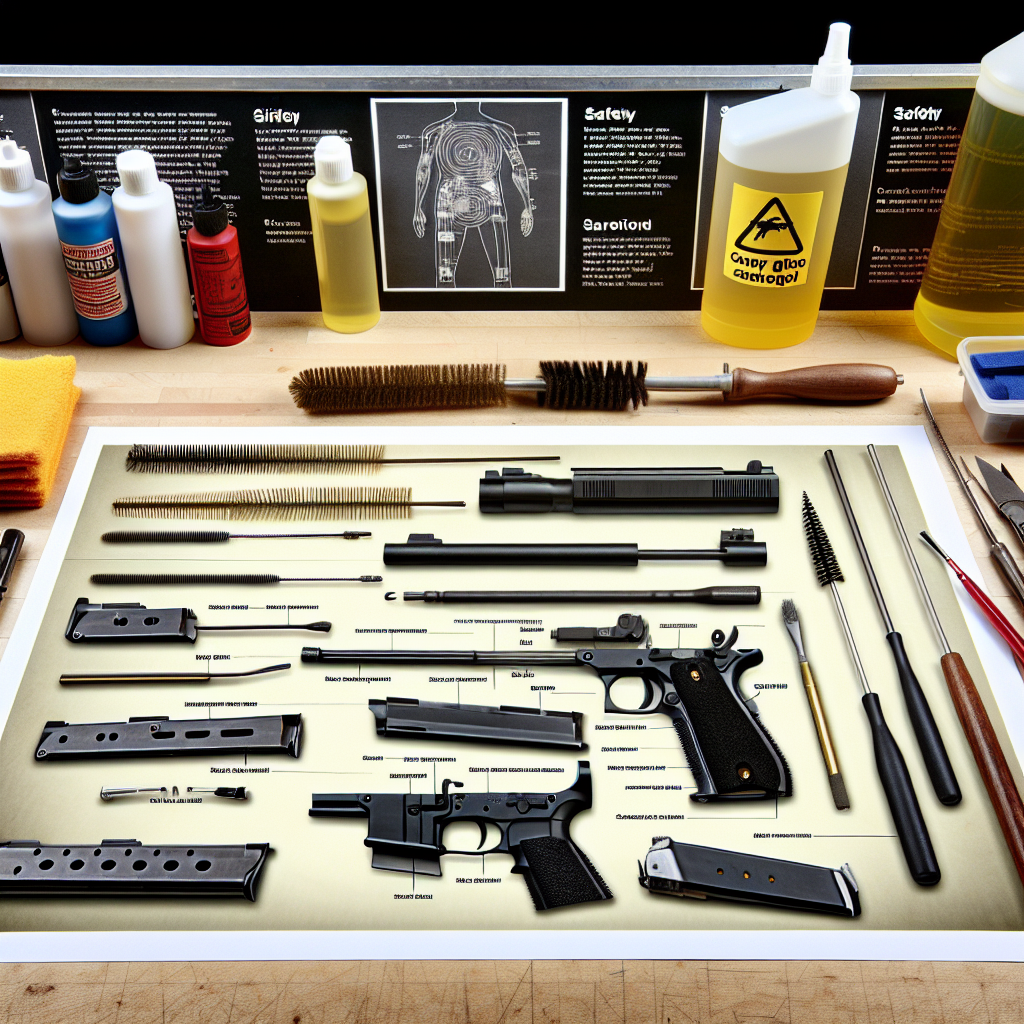
This field stripping method provides access to key components such as barrel, recoil spring assembly, slide interior—all necessary for cleaning without complete teardown.
Rifle Disassembly Example: AR-15
- Step 1: Safety First: Remove magazine; ensure chamber is empty by pulling charging handle back and visually inspecting chamber.
- Step 2: Separate Upper and Lower Receivers: Push out takedown pins located near front and rear of lower receiver; pivot upper receiver away from lower or fully separate by removing pins completely.
- Step 3: Remove Bolt Carrier Group (BCG): Pull charging handle rearward; extract bolt carrier group from upper receiver carefully.
- Step 4: Remove Charging Handle: Slide charging handle out carefully from its notch after BCG removal.
This level of disassembly allows effective cleaning of critical moving parts prone to fouling due to high-pressure gas residues generated during firing rounds like the popular .223 Remington/5.56 NATO cartridges used in AR-15 platforms.
Detailed Cleaning Tips After Disassembly
Your goal after taking apart your gun should be thorough cleaning without causing damage or wear.
Here are some professional tips backed by expert gunsmiths: Bore Cleaning: Use a quality bore brush and solvent to clean the barrel, ensuring all fouling is removed for optimal accuracy.
Regular maintenance and cleaning will enhance the longevity and performance of your firearm.