How to Store Your Gun After Cleaning: A Comprehensive Guide
Properly storing your firearm after cleaning is a critical step that ensures its longevity, safety, and reliability. Whether you are a seasoned gun owner or a novice, understanding the best practices for post-cleaning storage protects your investment and safeguards those around you. This article will explore the essential steps and considerations when storing your gun after cleaning, supported by practical advice, examples, and statistics.
The Importance of Proper Gun Storage After Cleaning
After cleaning your firearm, it’s tempting to put it away quickly and move on. However, improper storage can lead to corrosion, mechanical failures, or accidental discharge. According to a study by the Bureau of Alcohol, Tobacco, Firearms and Explosives (ATF), improper storage contributes to approximately 20% of accidental firearm discharges in households.
Proper storage not only preserves the firearm’s functionality but also helps prevent unauthorized access. Cleaning removes residues that protect metal surfaces temporarily; thus, proper drying and storage prevent rust and damage. Additionally, safe storage practices align with legal requirements in many jurisdictions, reducing liability risks.
Step 1: Ensure Your Firearm Is Completely Dry
The first and most crucial step after cleaning your gun is ensuring that it is completely dry before storage. Moisture left on metal parts can cause rust and corrosion over time.
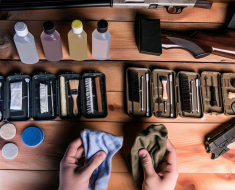
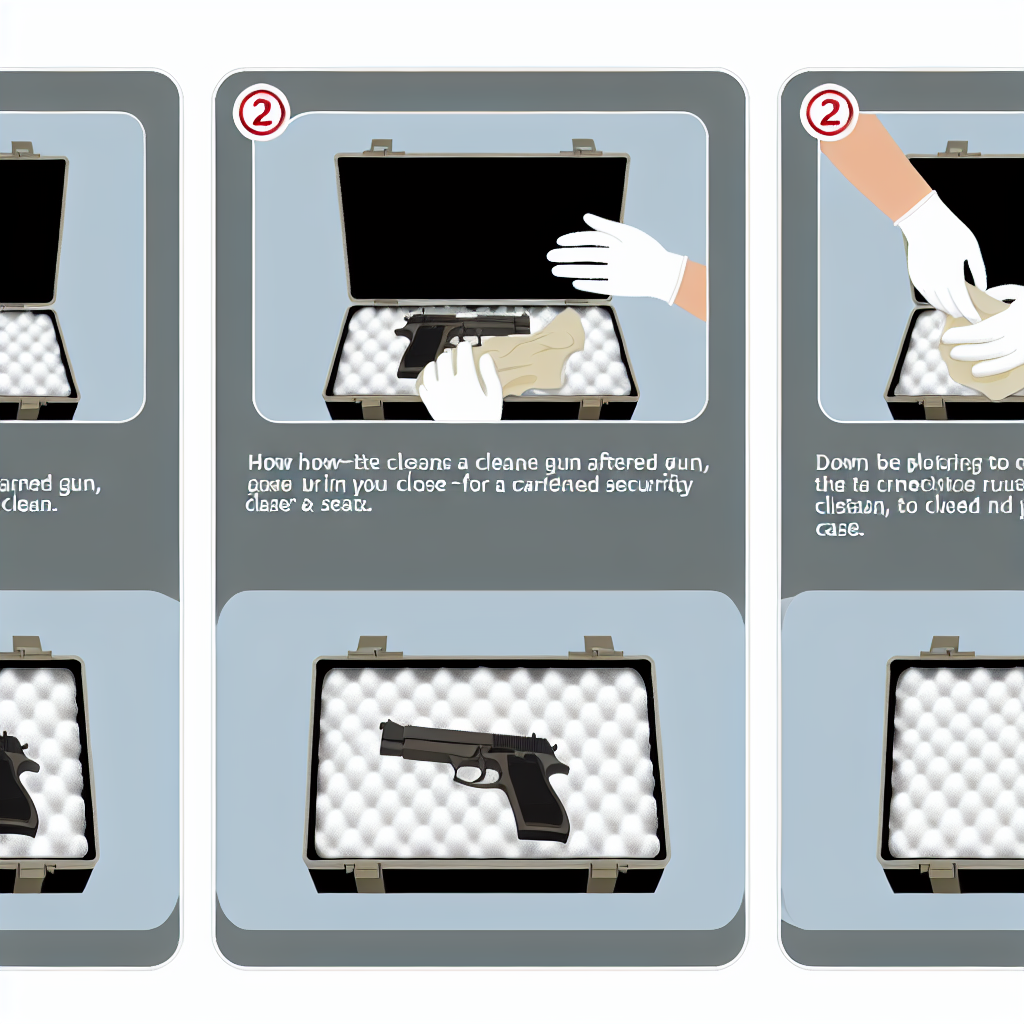
- Use a clean cloth: Wipe down all components thoroughly with a soft, lint-free cloth to remove solvents and moisture.
- Air drying: Allow the parts to air dry for several minutes in a well-ventilated area if possible.
- Avoid compressed air: While some may use compressed air to speed up drying, it can force moisture into hard-to-reach areas if not used carefully.
Case Study: A firearms enthusiast from Ohio reported severe rusting on his rifle’s barrel after storing it immediately following cleaning without adequate drying. The barrel required professional reconditioning at significant cost—highlighting why thorough drying is non-negotiable.
Step 2: Apply Protective Lubricants Correctly
Lubrication is key to preventing wear and corrosion. However, over-lubricating or using inappropriate products can attract dust or cause malfunctions.
- Select quality lubricants: Use gun-specific oils or greases recommended by manufacturers or trusted brands like CLP (Clean-Lube-Protect).
- Apply sparingly: A thin layer on moving parts such as slides, bolts, and hinges is sufficient.
- Avoid excess oil: Excessive lubricant can trap dirt or attract moisture from the air.
Example: The U.S. Army’s maintenance manual emphasizes “thin film lubrication” rather than heavy oiling to ensure optimal performance under various environmental conditions.
Step 3: Choose the Right Storage Environment
The environment where you store your firearm plays a pivotal role in its preservation. Factors such as humidity, temperature fluctuations, and exposure to sunlight affect metal integrity and wooden components.
- Control humidity: Ideally keep humidity levels between 30% to 50%. Excess moisture promotes rust; too dry can damage wooden stocks.
- Avoid temperature extremes: Sudden changes can cause condensation inside the firearm.
- No direct sunlight: UV rays degrade finishes and weaken synthetic materials over time.
An example of effective environmental control is using silica gel packets inside gun safes or storage cases to absorb moisture. Studies have shown that silica gel can reduce humidity inside enclosed spaces by up to 40%, significantly lowering rust risk.
Step 4: Select Appropriate Storage Solutions
The choice of storage device depends on your needs for security, accessibility, and space. Below are common options with their pros and cons:
- Gun safes:
- Pros: High security against theft; often include humidity control options; fire-resistant models available.
- Cons: Expensive; bulky; may require installation space.
- Lockable gun cabinets:
- Pros: More affordable than safes; offers basic security; easier access.
- Cons: Less protection against fire or theft compared to safes.
- Padded gun cases:
- Pros: Portable; protects against scratches during transport;
- Cons: Not secure enough for long-term home storage; no environmental control features.
A recent survey by the National Shooting Sports Foundation found that about 75% of gun owners use some form of locked storage at home—underscoring the importance of combining physical security with proper preservation methods.
Step 5: Implement Additional Safety Measures
Beyond physical storage solutions, adopting extra precautions enhances safety for everyone in your household or environment where firearms are stored.
Implementing additional safety measures, such as using trigger locks or storing ammunition separately, can further enhance security and prevent unauthorized access.
By taking these steps, you can ensure your firearms are safely stored and well-preserved for future use.