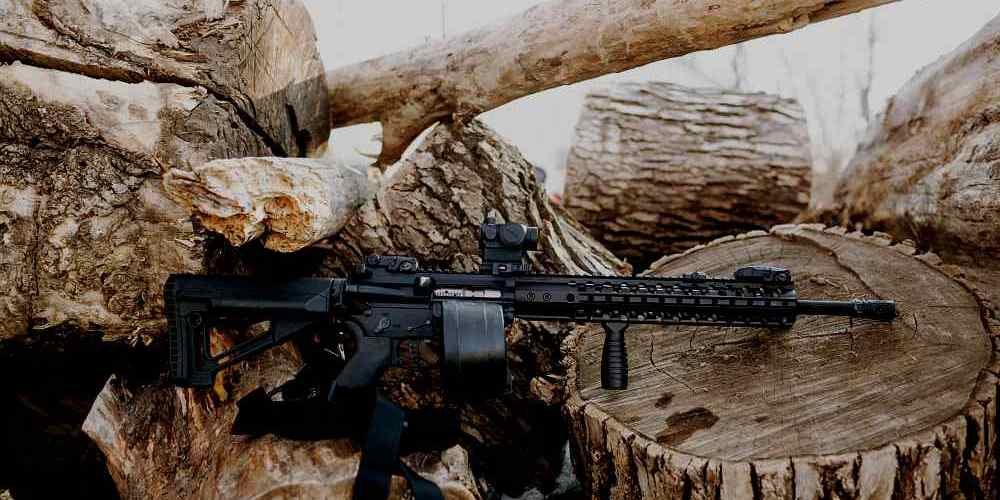
Zeroing an AR-15 can feel more complicated than it needs to be, especially for new owners or anyone swapping optics between rifles. The good news is that one simple optic-mounting habit can make the whole process easier, faster, and more repeatable: start by setting your optic at a consistent height and position, then confirm your mechanical alignment before you ever fire a round. That basic discipline removes a lot of guesswork and helps you get on paper with far fewer adjustments. Just as important, it keeps the process grounded in safe, responsible firearm handling and gives you a repeatable method you can trust.
The Optic Mount Trick That Simplifies Zeroing
The “trick” is really a smart mounting routine: mount the optic squarely, set it at a consistent eye-relief position, and level it against the rifle before tightening anything fully. On an AR-15, a quality optic mount that returns the scope or red dot to the same height and position every time creates a predictable sight picture. That predictability matters because much of zeroing is simply eliminating variables. If the optic is canted, too far forward, or installed inconsistently from one session to the next, you can waste time chasing your point of impact instead of confirming the rifle’s actual zero.

This approach has roots in the way modern rifles evolved. The AR platform was built around modularity, and once optics became common on service rifles, shooters learned that repeatability in mounting was just as important as the optic itself. A well-made mount with proper torque settings, dependable recoil lugs, and a level reticle helps preserve zero through recoil, transport, and routine use. For red dots, that means the dot lands where your bore and optic relationship says it should; for magnified optics, it means your holdovers and elevation adjustments are based on a stable foundation. In practice, the mount is part of the zero, not just a piece of hardware holding the optic in place.
There are a few practical details that make the trick work even better. Use a torque wrench or driver if the mount manufacturer provides spec numbers, and follow them carefully rather than tightening by feel alone. Make sure the upper receiver and mount surfaces are clean, and confirm the optic is centered and level before locking it down. If you use backup iron sights, fold or remove them during the initial zeroing process so they don’t clutter your sight picture. And as always, verify the rifle is unloaded, keep the muzzle pointed in a safe direction, and work at a proper range with a safe backstop.
How to Get a Fast, Reliable AR-15 Zero
A fast, reliable zero starts with a clear plan. Decide on your zero distance based on your rifle’s purpose, your optic, and the kind of shooting you do most often. For many AR-15 owners, a 50-yard zero is popular because it offers a practical balance for close- to mid-range use, while others prefer 36-yard or 100-yard zeros depending on trajectory needs. Whatever distance you choose, stick with one method and one ammunition type during the initial zero. Mixing loads can shift point of impact, especially with different bullet weights or velocities.
Once the rifle is mounted and confirmed safe, begin at a short distance if needed to get rounds on paper quickly, then move to your intended zero distance for final confirmation. Fire controlled groups rather than single shots, because groups tell you more about the rifle, optic, and shooter than one isolated impact ever will. Make small adjustments, note how many clicks you make, and keep track of your impacts so you don’t lose your place. If your optic mount was set consistently from the start, you’ll usually find that your adjustments are smaller and your zero comes together faster. That consistency is why the mount trick saves so much time.
After you establish zero, confirm it under realistic conditions. Shoot another group from the positions you actually use—bench, prone, or supported standing—and verify the rifle still prints where expected. Check your zero again after the optic has been removed and reinstalled, if your mount design allows it, and after any significant impact or hard use. A dependable AR-15 zero isn’t just about a single perfect group on one day; it’s about repeatability you can trust when it matters. Responsible ownership means maintaining your equipment, understanding your trajectory, and staying current with local laws, range rules, and safe handling practices.
The beauty of this optic mount trick is that it doesn’t rely on gimmicks or shortcuts. It simply reduces variables, and in the world of zeroing, fewer variables mean less frustration and more confidence. If you mount the optic carefully, follow manufacturer torque specs, and zero with a consistent method, your AR-15 will be easier to set up and easier to trust. That’s good for new shooters, seasoned hunters, and anyone who values precision, safety, and practical performance.