The Basics of Threading a Barrel for Suppressors
Threading a barrel for suppressors is a crucial modification for firearm enthusiasts who want to enhance their shooting experience by reducing noise, recoil, and muzzle flash. Whether you are a seasoned gunsmith or an amateur looking to customize your firearm, understanding the fundamentals of threading a barrel can save you time, money, and potential damage to your weapon.
This article delves into the essential aspects of threading a barrel for suppressors, providing clear explanations, practical examples, and expert insights to help you make informed decisions. From understanding the mechanics of threading to selecting the right specifications and ensuring proper installation, we cover everything you need to know.
Understanding Barrel Threading: What It Is and Why It Matters
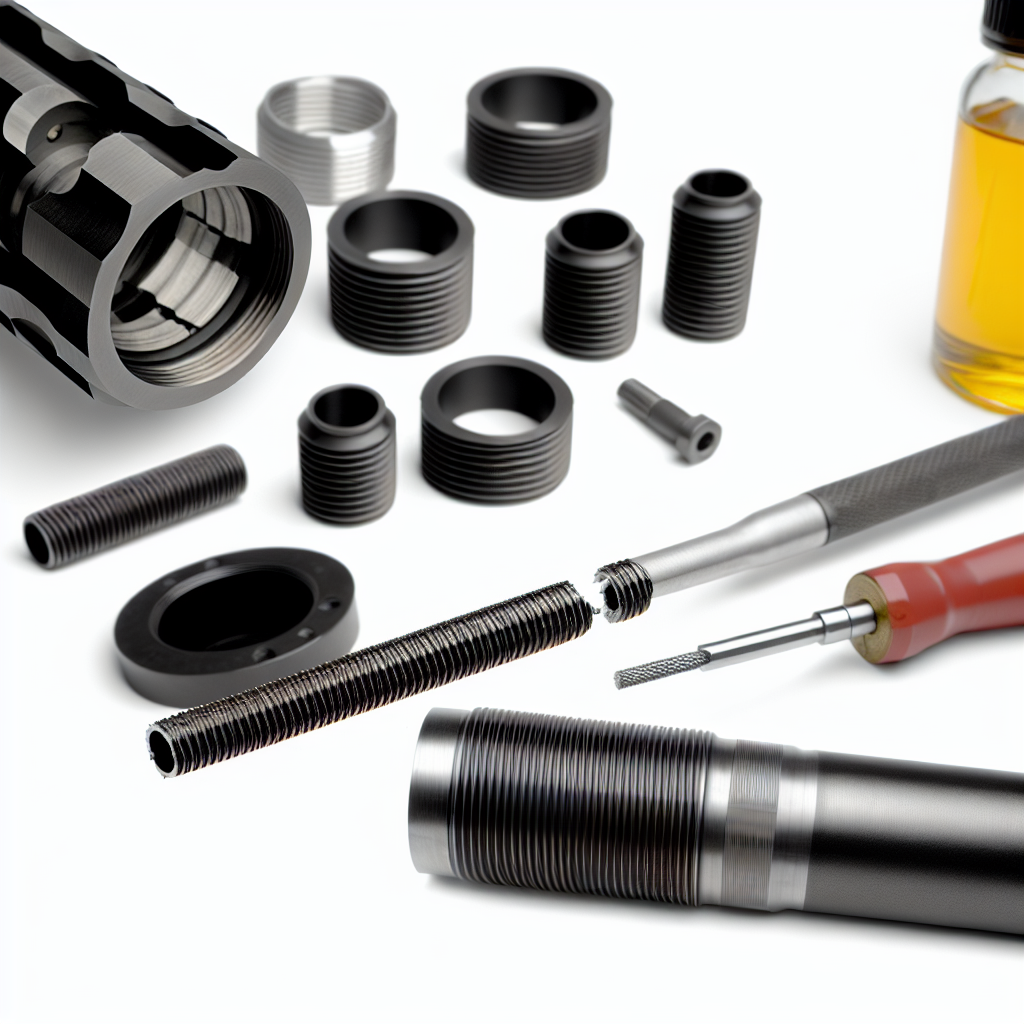
Threading a barrel involves cutting precise helical grooves into the muzzle end of a firearm’s barrel. These threads allow for the attachment of accessories such as suppressors (also known as silencers), muzzle brakes, compensators, or flash hiders.
The primary purpose of threading a barrel for suppressors is to create a secure and stable mount for the suppressor unit. Without properly machined threads that match the suppressor’s mounting system, attaching it would be unreliable and potentially unsafe.
Some key reasons why threading matters include:
- Compatibility: Suppressors come with specific thread pitches and diameters. Matching these ensures the accessory fits perfectly without cross-threading or loosening during firing.
- Accuracy: Proper threading maintains barrel integrity and alignment, preventing adverse effects on bullet trajectory.
- Safety: Well-cut threads prevent suppressor detachment during shooting, which could cause accidents or damage.
- Aesthetics and Functionality: A cleanly threaded barrel offers better appearance and functional customization options.
It is important to note that not all barrels come pre-threaded; many factory barrels are plain at the muzzle end. This necessitates professional machining if you want to add a suppressor later on.
The Technical Aspects: Thread Specifications and Standards
The technical details behind barrel threading can be complex but are critical to understand before proceeding. Threads are defined primarily by two parameters: diameter and pitch (the distance between threads). The combination determines compatibility with different suppressors.
Common Thread Sizes and Pitches
The most common thread sizes used in firearms include:
- .223/5.56 NATO: Usually uses 1/2″-28 threads (1/2 inch diameter with 28 threads per inch). This is standard on many AR-15 platforms.
- .30 Caliber Rifles: Often use 5/8″-24 threads, common among larger caliber rifles such as .308 Winchester or .30-06 Springfield.
- 9mm Handguns: Typically threaded with 1/2″-28 or M13.5×1 LH (left-hand) metric threads depending on manufacturer preferences.
- Other Metric Sizes: Various European firearms use metric standards like M14x1 LH or M15x1 LH threads.
The “LH” indicates left-hand threading, which means the thread tightens counterclockwise—this prevents the suppressor from unscrewing due to barrel rotation during firing in certain pistols.
The Role of Thread Pitch
The pitch affects how securely a suppressor mounts and how easy it is to attach or remove. A finer pitch (more threads per inch) generally provides better grip but may require more careful machining. Conversely, coarser pitch is easier to cut but might not provide as tight a fit in some applications.
Tolerance and Precision Requirements
The machining process must adhere to strict tolerances—often within thousandths of an inch—to ensure proper engagement without binding or looseness. Deviations can result in cross-threading, misalignment of the suppressor axis with the bore axis (leading to baffle strikes), or difficulty mounting accessories altogether.
The Process of Threading a Barrel: Step-by-Step Overview
Threading a barrel is not simply about cutting grooves; it requires careful preparation and precision tooling. Below is an overview of the typical steps involved in professional barrel threading:
- Step 1: Measuring the Barrel Diameter
Before any machining begins, accurately measure the outside diameter of the barrel’s muzzle using calipers. This measurement determines what thread size can be cut without compromising structural integrity. - Step 2: Selecting Thread Size & Pitch
Choose an appropriate thread size compatible with your desired suppressor model. Confirm whether left-hand or right-hand threads are required based on firearm type. - Step 3: Centering and Securing the Barrel
The barrel must be securely mounted in a lathe chuck or other precision fixture ensuring perfect concentricity during machining. - Step 4: Cutting Threads Using a Lathe or Die Set
Using specialized threading tools—either single-point lathe tools or die sets—cut precise threads onto the muzzle surface at recommended feed rates.
Step 5: Testing the Fit After threading, test the suppressor on the newly threaded barrel to ensure a proper fit and alignment.
Following these steps will help ensure a successful and safe threading process for your barrel.