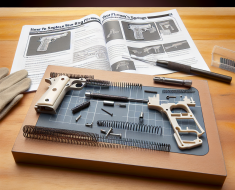
How to Install a Precision Match Trigger: A Comprehensive Guide
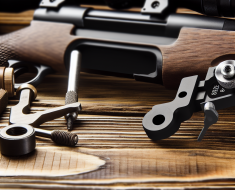
Upgrading your firearm with a precision match trigger can significantly enhance your shooting accuracy, responsiveness, and overall performance. Whether you’re a competitive shooter, hunter, or enthusiast aiming for tighter groups and smoother trigger pulls, installing a precision match trigger is an investment in both your skill and safety. This guide will walk you through the essential steps of installing a precision match trigger, provide insights into selecting the right model, and share tips to ensure optimal results.
Understanding Precision Match Triggers: Why Upgrade?
Before diving into installation, it’s crucial to understand what makes a precision match trigger different from standard factory triggers. A precision match trigger is designed to reduce trigger pull weight, minimize travel distance, and provide a crisp, clean break. This translates into better control over shot placement and reduced chances of jerking or pulling shots off target.
According to a study by the National Shooting Sports Foundation (NSSF), shooters using upgraded triggers reported up to a 30% improvement in shot grouping consistency. This improvement is primarily attributed to the reduced force required to fire the weapon, which minimizes movement during the trigger press.
Common benefits of upgrading include:
- Reduced Trigger Pull Weight: Often adjustable between 1-3 pounds compared to factory pulls that may be heavier.
- Crisper Break: The trigger releases at a clean break point without any creep or slack.
- Smoother Reset: Faster reset times allow for quicker follow-up shots.
- Customization: Many match triggers allow adjustments for pull weight, over-travel, and sear engagement.
Selecting the Right Precision Match Trigger for Your Firearm
The first step before installation is choosing the appropriate precision match trigger compatible with your firearm. Not all triggers fit every make or model, so compatibility is key. Some popular brands include Timney, Geissele, Jewell, and TriggerTech—each offering unique features tailored for specific firearms.
Factors to consider when selecting your trigger:
- Firearm Model Compatibility: Ensure the trigger is designed for your gun’s make and model (e.g., AR-15, Remington 700).
- Trigger Type: Single-stage (consistent pull) vs. two-stage (initial take-up followed by break).
- Adjustability: Look for triggers that allow customization of pull weight and travel if you prefer fine-tuning.
- User Reviews and Reliability: Research feedback on durability and performance under various conditions.
Case Study: A competitive shooter switching from a factory AR-15 mil-spec trigger (~6.5 lbs pull) to a Geissele SSA-E (~3.5 lbs two-stage) reported faster shot times and improved scores at national matches due to better control over recoil and follow-up shots.
Tools and Safety Preparations Before Installation
Your success in installing a precision match trigger depends largely on preparation. Having the right tools on hand ensures a smooth process without damage to components or injury risks. Equally important are safety precautions when working with firearms.
Essential Tools Needed
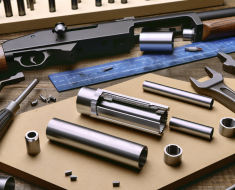
- Punch Set (various sizes)
- Screwdrivers (flathead and Phillips)
- Armorer’s Wrench (for specific models)
- Torque Wrench (recommended for precise assembly)
- Lubricant (gun oil or grease)
- Cotton Swabs or Cleaning Patches
- A Well-Lit Workspace with Non-Marring Surface
Safety Checklist
- Unload Your Firearm Completely: Remove magazine and check chamber visually and physically.
- Work in a Controlled Environment: Use a dedicated workbench free from distractions or interruptions.
- Wear Safety Glasses: Protect your eyes from springs or small parts that may fly loose during disassembly.
- Follow Manufacturer Instructions: Each firearm has unique disassembly procedures—consult manuals before starting.
Step-by-Step Installation Process of a Precision Match Trigger
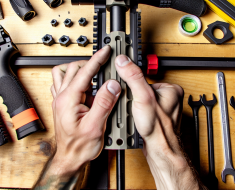
The installation process varies depending on firearm type but generally follows similar principles. Below is an overview tailored primarily toward bolt-action rifles such as Remington 700 series; however, similar steps apply with adaptations for other platforms like AR-15s or pistols.
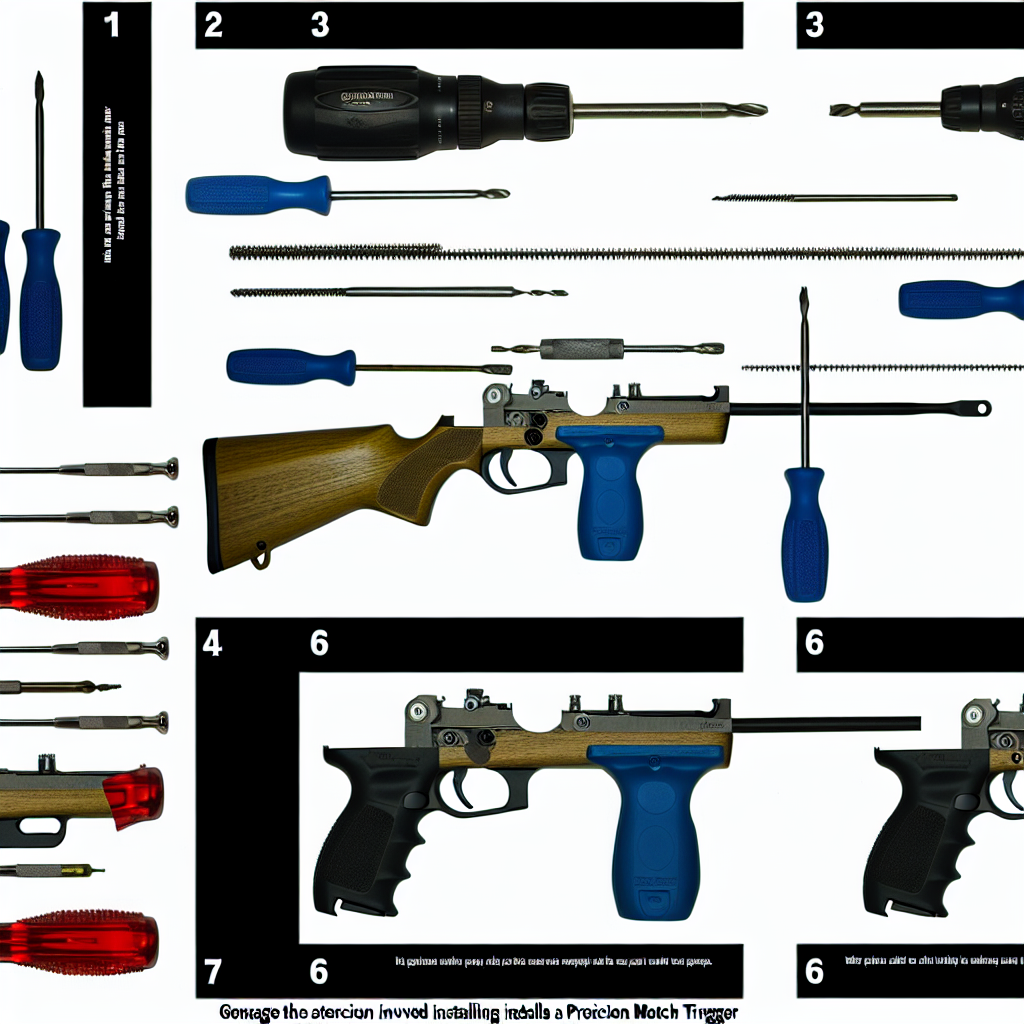
1. Disassemble Your Firearm
Bolt-Action Example:
-
<li Remove bolt from receiver by pulling it back while pressing bolt release lever or button.
<li Unscrew stock screws carefully using appropriate screwdriver or wrench; separate stock from action.
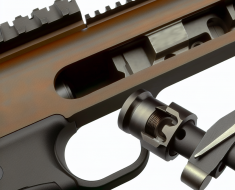
<li Remove action screws holding the existing trigger assembly in place.
<li Carefully remove old trigger group from receiver by sliding it out or lifting as per design.
2. Inspect Components & Clean Receiver Area
This step ensures no dirt or debris affects new trigger installation or performance:
-
<li Use cleaning patches and solvent to
- Use cleaning patches and solvent to clean the receiver thoroughly.
Once the area is clean, you can proceed with installing the new trigger assembly for optimal performance.
In conclusion, installing a precision match trigger can significantly enhance your shooting experience by improving accuracy and responsiveness. By following the outlined steps carefully and ensuring a clean workspace, you can achieve a successful installation that elevates your firearm's performance. Always remember to prioritize safety and consult your firearm's manual for specific instructions related to your model. Happy shooting!
Inspect Components & Clean Receiver Area. This step ensures no dirt or debris affects new trigger installation or performance: