Installing a Custom Charging Handle on Your AR
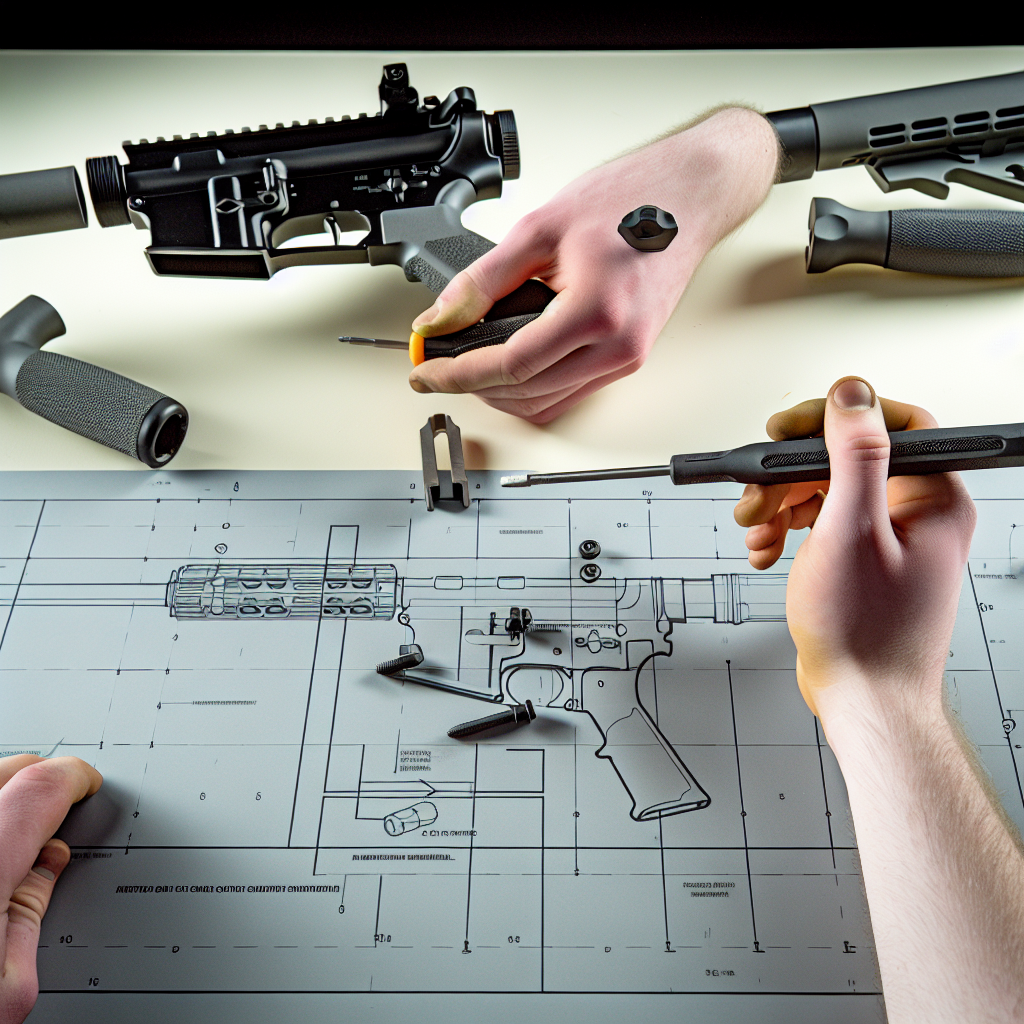
The AR platform has become one of the most popular and versatile rifle systems in the world, renowned for its modularity and adaptability. Among the many upgrade options available to AR owners, installing a custom charging handle is a common and impactful modification. This seemingly simple component can dramatically improve your rifle’s ergonomics, reliability, and overall shooting experience.
In this article, we will explore the benefits of upgrading to a custom charging handle, detail the installation process step-by-step, and provide insights into selecting the right model for your needs. Whether you’re a seasoned gunsmith or a beginner looking to enhance your AR, this guide will equip you with valuable knowledge.
Understanding the Role of the Charging Handle in Your AR
The charging handle is a critical component of the AR platform, serving as the interface between the shooter and the rifle’s bolt carrier group (BCG). Its primary function is to manually cycle the action — chambering rounds, clearing malfunctions, or locking the bolt back.
While stock charging handles are generally functional, they often lack ergonomic considerations and can be difficult to manipulate under stress or when wearing gloves. This has led to a burgeoning market for custom charging handles designed to improve ease of use and durability.
Key functions of a charging handle include:
- Chambering the first round
- Cycling rounds during malfunction clearance
- Locking the bolt open for inspection or clearing jams
- Assisting in weapon maintenance
A high-quality charging handle can reduce shooter fatigue, increase speed during reloads or malfunctions, and provide ambidextrous operation for left-handed shooters or tactical scenarios.
Benefits of Installing a Custom Charging Handle
Upgrading from a standard mil-spec charging handle to a custom variant offers numerous advantages that enhance both form and function. Below are some of the primary benefits:
- Improved Ergonomics: Many aftermarket handles feature extended latches or larger gripping surfaces that make it easier to operate without losing grip or requiring excessive force.
- Ambidextrous Operation: Some models have dual-sided latches allowing left- and right-handed shooters equal ease of use—especially useful in tactical or competitive shooting environments.
- Enhanced Durability: Constructed from stronger materials like billet aluminum or stainless steel, custom handles often last longer under heavy use and harsh conditions.
- Smoother Operation: Precision machining reduces friction points which leads to smoother cycling and reduced wear on other components.
- Aesthetic Customization: Available in multiple finishes and colors, custom handles allow shooters to personalize their rifles visually while maintaining functionality.
A case study conducted by Tactical Rifleman Magazine in 2023 demonstrated that shooters using an ambidextrous extended latch charging handle improved reload times by an average of 15% compared to those using standard mil-spec handles. This is significant in competitive shooting where milliseconds matter.
Selecting the Right Custom Charging Handle for Your AR
The variety of custom charging handles on the market can be overwhelming. Choosing the right one depends on several factors including your intended use (tactical, competition, hunting), hand dominance, budget, and aesthetic preferences.
Key considerations when choosing a custom charging handle:
- Latching Style: Choose between single-sided or ambidextrous latches depending on your dominant hand or need for versatility.
- Material & Finish: Look for corrosion-resistant finishes like Cerakote or anodizing; materials like aircraft-grade aluminum provide strength without excessive weight.
- Compatibility: Ensure compatibility with your upper receiver type (standard AR-15 vs. enhanced uppers) and gas system length if relevant.
- Ergonomics: Consider extended latches if you frequently wear gloves or operate under stress; some models also offer textured surfaces for better grip.
- User Reviews & Brand Reputation: Research feedback from other users regarding durability and performance; brands like Radian Weapons, BCM (Bravo Company Manufacturing), and Geissele Automatics are often highly recommended.
An example is the Radian Raptor charging handle which features ambidextrous large paddles designed for quick manipulation even with gloves. It’s CNC-machined from billet aluminum with Cerakote coating making it both durable and lightweight. This model is popular among military personnel as well as civilian enthusiasts due to its balance of quality and price.
A Step-by-Step Guide to Installing Your Custom Charging Handle
The installation process for a custom charging handle on an AR is straightforward but requires attention to detail. The procedure typically takes less than ten minutes with no specialized tools required beyond basic armorer’s tools if needed.
Tools Needed:
- Punch set (optional)
- Screwdriver (for certain upper receivers)
- Clean cloth
- Lubricant (optional)
Installation Steps:
-
Ensure Safety First: Always clear your rifle before working
on it to prevent any accidental discharge. After ensuring your rifle is safe, you can proceed with the installation.
With the right tools and a careful approach, you’ll have your custom charging handle installed and ready to enhance your shooting experience.