How to Clean and Maintain Gun Bolt Carriers: A Comprehensive Guide
The bolt carrier group (BCG) is one of the most critical components in a firearm, especially in rifles such as the AR-15 or M16. Proper cleaning and maintenance of the gun bolt carrier not only ensure reliable performance but also extend the lifespan of your weapon. Whether you’re a seasoned shooter, a military professional, or a firearms enthusiast, understanding how to properly care for your bolt carrier can make all the difference in accuracy, safety, and longevity.
Understanding the Importance of Gun Bolt Carrier Maintenance
The bolt carrier group is responsible for chambering rounds, extracting spent casings, and resetting the firing mechanism. Due to this pivotal role, it is subjected to intense mechanical stress and accumulation of fouling from powder residue, carbon buildup, and dirt.
Neglecting maintenance can lead to malfunctions such as failure to feed (FTF), failure to eject (FTE), or even catastrophic failures that compromise user safety. According to a 2018 study by the U.S. Army Marksmanship Unit, over 70% of firearm malfunctions in training environments were attributed to improper or insufficient cleaning of key components like the bolt carrier group.
Regularly cleaning and lubricating your bolt carrier ensures:
- Reliable cycling of rounds
- Prevention of corrosion and wear
- Smooth operation with minimal friction
- Increased accuracy by maintaining proper function
Tools and Materials Needed for Effective Cleaning
Before diving into the cleaning process, it’s essential to gather the right tools and supplies. Using substandard materials can damage your firearm or fail to remove stubborn fouling effectively.
Recommended items include:
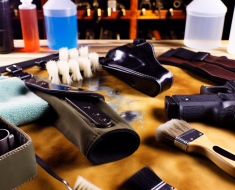
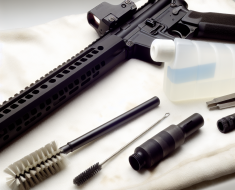
- Cleaning solvents: Choose high-quality solvents designed for gun cleaning such as CLP (Cleaner, Lubricant, Protectant), Hoppes No. 9, or dedicated carbon removers.
- Brushes: Nylon brushes for gentle scrubbing and brass or bronze brushes for tougher carbon deposits on metal parts.
- Patches: Cotton patches for applying solvents and wiping down surfaces.
- Cleaning picks: Useful for reaching tight crevices within the bolt carrier group.
- Lubricants: Use quality gun oil or grease tailored for your specific firearm model.
- A clean workspace: Adequate lighting and a mat to catch debris make cleaning safer and more efficient.
Investing in a complete gun cleaning kit can be cost-effective if you regularly maintain firearms.
The Step-by-Step Process to Clean Your Gun Bolt Carrier Group
The process outlined below applies primarily to AR-style rifles but can be adapted for other models with similar components. Always consult your firearm’s manual before disassembly.
1. Ensure Safety First
Before starting any maintenance procedure:
- Unload the firearm completely: Remove magazine and check chamber visually and physically.
- Work in a well-ventilated area: Cleaning solvents may produce fumes that require ventilation.
- Wear protective gloves: To avoid skin irritation from chemicals.
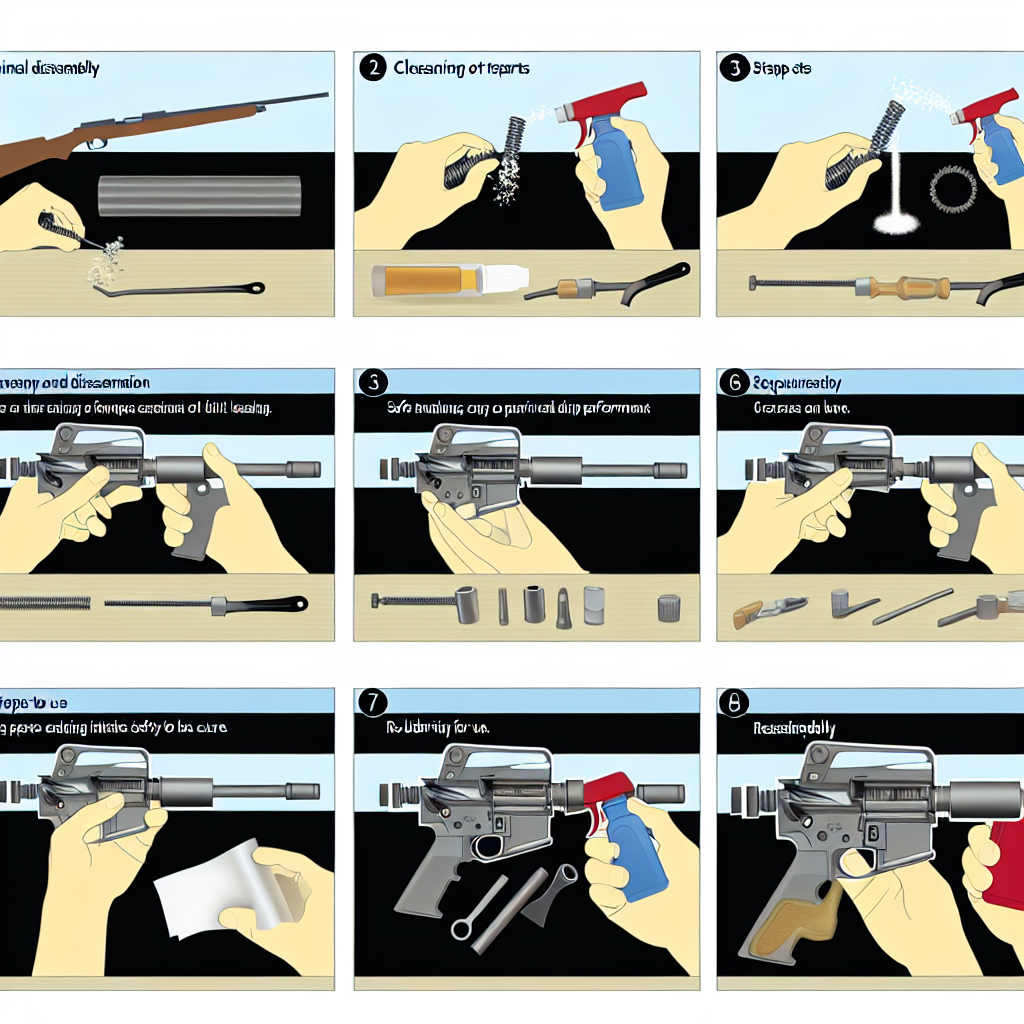
2. Disassemble the Bolt Carrier Group
The BCG typically consists of the bolt carrier, bolt, firing pin, cam pin, and extractor. Follow these steps carefully:
- Remove the charging handle and bolt carrier from the upper receiver.
- Push out the cam pin using a punch or small tool.
- Withdraw the firing pin carefully—note its orientation for reassembly.
- Punch out or remove extractor pins if necessary (for detailed cleaning).
3. Apply Solvent and Let It Soak
Drench each component with solvent thoroughly—pay special attention to areas where carbon buildup is most prevalent such as inside the bolt tail and around gas rings. Allow parts to soak for several minutes; this softens hardened residue making it easier to scrub off later.
4. Scrub Components Thoroughly
- Bolt Carrier: Use nylon brushes first; switch to brass if necessary on stubborn spots but avoid scratching surfaces excessively.
- Bolt Head & Gas Rings: These rings create gas seals crucial for proper cycling; clean carefully without damaging their integrity.
- Camming Surfaces & Gas Key: Carbon buildup here impairs gas flow—brush these areas diligently until visibly clean.
5. Wipe Down with Patches
Dab clean patches onto components until they come away free of visible dirt or solvent residue. This step ensures no loose debris remains that could interfere with function after reassembly.
6. Inspect Each Part Carefully
This stage cannot be overlooked—look for cracks, excessive wear on gas rings (which should be replaced if compressed beyond specification), chipped extractor teeth, or bent pins. Address any issues immediately before proceeding.
7.
Lubricate appropriately to ensure smooth operation and prevent wear. Use a high-quality gun oil on all moving parts, focusing on areas that experience friction.
Regular maintenance will enhance the longevity and reliability of your firearm, ensuring it performs well when needed.