Cleaning Your Gun After a Day at the Range
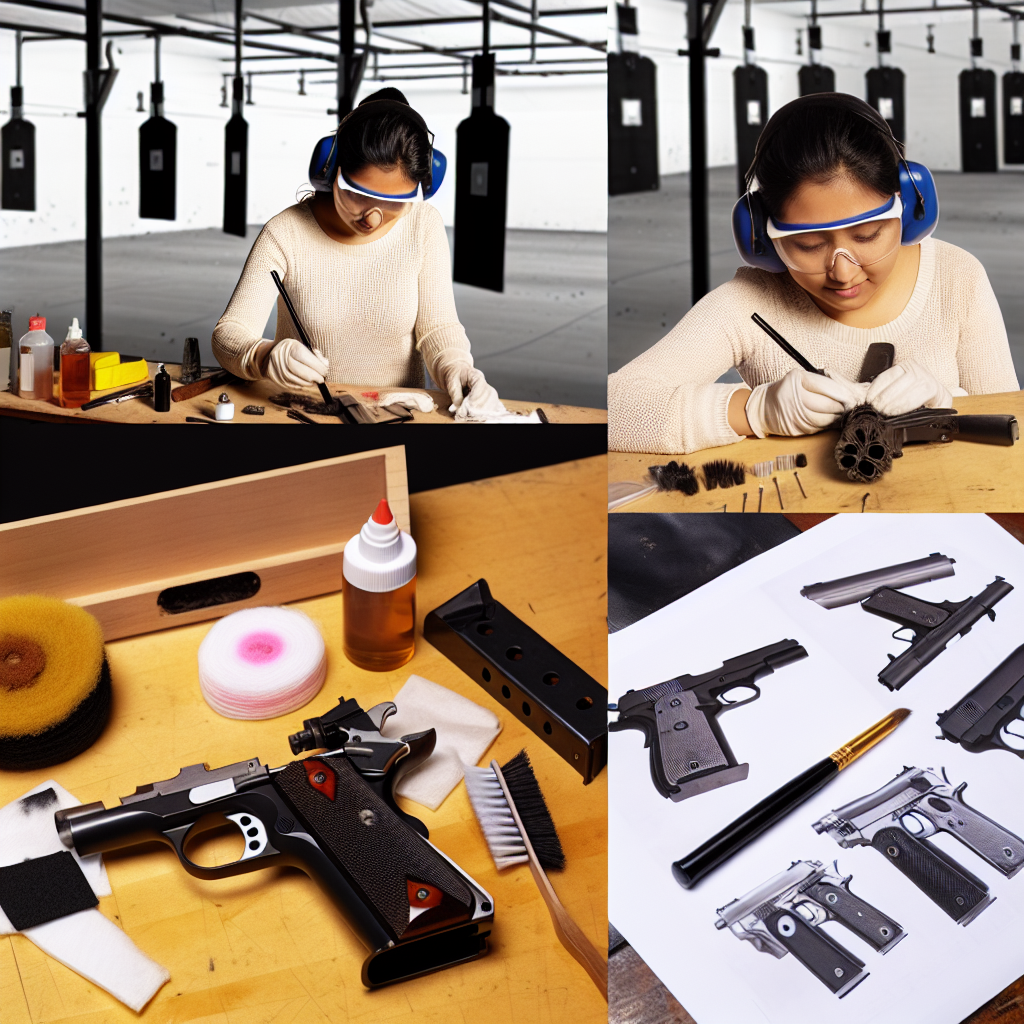
Spending a day at the shooting range is an enjoyable and rewarding experience for firearm enthusiasts. However, the fun doesn’t end when you pack up your gear and leave the range. Properly cleaning your gun after use is crucial to maintaining its performance, reliability, and longevity. Neglecting this essential task can lead to malfunctions, corrosion, and even safety hazards.
In this article, we will explore the importance of cleaning your gun after a day at the range, provide a step-by-step guide to effective cleaning, discuss common mistakes to avoid, and highlight some valuable tips from experts. Whether you’re a novice shooter or an experienced marksman, understanding how to care for your firearm post-range session will help you enjoy shooting safely and consistently.
Why Cleaning Your Gun After Shooting is Essential
Many shooters underestimate the significance of cleaning their firearms immediately after use. However, failing to clean your gun properly can have several adverse effects:
- Preventing Corrosion: When you fire a gun, residue from gunpowder and lead particles accumulate inside the barrel and other components. This residue can be corrosive if left uncleaned, especially in humid or wet conditions.
- Ensuring Reliability: Dirt, fouling, and debris can cause feeding or extraction failures. A clean firearm operates more smoothly and reduces the likelihood of jams or misfires.
- Maintaining Accuracy: Fouling inside the barrel affects bullet trajectory. Regular cleaning keeps your barrel pristine, ensuring consistent shot placement.
- Extending Lifespan: Proper maintenance prevents premature wear and tear on critical parts such as springs, firing pins, and slides.
- Safety Considerations: A well-maintained firearm is less likely to malfunction dangerously during use.
A 2018 study conducted by the National Shooting Sports Foundation (NSSF) revealed that over 60% of firearm malfunctions reported in recreational shooting were linked to improper or inadequate cleaning practices. This statistic underscores how vital it is to develop good post-shooting habits.
The Essential Tools You Need for Cleaning
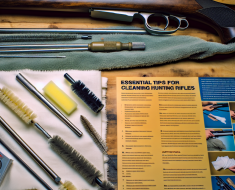
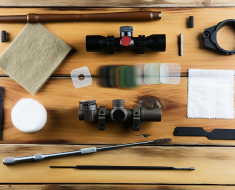
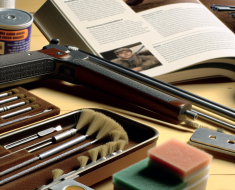
A successful cleaning session requires having the right tools on hand. Investing in quality supplies not only makes the process easier but also helps achieve better results. Here are some fundamental tools every shooter should have:
- Bore Brush: Used to loosen fouling inside the barrel. Available in brass or nylon depending on your firearm type.
- Cleaning Rod or Bore Snake: A rod with attachments or a flexible bore snake for pushing patches through the barrel.
- Patches: Small cloth pieces designed to remove residue when soaked with solvent.
- Gun Cleaning Solvent: Breaks down carbon buildup and powder residues effectively.
- Gun Oil/Lubricant: Protects metal surfaces from rust and ensures smooth mechanical function.
- Nylon Brushes and Toothbrushes: For scrubbing hard-to-reach areas like slide rails or trigger components.
- Cotton Swabs/Q-tips: Perfect for detailed cleaning in small crevices.
- Screwdriver Set/Armorer’s Tools: Needed for disassembly of certain firearms when required.
A good practice is to assemble a dedicated cleaning kit stored in one place so you’re always prepared after each shooting session.
Step-by-Step Guide: How to Clean Your Gun After a Day at the Range
The exact process may vary slightly depending on your firearm model (handgun, rifle, shotgun), but the general principles apply across most types. Below is a comprehensive step-by-step guide designed for typical semi-automatic pistols and rifles:
Step 1: Ensure Safety First
The first priority before any handling is safety. Follow these rules rigorously:
- Muzzle pointed in a safe direction at all times
- Remove magazine (if applicable)
- Open action/bolt to visually inspect chamber ensuring it’s empty
- No ammunition present in your cleaning area
This verification process prevents accidental discharges during cleaning.
Step 2: Disassemble Your Firearm
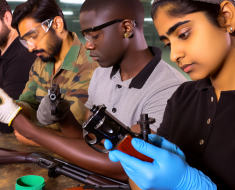
Your owner’s manual will provide specific instructions on how to field-strip your particular model safely. Generally, this involves separating the slide/barrel assembly from the frame (for pistols) or removing bolt carrier groups (for rifles).
A proper disassembly exposes internal parts that require attention during cleaning but avoid full takedown unless experienced or necessary for repairs.
Step 3: Clean the Barrel/Bore
- Add several drops of gun solvent onto a patch and attach it to your cleaning rod or bore snake
- Punch this through from chamber end toward muzzle several times to loosen carbon buildup
- Add a bore brush soaked with solvent; scrub inside barrel with multiple passes (usually around 10-15 strokes)
- Punch clean patches repeatedly until they come out clean (no visible dirt/residue)
Add several drops of gun solvent onto a patch and attach it to your cleaning rod or bore snake. Punch this through from chamber end toward muzzle several times to loosen carbon buildup. Add a bore brush soaked with solvent; scrub inside barrel with multiple passes (usually around 10-15 strokes). Punch clean patches repeatedly until they come out clean (no visible dirt/residue).
Regular cleaning ensures your firearm remains in optimal condition and safe to use.