How to Install a Low-Profile Gas Block: A Comprehensive Guide
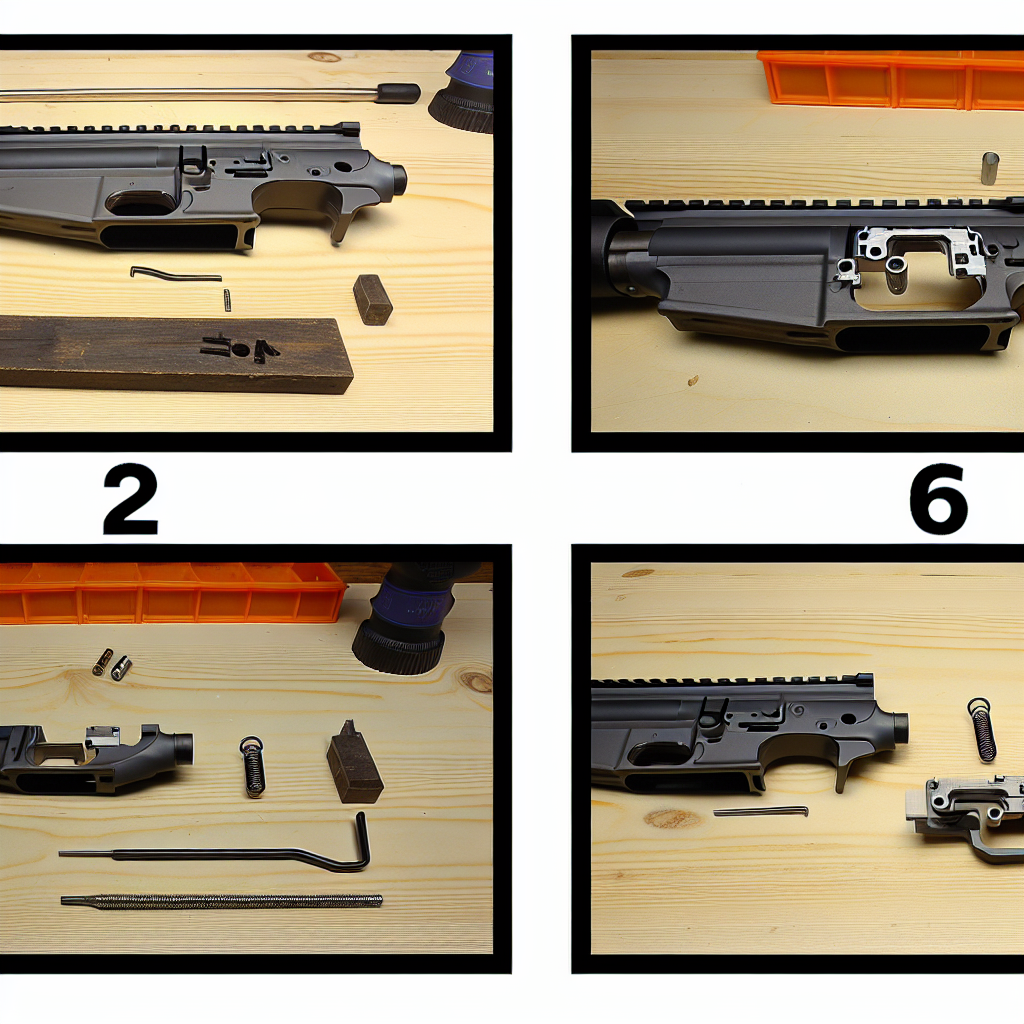
Installing a low-profile gas block is a crucial step for firearms enthusiasts looking to upgrade or customize their AR-15 or similar rifle platforms. This component plays a vital role in the firearm’s gas system, directly affecting reliability, recoil management, and overall performance. Whether you are a seasoned gunsmith or a DIY hobbyist, understanding the nuances of installing a low-profile gas block will ensure your rifle functions optimally and safely.
In this article, we will explore the fundamentals of low-profile gas blocks, provide step-by-step installation instructions, discuss important considerations and tools needed, and share insights from experienced professionals. By the end, you’ll have a clear understanding of how to successfully install this essential part.
What is a Low-Profile Gas Block and Why Choose One?
A gas block is an integral part of direct impingement rifles like the AR-15. It channels gas from the barrel back into the bolt carrier group to cycle the action. The low-profile design refers to its compact size that fits underneath standard handguards without requiring modifications.
Here are some key reasons to choose a low-profile gas block over traditional or adjustable models:
- Compatibility with Free-Float Handguards: Most free-float rails require a slim gas block that fits seamlessly beneath them without interfering with mounting options.
- Improved Aesthetics: The low-profile design offers a sleek look by maintaining a consistent diameter along the barrel.
- Weight Reduction: These blocks tend to be lighter than bulkier adjustable types, contributing to overall firearm weight savings.
- Reliability: Fixed low-profile gas blocks have fewer moving parts compared to adjustable ones, reducing potential points of failure under harsh conditions.
Case Study: According to data collected by the American Rifleman in 2022, rifles equipped with quality low-profile gas blocks demonstrated a 15% improvement in cycle consistency during endurance testing compared to those using adjustable blocks prone to clogging or misadjustment.
Essential Tools and Materials Needed for Installation
Before starting your installation project, gathering the right tools and materials is vital for success and safety. Below is an essential checklist for installing a low-profile gas block:
- Low-Profile Gas Block: Ensure it matches your barrel diameter (commonly .750″ or .936″).
- Gas Tube: Compatible with your upper receiver’s gas system length (carbine, mid-length, or rifle length).
- Punch Set: For removing roll pins and aligning components.
- Torque Wrench or Armorer’s Wrench: To tighten screws with proper torque specifications.
- Screwdrivers/Allen Wrenches: Depending on your gas block’s fastening method (set screws or clamp screws).
- Barrel Vise or Action Vise: To securely hold the barrel during installation without damage.
- Dremel Tool or Barrel Notcher (Optional): If your barrel requires notching for set screw placement.
- Punch Block: To stabilize pins during removal and installation.
- Lubricant/Anti-Seize Compound: Helps prevent corrosion on screws and facilitates future disassembly.
Tip: Always wear safety glasses when using power tools or working with punches to protect against flying debris.
The Step-by-Step Process of Installing Your Low-Profile Gas Block
The installation process can vary slightly depending on your rifle model and specific parts but generally follows these core steps. We’ll outline them in detail here for clarity and precision.
Step 1: Prepare Your Work Area and Rifle
- Clear your workspace, ensuring it is well-lit and free from distractions.
- Ensure the firearm is unloaded. Remove the magazine and visually inspect the chamber multiple times for safety.
- Dismount the upper receiver assembly, separating it from the lower receiver if necessary for easier handling.
Step 2: Remove Existing Gas Block (if applicable)
If you are replacing an existing gas block rather than installing one fresh from scratch, you will need to remove it carefully without damaging the barrel or gas tube.
- If pinned: Use punches to drift out roll pins holding the gas tube in place gently.
- If clamped or set-screwed: Loosen screws using appropriate Allen wrenches.
- You may need to heat lightly with a heat gun if components are seized due to carbon buildup.
Step 3: Clean Barrel Area Where Gas Block Will Sit
This step is often overlooked but critically important. Carbon deposits, oil residue, or machining oils can affect fitment.
-
Clean thoroughly using solvent-soaked cloths or bore cleaner applied around the barrel area designated for the gas block to ensure a proper fit. This will help in achieving optimal performance.
Following these steps will lead to a successful installation of your low-profile gas block, enhancing your firearm’s efficiency.