How to Build a Reloading Bench on a Budget
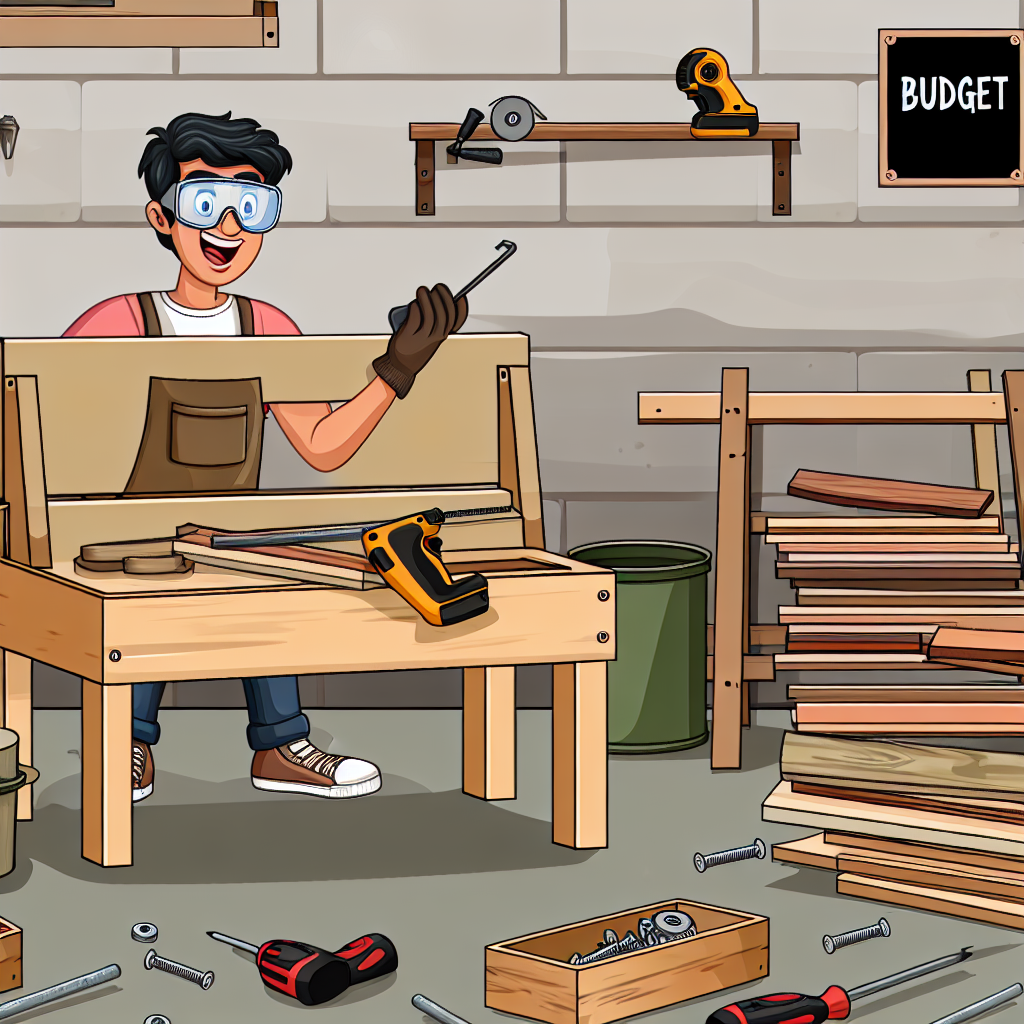
Reloading your own ammunition can be both a rewarding and cost-effective hobby, but it requires a dedicated workspace tailored to your needs. A reloading bench is the heart of this setup, offering organization, safety, and efficiency. However, building a functional and durable reloading bench doesn’t have to break the bank. This guide will walk you through how to build a reloading bench on a budget while ensuring it meets all the essential requirements for a safe and productive reloading experience.
Why Build Your Own Reloading Bench?
Many shooters opt for factory-made reloading benches, but these can be expensive and sometimes lack customization options. Building your own bench allows you to tailor the dimensions, storage solutions, and layout to your specific workflow. Moreover, DIY projects enable significant savings — often reducing costs by 50% or more compared to commercial options.
According to a survey conducted by Shooting Sports Retailer in 2023, over 60% of reloaders prefer customized setups tailored to their individual process flow. By building your own bench, you can optimize for ergonomics and space constraints while incorporating storage solutions that keep components organized and safe.
Essential Considerations Before You Begin
Before diving into construction, it’s crucial to plan carefully. A well-designed reloading bench should address several key factors:
- Size and Space: Measure the area where the bench will go. Consider available wall space, room for seating, and clearance around the bench.
- Work Surface: Choose a durable surface material that can withstand repeated use, spills, and potential drops.
- Storage Needs: Plan for storage of powders, primers, cases, bullets, and tools. Safety dictates that some items must be stored securely.
- Lighting and Power: Adequate lighting is essential for precision work; consider integrating power outlets for electric presses or other tools.
- Safety: A solid bench with enough weight prevents tipping or movement during pressing operations.
Taking time with these considerations will save you from costly mistakes later.
Materials: Balancing Cost with Durability
The choice of materials significantly impacts both cost and functionality. Here are some budget-friendly options that maintain durability:
- Lumber: Pine or fir are affordable softwoods ideal for framing the bench structure. For the work surface, plywood or MDF (medium-density fiberboard) are economical choices that provide smooth surfaces.
- Countertop Options:
- Plywood topped with laminate sheets offers durability at low cost.
- A thick piece of MDF painted with durable enamel can resist spills.
- A salvaged hardwood slab or butcher block from reclaimed wood stores can add character without breaking the bank.
- Fasteners: Use screws rather than nails for better stability. Wood glue adds extra strength at joints without significant added expense.
- Storage Components: Repurpose old drawers or plastic bins instead of purchasing specialized storage units. Pegboards are inexpensive tools organizers that can be mounted above the bench.
A case study shared by an experienced reloader on Reddit’s r/reloading community detailed building a sturdy workbench using $50 worth of lumber combined with repurposed shelving units — demonstrating significant savings without compromising quality.
Step-by-Step Guide: Building Your Reloading Bench
This step-by-step guide outlines how to build an efficient reloading bench with minimal expenses while maximizing functionality:
Step 1: Planning & Measuring
Create a rough sketch including dimensions based on your available space and workflow preferences. Typical benches range from 48” to 72” wide and about 24” deep with a height between 30”–36” depending on seating style (standing or sitting).
Step 2: Building the Frame
- Select sturdy lumber such as 2x4s for legs and support beams.
- Create four legs cut to desired height plus cross braces between legs for added stability.
- Screw together frame pieces ensuring square corners using carpenter’s square.
Step 3: Attaching the Work Surface
- Select your top material (plywood or MDF preferred).
- If using plywood, consider laminating it with contact paper or painting it with enamel paint for easier cleaning.
- Screw the top securely onto the frame ensuring no movement during use.
Step 4: Adding Storage Solutions
- Add shelves beneath the table surface using leftover plywood pieces to store larger items like powder containers safely out of direct reach if desired.
- Create compartments or add repurposed drawers to organize small parts like primers or bullet boxes.
- Mount pegboards above the bench surface for hanging frequently used tools such as calipers, case trimmers, and scales — pegboards typically cost under $20 at hardware stores.
Step 5: Integrating Lighting & Power
Step 5: Integrating Lighting & Power is essential for a well-functioning reloading bench. Install bright LED lights above the workspace and consider adding power outlets for convenience.
With these steps, you can create an efficient and budget-friendly reloading bench tailored to your needs.