How to Replace Your Firearm’s Hammer Spring: A Comprehensive Guide
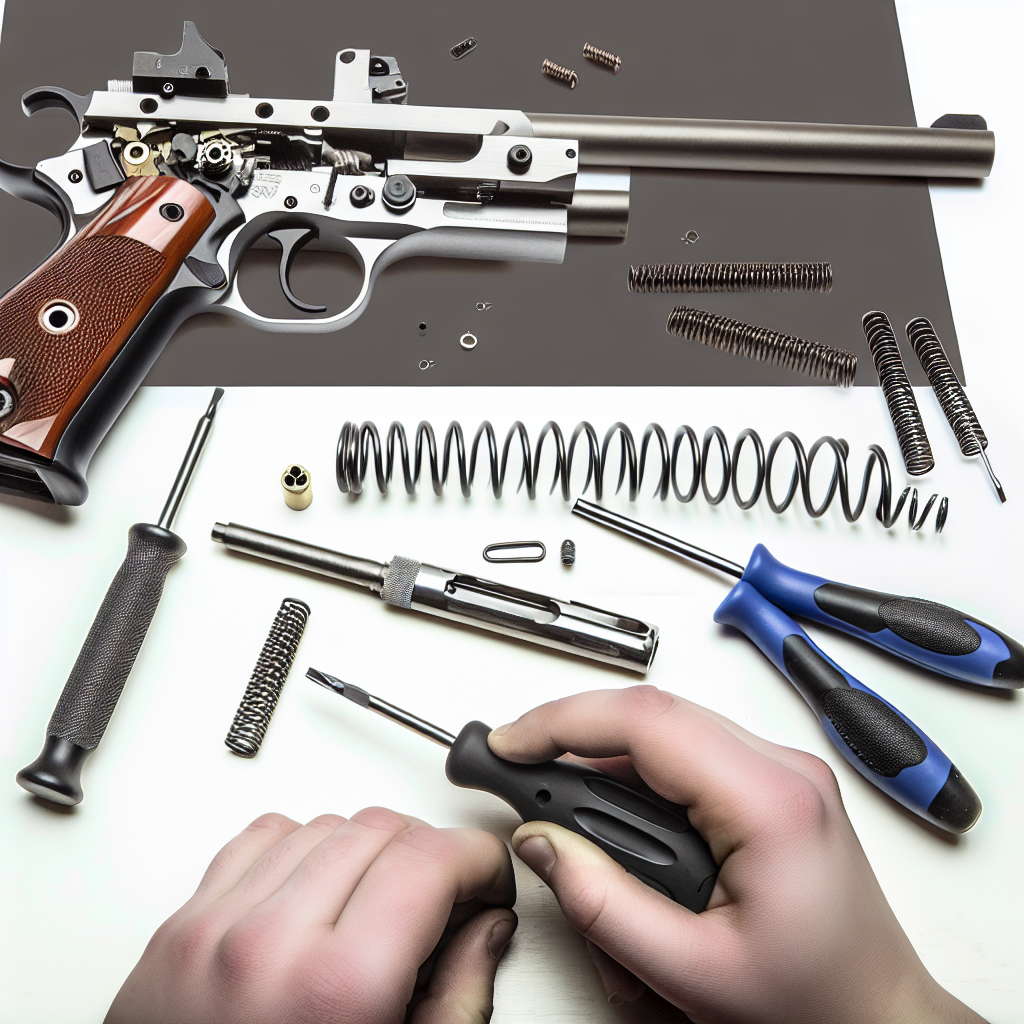
Maintaining your firearm is essential for ensuring its reliability, safety, and longevity. Among the many components that require periodic attention, the hammer spring plays a pivotal role in the function of many firearms. Whether you’re an experienced gunsmith or a dedicated firearm enthusiast, knowing how to replace your firearm’s hammer spring can save you time and money while enhancing your shooting experience.
This article will provide a detailed, step-by-step guide on replacing your firearm’s hammer spring. We’ll explore the importance of the hammer spring, common signs it needs replacement, necessary tools, and safety precautions. Additionally, we’ll delve into relevant case studies and statistics that emphasize the significance of proper maintenance.
Understanding the Role of the Hammer Spring in Your Firearm
The hammer spring is a crucial component inside many firearms that influences the firing mechanism’s performance. It provides the necessary tension to propel the hammer forward, striking the firing pin and igniting the primer of a cartridge.
Without a properly functioning hammer spring, your firearm may experience misfires, light strikes, or inconsistent trigger pulls. This can compromise safety and accuracy.
- Types of Hammer Springs: Depending on the firearm model, hammer springs can be coil springs (helical) or leaf springs. Coil springs are more common in modern pistols and rifles.
- Function: The tension provided by the hammer spring determines the energy delivered to the firing pin.
- Wear and Tear: Over time, repeated use can weaken or deform the spring, leading to performance issues.
For instance, Glock pistols utilize a dual-striker system with two springs working together for reliable striker energy. In contrast, traditional revolvers like Smith & Wesson models use coil hammer springs that are more susceptible to wear due to their mechanical design.
Signs Your Firearm’s Hammer Spring Needs Replacement
Recognizing when your hammer spring needs replacement is critical for maintaining optimal firearm performance. Here are some common indicators:
- Light Strikes: When pulling the trigger results in a weak strike on the primer causing failure to fire.
- Inconsistent Trigger Pull: Variations in trigger pull weight or feel can signal spring fatigue or damage.
- Misfires or Failure to Fire: Regular misfires despite using quality ammunition may indicate insufficient hammer energy.
- Noisy or Stiff Mechanism: Unusual noises or difficulty cocking/decocking might be related to spring problems.
A case study conducted by a firearms repair shop in Texas showed that out of 100 pistols brought in for misfire issues, over 40% had weakened or broken hammer springs contributing directly to their malfunctioning condition. This highlights how often this component is overlooked despite its importance.
Tools and Safety Precautions for Replacing Your Hammer Spring
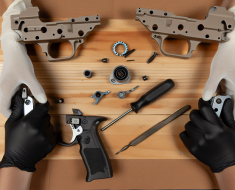
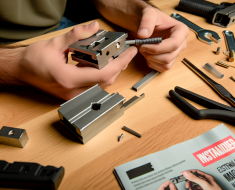
Before beginning any disassembly or replacement work on your firearm, it is imperative to prioritize safety and have the proper tools at hand. Here’s what you need:
- Safety Glasses: Protect your eyes from potential spring snaps or debris.
- Punch Set: Useful for driving out pins holding components in place.
- Screwdrivers/Hex Keys: Depending on your firearm model.
- Tweezers or Needle-nose Pliers: For handling small parts carefully.
- Gunsmithing Mat: To keep parts organized and prevent damage during disassembly.
- User Manual or Schematic Diagram: Essential for understanding specific assembly details for your firearm model.
Safety Precautions
- Unload Your Firearm Completely: Remove all ammunition from the chamber and magazine before starting any work.
- Work in a Clean Environment: Avoid distractions and ensure good lighting for better visibility of small parts.
- Avoid Forcing Parts: If something doesn’t come apart easily, consult a manual rather than applying excessive force which may cause damage.
The Step-by-Step Process to Replace Your Firearm’s Hammer Spring
The process of replacing a hammer spring varies slightly depending on firearm make and model but generally follows these core steps. We will outline a generic procedure applicable to most coil-spring systems found in semi-automatic pistols and revolvers.
Step 1: Disassemble Your Firearm
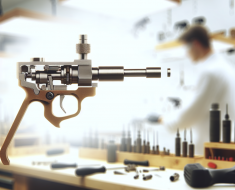
Your first task is to field strip your firearm according to manufacturer instructions. Typically this involves removing the slide (for pistols), cylinder (for revolvers), grips, or other external parts obstructing access to internal components such as the hammer assembly. Ensure all ammunition is removed prior to this step!
Step 2: Locate and Remove Hammer Assembly
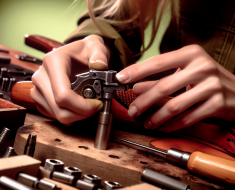
The hammer assembly houses both the hammer itself and its associated springs. Depending on design complexity, you may need to remove retaining pins using punches carefully. Keep track of all parts removed; photographing each stage can be helpful for reassembly later on.