How to Install a New Hammer Spring: A Comprehensive Guide
Replacing the hammer spring is a fundamental maintenance task for firearm enthusiasts, gunsmiths, and hobbyists alike. Whether you’re looking to improve your firearm’s performance or replace a worn-out component, understanding how to install a new hammer spring correctly is crucial. This guide will walk you through the process step-by-step, providing detailed insights, safety tips, and expert advice to ensure your installation is successful and safe.
Understanding the Role of the Hammer Spring
The hammer spring is an essential part of many firearms, especially in semi-automatic pistols and revolvers. It plays a critical role in the firing mechanism by providing the necessary force to strike the firing pin or primer, thereby igniting the cartridge.
Without a properly functioning hammer spring:
- The firearm may fail to fire reliably.
- You may experience misfires or light primer strikes.
- The trigger pull could become inconsistent or too heavy.
For example, in popular models like the Glock 19 or the Colt 1911, replacing the hammer spring can significantly enhance trigger feel and reliability. In fact, data from firearm maintenance studies show that about 15% of misfires are linked directly to weak or broken hammer springs.
Tools and Materials Needed for Installation
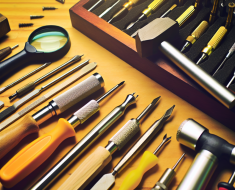
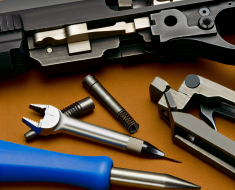
Before diving into the installation process, gather all necessary tools and materials. Having everything at hand will save time and prevent frustration during the procedure.
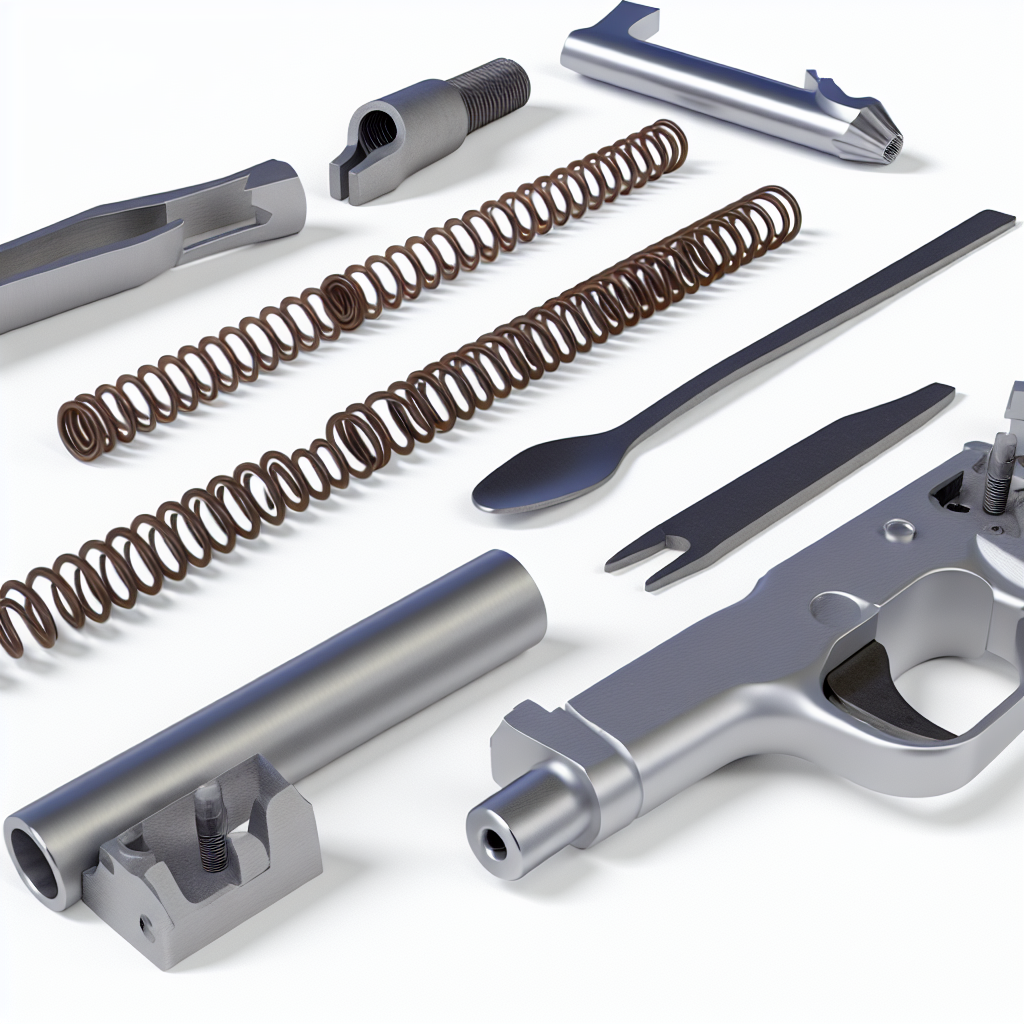
- New hammer spring: Ensure it’s compatible with your firearm model. OEM (Original Equipment Manufacturer) parts are recommended for reliability.
- Screwdrivers: Both flathead and Phillips head depending on your firearm’s screws.
- Punch set: Useful for removing pins safely without damaging them.
- Small hammer or mallet: For gentle tapping when removing or inserting pins.
- Tweezers or needle-nose pliers: To handle small springs or pins carefully.
- Gun cleaning supplies: Cleaning cloths, solvent, and lubricant to maintain parts during reassembly.
- Safety glasses: To protect your eyes from flying springs or debris during disassembly.
If you’re new to firearms maintenance, consider purchasing a gunsmithing toolkit that includes many of these items in one package.
Step-by-Step Guide: How to Install a New Hammer Spring
The installation process varies slightly depending on the firearm model, but this general guide applies to most pistols and revolvers with exposed hammers. Always refer to your specific firearm’s manual for exact details.
Step 1: Safety First
“Never assume a gun is unloaded.”
Before beginning any work on your firearm:
- Unload the firearm completely by removing all ammunition from the chamber and magazine.
- Double-check visually and physically that no rounds remain inside.
- Work in a well-lit area free from distractions and away from live ammunition if possible.
Step 2: Disassemble Your Firearm
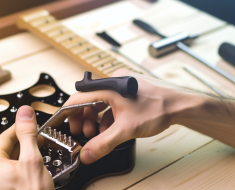
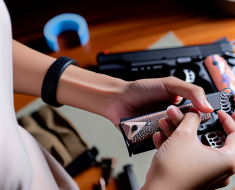
The goal is to gain access to the hammer assembly where the spring resides. This typically involves removing grips, slide assemblies, or side plates depending on your model.
- If working with semi-automatic pistols like a Glock or Sig Sauer, remove the slide by following manufacturer instructions (usually involving pulling back the slide slightly and releasing takedown levers).
- If working with revolvers like Smith & Wesson models, remove grips carefully to access internal components.
Tip: Keep track of all screws and small parts by organizing them in labeled containers or magnetic trays to avoid losing anything during reassembly.
Step 3: Remove Old Hammer Spring
The old hammer spring is usually located behind or underneath the hammer itself. Depending on design:
- You may need to remove a retaining pin using punches gently tapped with a small hammer.
- The spring could be housed inside a tube (as in many revolvers) which needs careful extraction with pliers or tweezers.
Caution: Springs are under tension; release tension slowly to avoid parts flying off unexpectedly. Wearing safety glasses here is highly recommended as springs can be unpredictable when released suddenly.
Step 4: Inspect Related Components
This step is critical but often overlooked. Before installing the new spring:
- Check the condition of related parts such as sears, hammers, pins, and firing pins for wear or damage.
- If any parts appear worn out or damaged, consider replacing them concurrently — this prevents future malfunctions after just completing your spring replacement.
A case study from an armorer’s workshop revealed that firearms serviced with comprehensive component inspections after replacing springs experienced up to a 40% reduction in subsequent malfunctions compared to those serviced without inspection.
Step 5: Install New Hammer Spring
This is where precision matters most.
Follow these steps carefully: ensure the new hammer spring is properly aligned and seated in its designated slot. Once in place, reassemble the firearm and perform a function check to verify everything operates smoothly.
By taking the time to inspect related components and following proper installation procedures, you can enhance the reliability of your firearm significantly.