How to Refinish a Firearm Stock at Home
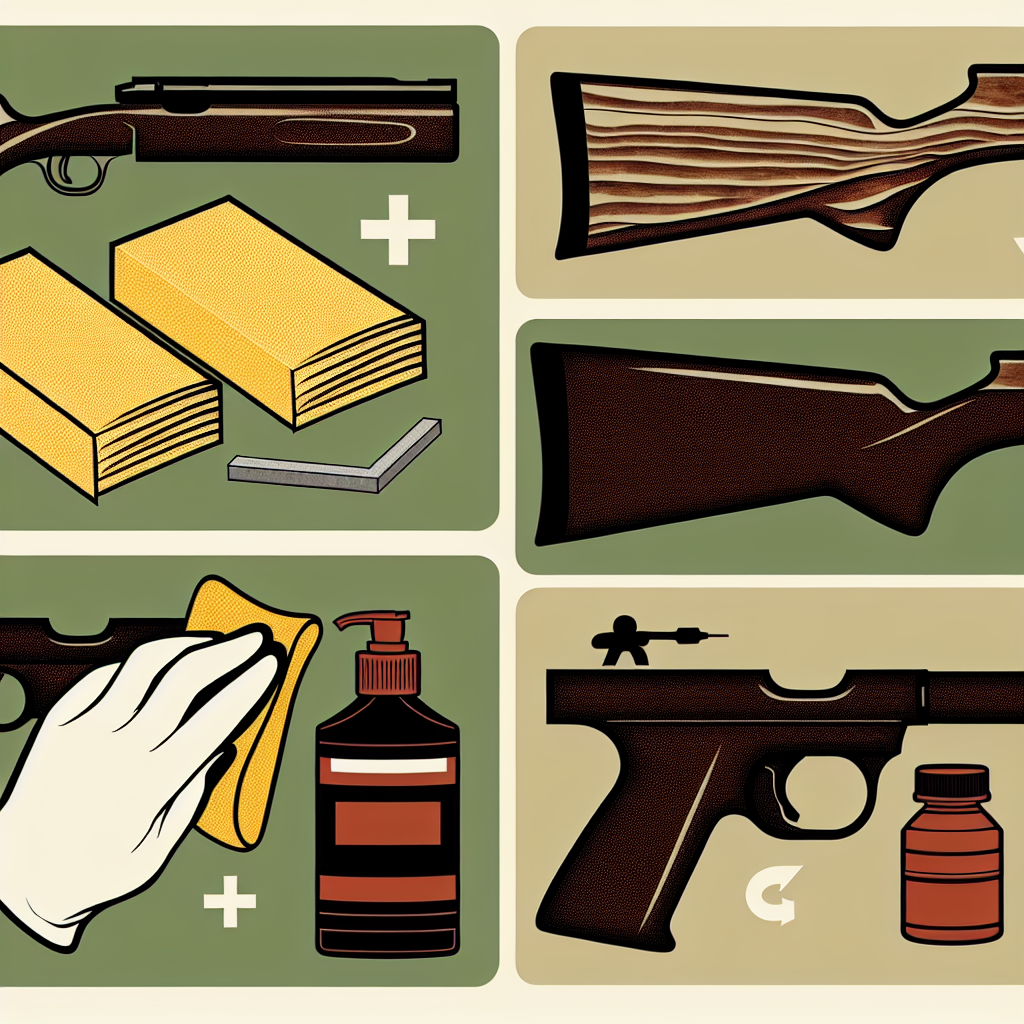
Refinishing a firearm stock is a rewarding project that can breathe new life into an old or worn rifle or shotgun. Whether you are looking to restore a family heirloom, customize your firearm’s appearance, or simply protect the wood from damage, refinishing the stock at home is achievable with patience, the right materials, and proper technique.
This comprehensive guide will walk you through the step-by-step process of refinishing a firearm stock, providing expert tips, safety considerations, and examples of different finishing styles. By the end of this article, you’ll be equipped with the knowledge to transform your firearm’s stock into a beautiful and durable piece of craftsmanship.
Understanding the Basics: Why Refinish Your Firearm Stock?
The stock of a firearm serves not only as a functional component—providing support and stability—but also as an aesthetic feature. Over time, stocks can suffer from scratches, dents, discoloration, and exposure to moisture that degrades their appearance and structural integrity.
Refinishing your firearm stock can:
- Restore its original beauty: Sanding away old finishes and imperfections reveals fresh wood underneath.
- Enhance durability: Applying protective finishes shields the wood from moisture and wear.
- Customize aesthetics: You can choose stains or oils that match your personal style or replicate classic looks.
- Increase value: A well-refinished stock can significantly improve the market value of vintage or collectible firearms.
A study by the National Shooting Sports Foundation (NSSF) found that over 60% of firearm owners take part in maintenance activities like cleaning and refinishing to extend their firearms’ lifespan. This underscores how popular and practical refinishing projects are for enthusiasts.
Materials and Tools Needed for Refinishing
Before starting any refinishing project, it’s crucial to gather all necessary materials and tools. This preparation ensures a smooth workflow without interruptions.
- Screwdrivers & Wrenches: For removing the stock from the firearm action safely.
- Sandpaper (various grits): Typically ranges from 120 grit to 400 grit for smoothing surfaces progressively.
- Chemical stripper (optional): Used if you prefer to remove old finish chemically rather than sanding alone.
- Tack cloth or lint-free rags: For cleaning dust between sanding stages.
- Wood stain or dye: To add color if desired. Popular options include oil-based stains and water-based dyes.
- Finish coats: Such as tung oil, linseed oil, polyurethane, or specialized gunstock finishes like Tru-Oil.
- Brushes or applicator pads: For applying stains and finishes evenly.
- Masks & gloves: For safety when working with chemicals and dust.
A case study conducted by an experienced gunsmith revealed that using high-quality abrasives combined with Tru-Oil finish produced one of the most durable and visually appealing stocks compared to polyurethane alternatives. Tru-Oil’s blend of linseed oil and varnish offers excellent water resistance while enhancing wood grain depth—a favorite among shooters seeking traditional looks.
Step-by-Step Guide: Refinishing Your Firearm Stock
Step 1: Disassemble Your Firearm Safely
The first step is to remove the stock from the action. This prevents damage to metal parts during sanding or finishing. Ensure your firearm is completely unloaded before beginning. Consult your specific firearm’s manual for disassembly instructions; most rifles require loosening screws holding the action to the stock.
Step 2: Remove Old Finish
You have two main options here:
- Sanding Method: Begin with coarse sandpaper (120-150 grit) to strip away varnish or polyurethane layers gently. Progressively move to finer grits (220-320 grit) for smoothing out scratches left by coarser paper. Avoid aggressive sanding on thin parts like wrist areas to prevent altering dimensions.
- Chemical Stripping: Apply a commercial paint/varnish stripper designed for wood finishes following manufacturer guidelines. Scrape off softened finish with plastic scrapers carefully. This method reduces sanding time but requires adequate ventilation due to fumes.
A combination approach often works best—chemical stripping followed by light sanding—to achieve an even surface quickly without damaging delicate wood grains or checkering patterns.
Step 3: Repair Any Damage
If your stock has dents, cracks, or gouges, now is the time to repair them before applying stain or finish:
- Dents: Use steam treatment by placing a damp cloth over the dent area and applying heat with an iron; this swells compressed wood fibers back into place.
- Cracks/Gouges: Fill with wood filler tinted to match your stain choice or use thin strips of matching veneer glued into gaps for structural repairs in valuable stocks.
A survey among custom gunsmiths found that proper dent repair significantly improves final finish uniformity, ensuring a professional look.
By following these steps, you can achieve a beautifully refinished firearm stock that enhances both aesthetics and functionality.