How to Install an Adjustable Gas Block: A Comprehensive Guide
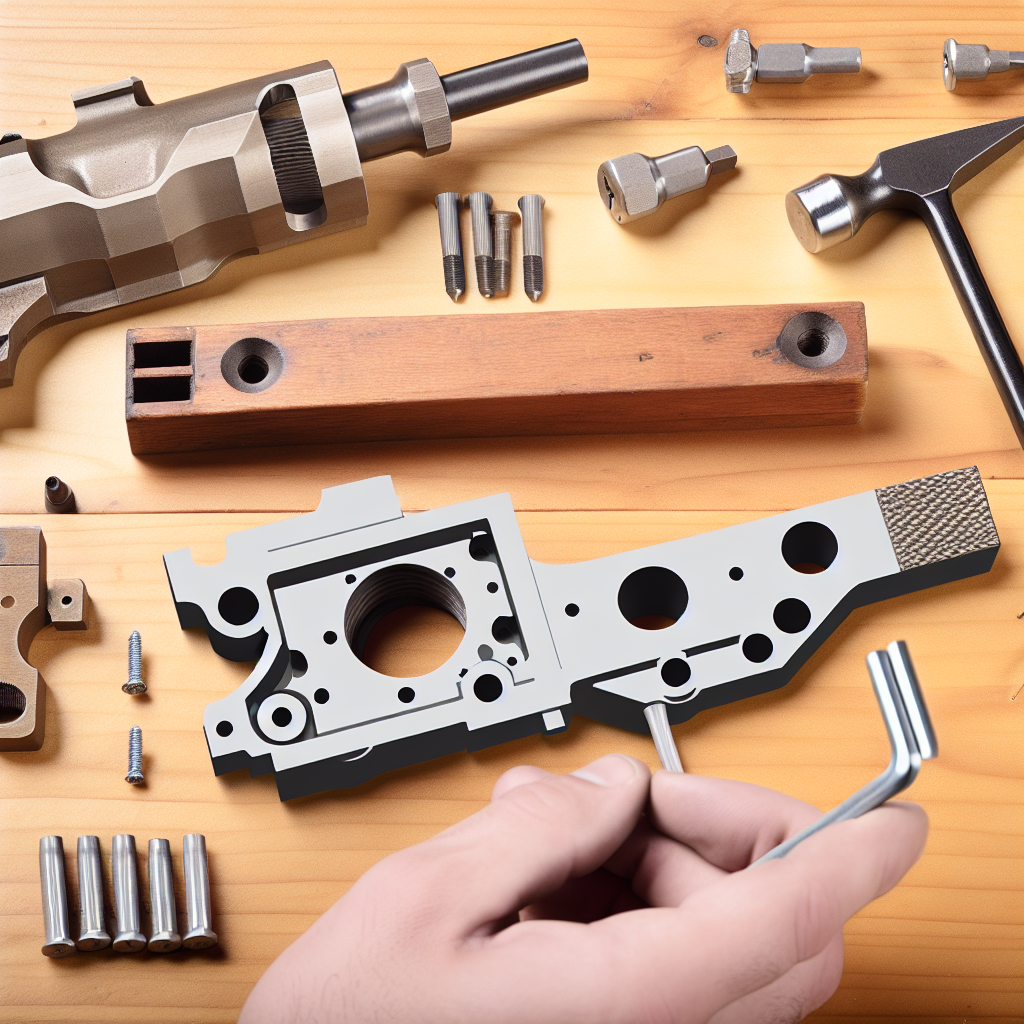
Installing an adjustable gas block on your rifle is a crucial upgrade for improving accuracy, reducing recoil, and enhancing overall firearm performance. Whether you’re a competitive shooter, a hunter, or a tactical enthusiast, understanding the installation process of an adjustable gas block will empower you to customize your firearm to your specific needs. This article will walk you through the detailed steps of installing an adjustable gas block while providing valuable insights into its benefits and best practices.
Understanding the Purpose and Benefits of an Adjustable Gas Block
Before diving into the installation process, it’s essential to understand what an adjustable gas block is and why it matters. The gas block is a component of a direct impingement or piston-operated rifle that regulates the flow of gas from the barrel to cycle the action.
An adjustable gas block allows shooters to fine-tune this gas flow for optimal cycling based on ammunition type, suppressor use, or environmental conditions. This adjustability helps mitigate issues like excessive recoil, muzzle rise, and wear on internal components.
- Improved Reliability: Adjusting the gas flow ensures consistent cycling with different ammo loads or when using a suppressor.
- Reduced Recoil: By limiting excess gas pressure, shooters experience less felt recoil and quicker follow-up shots.
- Enhanced Accuracy: Less recoil and muzzle flip contribute to better shot placement over extended shooting sessions.
- Prolonged Component Life: Controlling gas pressure reduces stress on the bolt carrier group and buffer system.
A study by The Firearm Technology Institute found that rifles equipped with adjustable gas blocks had a 35% reduction in felt recoil compared to those with fixed blocks when firing supersonic ammunition. This data underscores how beneficial this upgrade can be for both casual shooters and professionals alike.
Essential Tools and Materials Needed for Installation
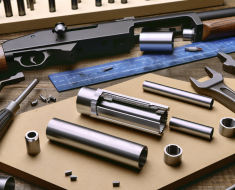
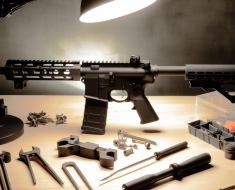
Having the right tools at hand before starting your installation can save time and prevent damage to your rifle. Below is a list of common tools required:
- Adjustable Gas Block: Ensure compatibility with your barrel diameter (e.g., .750″, .625″).
- Roll Pin Punch Set: For installing or removing roll pins without damaging them.
- Torque Wrench or Armorer’s Wrench: To apply precise torque to screws or nuts.
- Screwdrivers (Flathead & Phillips): For set screws on some models.
- Loctite Threadlocker (Blue): To secure screws and prevent loosening due to vibration.
- Punch Set: To remove existing pins or components.
- Muzzle Device Wrench (Optional): To remove muzzle devices if necessary for access.
- Bore Light or Cleaning Rod: To ensure barrel alignment after installation.
If you’re working on an AR-15 platform, keep in mind that barrels come in different profiles and diameters. For instance, lightweight barrels often have .625″ diameter sections near the gas block area, whereas standard barrels are usually .750″. It’s critical to select an adjustable gas block matching your barrel size for proper fitment.
Step-by-Step Guide: How to Install Your Adjustable Gas Block
The installation process requires attention to detail but can be completed by any shooter with basic mechanical skills. Follow these steps carefully:
Step 1: Prepare Your Work Area and Rifle
- Ensure Safety First: Make sure your firearm is unloaded. Remove the magazine, clear the chamber, and double-check visually.
- Create a Clean Workspace: Use a stable bench with good lighting. Have all tools organized within reach.
- Dismantle Necessary Components: Remove any handguards or accessories obstructing access to the current gas block.
Step 2: Remove the Existing Gas Block
- If your rifle has a pinned-in fixed gas block, carefully punch out roll pins using appropriate punches without damaging the barrel surface.
- If clamped or screw-mounted, loosen screws gradually; avoid stripping them by using quality screwdrivers matching screw heads precisely.
- If needed, remove muzzle devices temporarily for better access—but remember their original torque specs for reinstallation later!
Step 3: Clean Barrel Surface Where Gas Block Will Sit
- A clean surface ensures proper seating of the new gas block—wipe down with solvent or alcohol wipes as necessary.
- If there’s carbon buildup from previous use, lightly polish using fine steel wool or nylon brushes without scratching metal finish excessively.
Step 4: Align and Install Your Adjustable Gas Block
The alignment between the gas port in the barrel and the hole in your adjustable gas block is paramount for correct function.
- This is often where mistakes happen!
-
You can check alignment visually by shining a bore light through the barrel from the chamber end; look through the adjustment hole on the block—it should line up perfectly with the gas port for optimal performance.
Once aligned, securely fasten the gas block and reassemble your firearm, ensuring everything is properly torqued to specification.