Cleaning Guns After Exposure to Chemicals: Essential Practices for Firearm Maintenance
Firearms are precision instruments that require diligent care and maintenance to ensure optimal performance, safety, and longevity. Among the various maintenance challenges, exposure to chemicals presents a unique and often overlooked hazard that can degrade gun components, impair functionality, and even pose safety risks. Whether through accidental spills, environmental exposure, or cleaning mishaps, chemicals such as solvents, acids, alkalis, or industrial substances can compromise the integrity of a firearm.
This comprehensive article delves into the critical topic of cleaning guns after exposure to chemicals, outlining effective procedures, potential risks, and best practices for gun owners and professionals alike. With detailed insights supported by examples and research, readers will gain a clear understanding of how to protect their firearms from chemical damage while maintaining peak operational condition.
Understanding the Risks: How Chemicals Affect Firearms
Before diving into cleaning methods, it is crucial to understand why chemical exposure is problematic for firearms. Guns are composed of various materials including steel alloys, aluminum, polymers, and wood. Each material reacts differently when exposed to certain chemicals.
Common issues resulting from chemical exposure include:
- Corrosion and rust: Many chemicals accelerate oxidation processes on metal surfaces. For example, acids or salt-based substances can cause pitting corrosion that weakens structural components.
- Material degradation: Harsh solvents or alkalis may deteriorate polymer frames or wooden stocks by causing swelling, cracking, or discoloration.
- Lubricant breakdown: Some chemicals dissolve or wash away protective oils and lubricants essential for smooth operation.
- Malfunction risks: Residual chemicals in internal mechanisms can cause jams or misfires due to altered tolerances or sticky residues.
An example illustrating these risks occurred in 2018 when a law enforcement agency reported increased firearm malfunctions after officers used an industrial degreaser near their weapons without proper cleaning afterward. The degreaser residues corroded critical springs and firing pins over time, necessitating costly repairs and replacements.
Identifying Chemical Exposure: When Should You Clean Your Gun?
Recognizing whether your firearm has been exposed to harmful chemicals is the first step toward appropriate maintenance. Chemical exposure may not always be immediately obvious but indicators include:
- Visible residue or discoloration: Stains, spots, or unusual colors on metal or polymer parts.
- Unusual odors: Strong chemical smells like solvents or acids lingering on the firearm.
- Sticky or slick surfaces: Feelings of tackiness suggesting solvent residue.
- Performance issues: Jamming, failure to cycle properly, or inconsistent trigger pulls that arise after suspected chemical contact.
If any of these signs are present—especially following accidental spills during cleaning with unfamiliar products, exposure in industrial environments, or proximity to hazardous substances—immediate cleaning is recommended to prevent further damage.
The Step-by-Step Process for Cleaning Guns After Chemical Exposure
The cleaning process following chemical exposure requires careful attention to detail and use of appropriate tools and materials. Below is a stepwise guide designed for most common firearms such as pistols and rifles:
Step 1: Ensure Safety First
- Unload the firearm completely: Remove all ammunition before beginning any cleaning procedure to eliminate risk of accidental discharge.
- Select a well-ventilated area: Chemical residues can produce harmful fumes; use outdoor spaces or rooms with exhaust fans if possible.
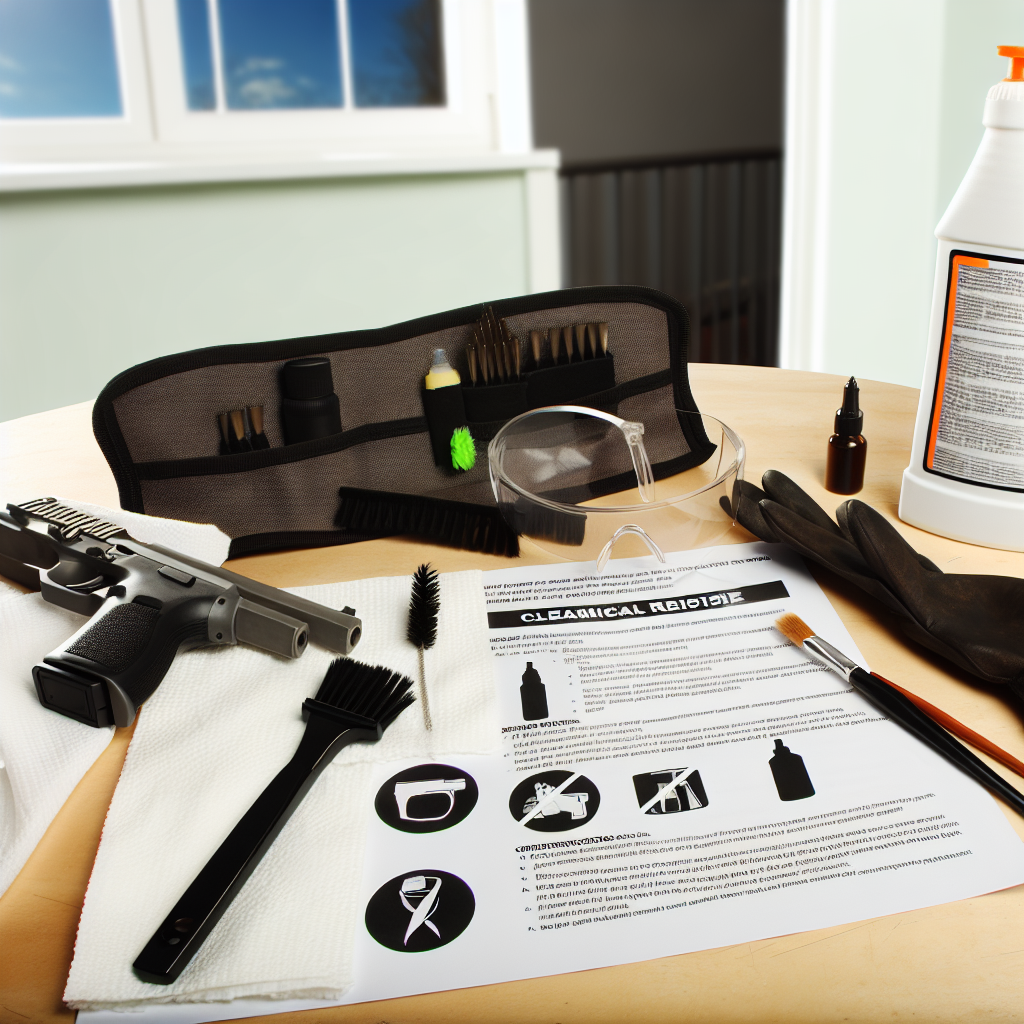
- Wear protective gear: Gloves and eye protection shield you from residual chemicals that may irritate skin or eyes.
Step 2: Disassemble the Firearm
- A partial disassembly helps access all components potentially affected by chemicals—barrel interior, bolt carrier group, springs, frame rails etc.
- If unsure how far to disassemble your specific model safely, consult the manufacturer’s manual or trusted instructional resources.
Step 3: Remove Chemical Residues
- Dab clean cloths with a mild solvent recommended by gun manufacturers (e.g., CLP – cleaner-lubricant-protector) that does not contain harsh acids or alkalines.
- Avoid aggressive chemicals like acetone unless specifically indicated as safe for your firearm’s materials.
- Avoid soaking polymer parts excessively; instead wipe gently to prevent swelling or damage.
- If corrosive agents (e.g., saltwater) were involved, rinse parts carefully with distilled water followed immediately by drying with lint-free cloths to avoid flash rusting.
Step 4: Thorough Drying and Inspection
- Dried with compressed air blowers if available; otherwise use absorbent cloths ensuring no moisture remains trapped inside mechanisms.
- Inspect all components visually for signs of corrosion pits or residual discoloration; repeat cleaning if necessary until parts appear clean and unstained.
Step 5: Lubricate Appropriately
Lubrication restores smooth operation
Lubrication restores smooth operation and protects against future corrosion. Regular maintenance is essential for the longevity and reliability of your firearm.