Tips for Cleaning Guns with Integrated Suppressors
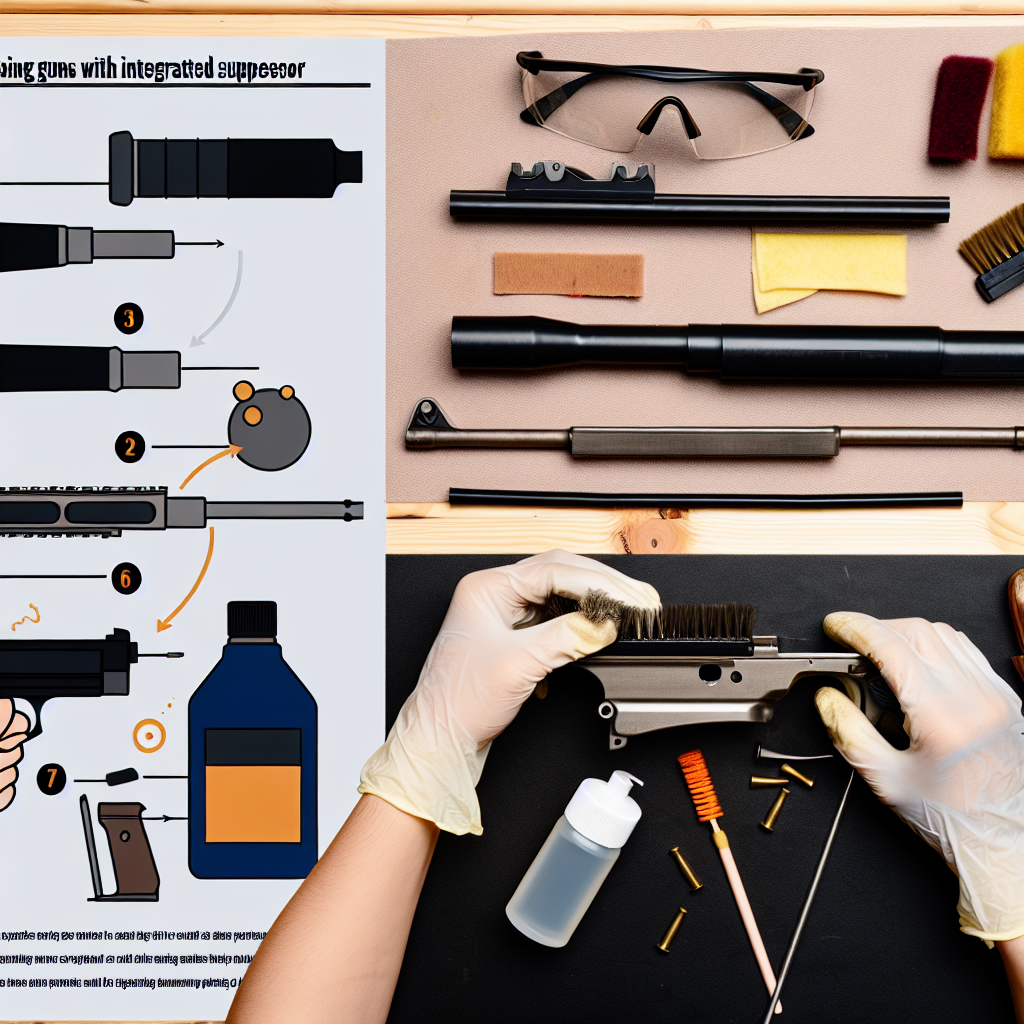
Integrated suppressors are becoming increasingly popular among firearm enthusiasts and professionals alike due to their compact design, reduced recoil, and noise suppression capabilities. Unlike traditional suppressors that can be attached or detached, integrated suppressors are built into the barrel or firearm itself, offering a seamless shooting experience. However, this design also brings unique challenges when it comes to cleaning and maintenance. Proper care is essential to ensure optimal performance, safety, and longevity of these firearms.
In this article, we will explore effective tips for cleaning guns with integrated suppressors, supported by expert insights and practical examples. Whether you’re a seasoned shooter or a beginner, understanding how to properly maintain your integrated suppressor can significantly enhance your shooting experience.
Understanding Integrated Suppressors: Design and Maintenance Challenges
Before diving into cleaning techniques, it’s crucial to understand what sets integrated suppressors apart from traditional models. An integrated suppressor is typically incorporated into the barrel or slide of the firearm. This integration reduces overall length and weight compared to adding a separate suppressor device.
However, this fusion also means:
- Limited disassembly options: Unlike detachable suppressors that can be removed for thorough cleaning, integrated suppressors require specialized methods.
- Complex internal structure: The baffles and expansion chambers inside the suppressor are often tightly fitted within the barrel assembly.
- Increased fouling risk: The gas and residue buildup inside an integrated unit can be more challenging to clean due to restricted access.
The combination of these factors demands careful attention during cleaning routines to avoid damage while ensuring all carbon deposits and residues are effectively removed.
Essential Tools and Supplies for Cleaning Integrated Suppressors
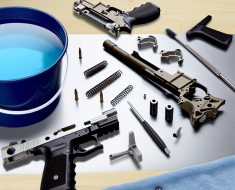
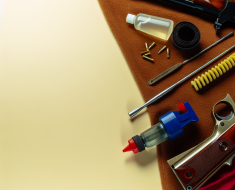
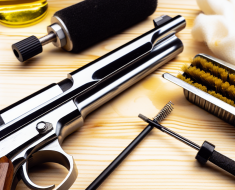
Cleaning an integrated suppressor requires a different set of tools compared to standard firearms maintenance. Here are some must-have supplies that facilitate efficient cleaning:
- Bore brushes: Choose nylon or bronze brushes sized appropriately for your firearm’s caliber to scrub the bore and internal surfaces.
- Cleaning rods with flexible extensions: These help navigate through the complex baffle system without causing damage.
- Solvents specifically formulated for carbon fouling: Products such as Hoppe’s No. 9 or dedicated suppressor cleaners break down tough residues.
- Patches: High-quality cotton patches absorb loosened fouling and solvents effectively.
- Nylon picks or dental tools: Useful for reaching tight spots inside the suppressor where residue accumulates.
- Lubricants and anti-corrosion sprays: To protect metal surfaces after cleaning.
Avoid using overly abrasive tools like steel brushes or harsh chemicals that could degrade the material integrity of the suppressor’s components.
Step-by-Step Guide: Cleaning Your Gun with an Integrated Suppressor
The following stepwise procedure provides a comprehensive approach to maintaining your firearm with an integrated suppressor:
1. Safety First: Ensure the Firearm is Unloaded
“Always treat every firearm as if it is loaded.”
This fundamental rule applies even more stringently when performing maintenance. Remove all ammunition from the area and visually inspect both the chamber and magazine to confirm no rounds remain in the weapon before proceeding.
2. Disassemble According to Manufacturer Instructions
The degree of disassembly possible varies depending on your firearm model. Many integrated suppressor systems allow partial disassembly such as removing the slide or barrel assembly but do not permit separating the suppressor itself.
If unsure about proper disassembly techniques, consult your owner’s manual or manufacturer resources. Improper handling may void warranties or cause damage.
3. Apply Solvent Generously Inside the Suppressor
Drench a bore brush or patch with carbon-fouling solvent and insert it carefully into the bore running through the integrated suppressor section. Letting solvent soak helps loosen stubborn deposits formed during shooting sessions.
4. Scrub Gently Using Bore Brushes and Picks
Smoothly move bore brushes back and forth inside the bore without forcing them too hard against internal surfaces. Use nylon picks to target small crevices where residue accumulates around baffles or expansion chambers inside the unit.
5. Remove Residue Using Patches
Punch clean cotton patches through multiple times until they come out clean on each pass through the bore/suppressor path. This ensures that loosened fouling is completely cleared away rather than redistributed internally.
6. Clean External Surfaces Thoroughly
The exterior of both barrel and integrated suppressor should be wiped down using solvent-soaked cloths followed by dry rags. Pay attention to nooks where grime may build up such as around mounting points or threading if applicable.
7. Lubricate Moving Parts Lightly After Cleaning
A light application of lubricant on moving components helps prevent corrosion while maintaining smooth operation during firing cycles. Avoid excess lubrication which can attract dirt or interfere with function inside suppressed barrels.
Common Mistakes When Cleaning Integrated Suppressors—and How to Avoid Them Certain pitfalls can undermine cleaning efforts or even cause damage to the suppressor or firearm. It’s essential to follow proper techniques to maintain both performance and longevity.
Regular maintenance ensures optimal function and safety, so always take the time to clean your equipment thoroughly.