Step-by-Step Guide to Reloading Your First Batch of Ammo
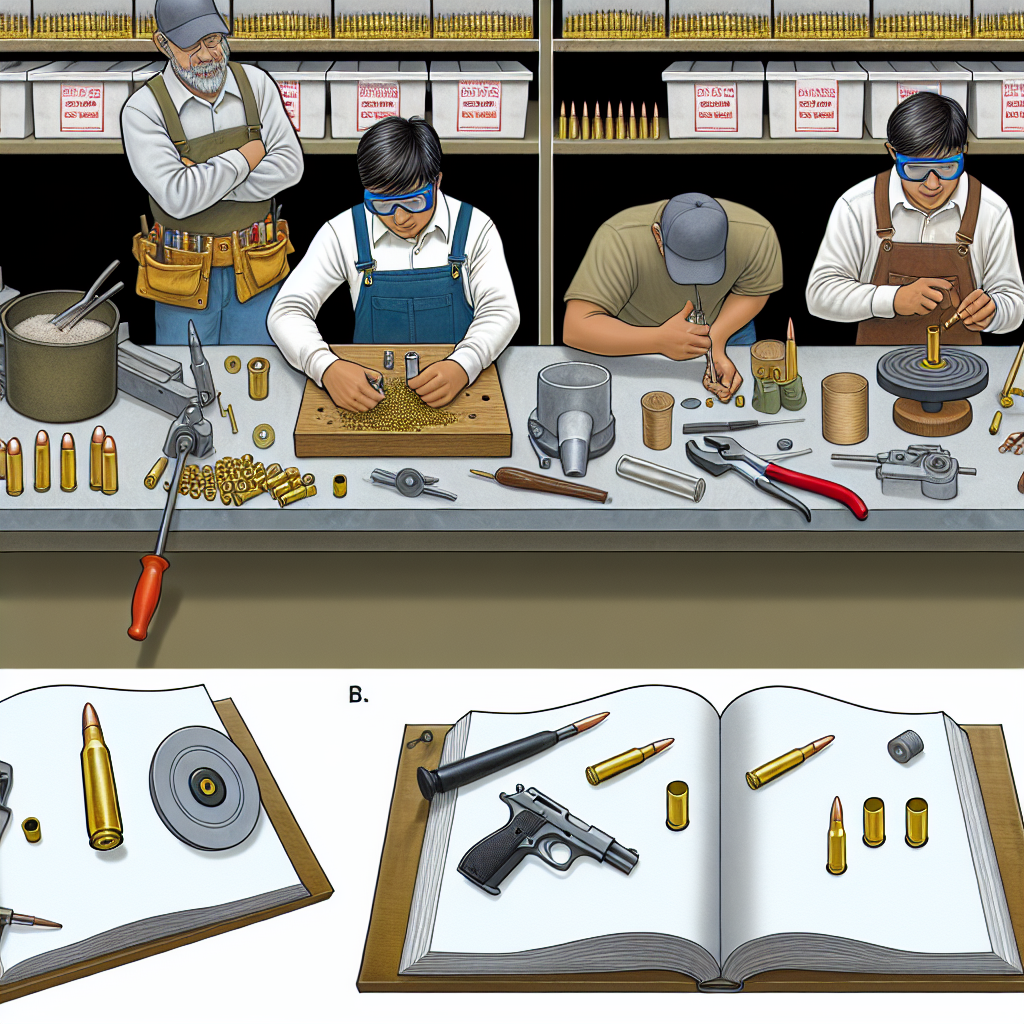
Reloading your own ammunition can be a rewarding and cost-effective way to ensure you always have quality rounds on hand. Whether you’re a seasoned shooter looking to improve your ballistics or a beginner eager to understand the intricacies of ammunition, this guide will walk you through the essential steps to reload your first batch of ammo safely and effectively.
Why Reload Ammo? Benefits and Considerations
Reloading ammo is more than just a hobby—it’s a practical skill with numerous advantages. Understanding why many shooters choose to reload can help you appreciate the process and motivate you as you embark on this journey.
- Cost Savings: The price of factory-loaded ammunition has risen significantly over the past decade. According to data from the National Shooting Sports Foundation, handloading components can reduce costs by up to 50%, especially for popular calibers like .223 Remington or 9mm Luger.
- Customization: Reloading allows you to tailor loads for specific firearms, improving accuracy and performance. For example, competitive shooters often develop custom loads optimized for their particular rifles or pistols.
- Supply Security: During periods of ammunition shortages, such as seen during recent years, reloaders maintain a steady supply by producing their own rounds.
- Environmental Impact: By reusing brass casings and reducing waste, reloading can be an eco-friendlier alternative compared to buying factory ammo.
While reloading offers many benefits, it also requires diligence and attention to detail. Safety is paramount since improper loading can lead to dangerous malfunctions. This guide emphasizes safety at every step.
Essential Equipment and Materials You Need
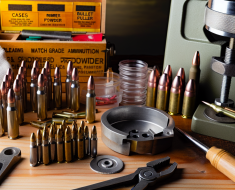
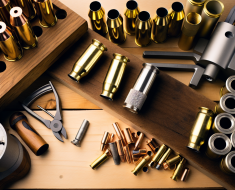
Before starting your first batch of reloads, gathering the right tools is crucial. Here’s an overview of essential equipment along with some recommendations based on reliability and user-friendliness.
- Reloading Press: The cornerstone tool for resizing cases and seating bullets. Beginner reloaders often start with a single-stage press like the RCBS Rock Chucker or Lee Classic Cast due to their simplicity.
- Dies: Caliber-specific dies are necessary for resizing brass, expanding necks, and seating bullets. Most die sets include a full-length sizing die and a bullet seating die.
- Shell Holder: Matches your caliber and fits into your press; it holds the brass during resizing.
- Powder Scale: Accurate powder measurement is critical. Digital scales like the Hornady Lock-N-Load Auto Charge are popular for precision.
- Powder Measure or Powder Trickler: Helps dispense powder charges consistently.
- Calipers: Used to measure overall cartridge length (OAL) ensuring consistency and safety.
- Bristle Brush or Ultrasonic Cleaner: For cleaning brass before reloading; clean cases ensure reliable primers seating and consistent performance.
- Primer Tool: To seat new primers safely into resized cases; some presses have integrated primer seating options.
You’ll also need high-quality components such as:
- Bristol Brass Cases: Either once-fired or new (new brass is recommended for beginners).
- Bulllets: Match your caliber and intended use (e.g., FMJ for practice or hollow points for self-defense).
- Pistol or Rifle Primers: Ensure compatibility with your brass case type (small rifle, large pistol, etc.).
- Powder: Select powders recommended for your cartridge load data from trusted sources like Hodgdon or Alliant.
The Step-by-Step Reloading Process Explained
This section breaks down each stage of reloading so that beginners can follow along confidently while maintaining safety protocols throughout the process.
Step 1: Inspect and Clean Your Brass
Your starting point is inspecting each case for damage such as cracks, dents, or excessive wear. Discard any compromised brass since it could cause unsafe pressures or firearm damage.
Once inspected, clean your cases using either ultrasonic cleaners or tumblers with media like walnut shells. Clean brass ensures primers seat evenly and powder charges remain consistent inside clean cases free from residue buildup.
Step 2: Resize and Deprime the Cases
The resizing die reshapes fired brass back to original dimensions so it chambers correctly in your firearm again. It also removes spent primers in this step if using a full-length sizing die equipped with a decapping pin.
The process involves placing a case into the shell holder on your press, inserting it into the sizing die, then pulling the lever down smoothly until fully resized. Remove the case carefully afterward—avoid forcing it out as this could cause damage.
Step 3: Prime Your Cases
The next step is seating fresh primers into your resized cases. Primers ignite powder inside cartridges; therefore, proper seating depth is critical for safety and reliability.
-
If using an integrated primer system on your press: Insert cases into shell holders, place primers in the priming arm cup, then operate the lever to seat them correctly.
Following these steps will help you create reliable ammunition for your shooting needs.