“Master Your Marksmanship: The Ultimate Guide to AR15 Trigger Assembly and Maintenance”
AR15 Trigger Assembly: Step-by-Step Installation Guide
The Ultimate Guide to AR15 Trigger Assembly and Maintenance
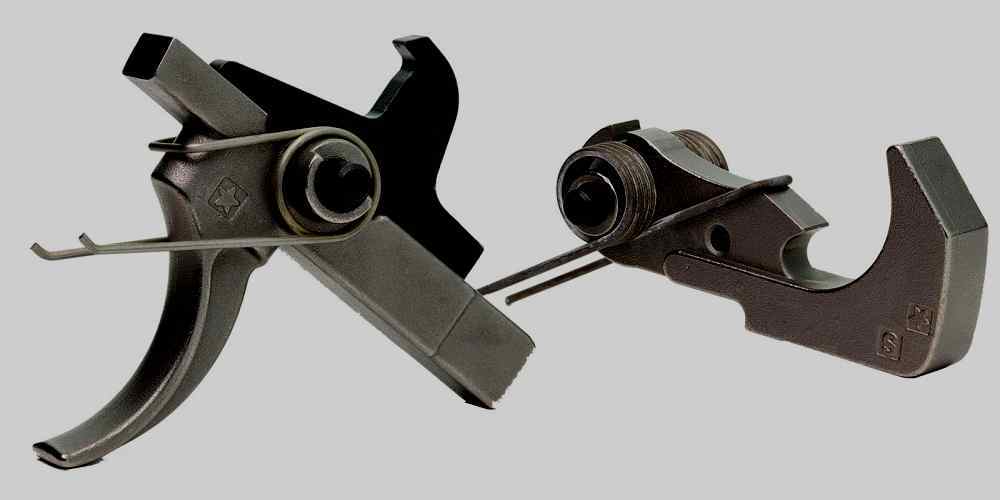
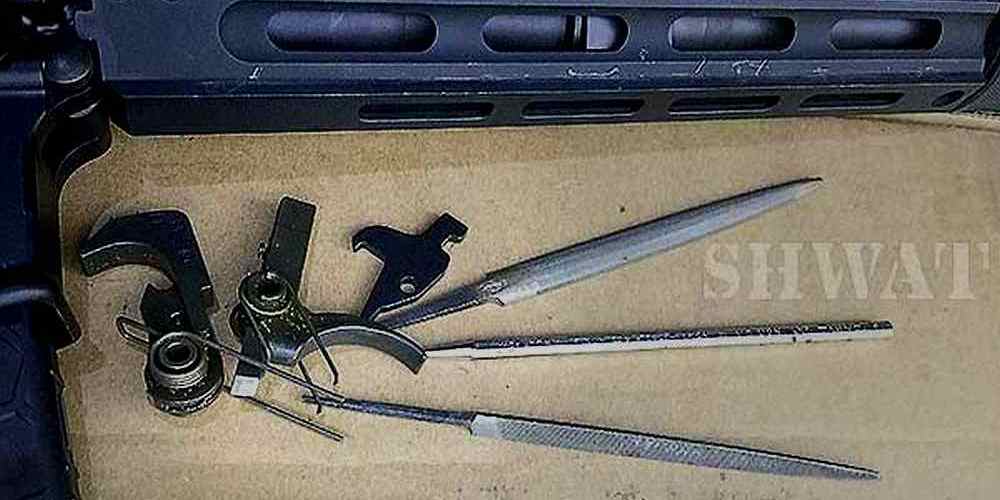
Assembling and maintaining the trigger of an AR15 rifle is a task that requires precision and attention to detail. Whether you’re a seasoned gunsmith or a firearms enthusiast looking to enhance your technical skills, understanding the intricacies of the AR15 trigger assembly is essential for ensuring the optimal performance of your rifle. In this guide, we’ll walk you through the step-by-step process of installing a trigger assembly and provide tips for maintaining it in top condition. Firstly, before you begin, make sure your AR15 is unloaded and the workspace is clean and well-lit. Having the right tools at hand, such as a set of punches, a hammer, and needle-nose pliers, will make the installation process smoother and more efficient. It’s also important to have your replacement trigger assembly kit ready, which typically includes the trigger, hammer, disconnector, springs, and pins. To start the installation, you’ll need to remove the existing trigger assembly. Carefully push out the two pins holding the trigger and hammer in place using a punch. Once the pins are removed, you can take out the old trigger and hammer. Now, let’s move on to the exciting part: installing the new trigger assembly. Begin by inserting the disconnector spring into the trigger, ensuring the wider end of the spring sits in the trigger. Next, place the disconnector on top of the spring, aligning the holes of the disconnector and trigger. This is where you’ll insert one of the pins later on. Now, position the trigger assembly into the lower receiver of your ar15. It’s crucial to align the holes in the trigger with those in the receiver for the pins to slide through seamlessly. Once the trigger is in place, insert the trigger pin through the receiver and the trigger assembly. This will secure the trigger and disconnector together. You may need to wiggle the trigger slightly to get the pin through. With the trigger pin in place, it’s time to install the hammer. Attach the hammer spring onto the hammer, ensuring the spring legs are positioned correctly to provide tension once installed. Now, hold the hammer in position and carefully insert the hammer pin through the receiver and hammer. This step might require a bit of force, as the spring tension can make it challenging. Use a punch to help guide the pin into place if necessary. With both pins installed, give them a gentle tap to ensure they’re seated properly and flush with the receiver. Congratulations, you’ve successfully installed your AR15 trigger assembly! However, the job isn’t done yet. Regular maintenance is key to keeping your trigger functioning smoothly. Clean and lubricate the trigger assembly as part of your routine firearm maintenance. Use a quality gun oil to reduce friction and protect against corrosion. Check the pins periodically to ensure they haven’t shifted and inspect the springs for signs of wear or damage. In conclusion, assembling and maintaining an AR15 trigger is a task that can greatly enhance your rifle’s performance when done correctly. By following this step-by-step guide and committing to regular maintenance, you’ll ensure that your AR15 trigger assembly operates reliably and safely, shot after shot. Remember, patience and precision are your allies in this process, and with practice, you’ll become proficient in the art of AR15 trigger assembly and maintenance.
Troubleshooting Common Issues with AR15 Trigger Mechanisms
The Ultimate Guide to AR15 Trigger Assembly and Maintenance
Troubleshooting common issues with AR15 trigger mechanisms can be a daunting task for even the most experienced firearms enthusiasts. However, with a bit of knowledge and the right approach, you can quickly identify and resolve most problems that may arise. The key to smooth operation lies in understanding the intricacies of the trigger assembly and maintaining it properly. Firstly, a common issue that shooters may encounter is a gritty or inconsistent trigger pull. This can often be attributed to a buildup of dirt, debris, or unburnt powder within the trigger assembly. To address this, begin by ensuring that your firearm is unloaded and then proceed to disassemble the trigger components. Carefully clean each part using a quality gun cleaning solvent and a soft brush, paying close attention to the crevices where grime tends to accumulate. Once cleaned, a light application of lubricant to the moving parts can help restore a smooth trigger action. Another frequent problem is trigger slap or a sharp recoil felt in the trigger finger upon firing. This can be caused by a malfunctioning disconnector or an improperly installed hammer spring. Inspect the disconnector for wear or damage and replace it if necessary. Additionally, verify that the hammer spring is installed correctly, with the ends of the spring resting on top of the trigger pin and not underneath it. This ensures proper tension and function of the hammer and disconnector. Trigger creep, where the trigger moves rearward significantly before the hammer falls, can also be a source of frustration. This is often due to an improperly adjusted trigger or a worn sear edge. For adjustable triggers, follow the manufacturer’s instructions to reduce creep to your preference. If the sear edge is worn, it may require professional gunsmithing or replacement of the affected parts to achieve a crisp break. In some cases, shooters may experience a double fire, where the rifle fires more than once with a single trigger pull. This dangerous malfunction should be addressed immediately. It could be a sign of a broken or weak hammer spring, a faulty sear, or an issue with the fire control group. Replace any damaged components and ensure that all springs are of the correct specification and tension. Lastly, a non-responsive trigger, where the trigger fails to release the hammer, can be particularly troubling. This could be due to an obstruction in the trigger assembly, a dislodged trigger pin, or a broken trigger spring. Disassemble the trigger assembly to remove any obstructions and check that all pins are in place and secure. If a spring is broken, it will need to be replaced with one that matches the original specifications. In conclusion, maintaining an AR15 trigger assembly requires attention to detail and a systematic approach to troubleshooting. Regular cleaning and inspection can prevent many common issues, while understanding the function of each component can help you quickly diagnose and fix problems as they arise. Remember to always follow safety protocols when handling firearms and consult a professional gunsmith if you are unsure about any aspect of your AR15’s maintenance or repair. With these tips in mind, you can ensure that your AR15 trigger mechanism remains reliable and delivers the performance you expect.
The Best AR15 Trigger Kits for Enhanced Performance
The Ultimate Guide to AR15 Trigger Assembly and Maintenance
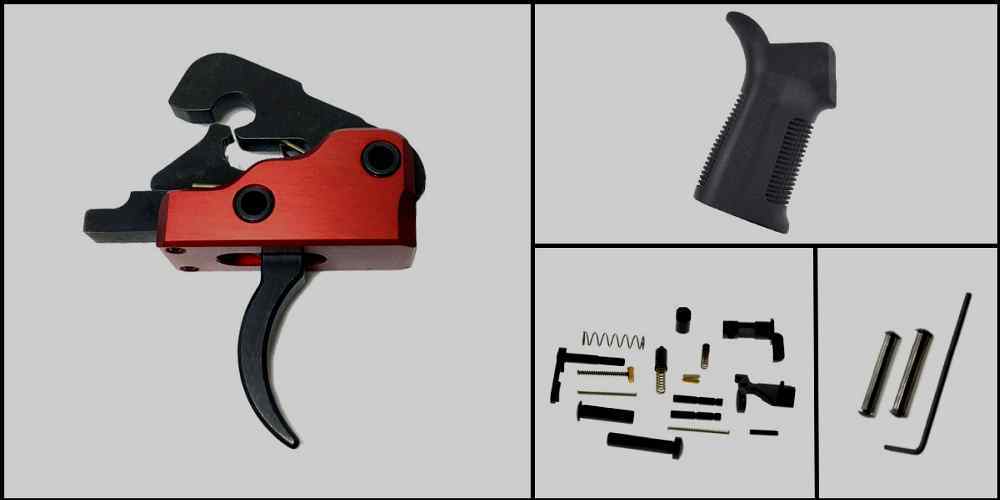
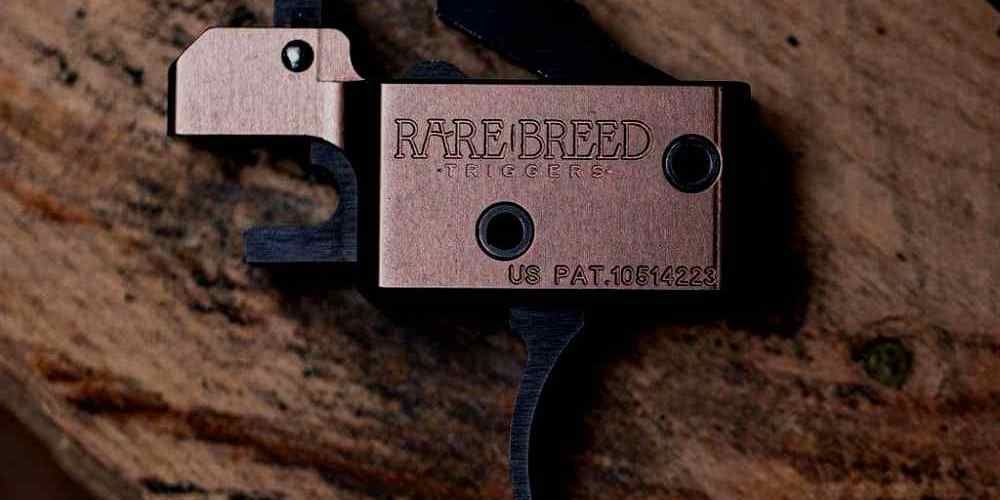
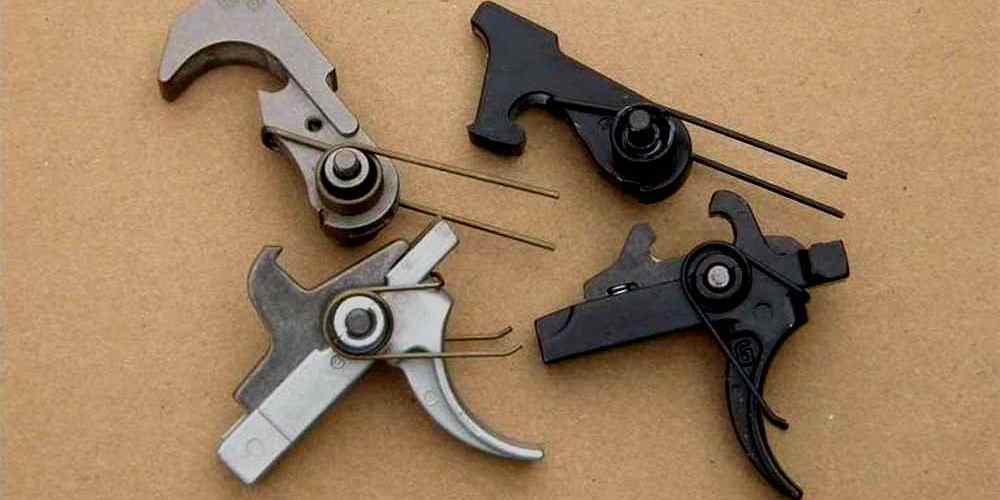
When it comes to customizing an AR15, the trigger assembly is a critical component that can significantly enhance the rifle’s performance. A well-chosen trigger kit not only improves accuracy but also provides a smoother and more reliable shooting experience. For enthusiasts looking to upgrade their AR15, selecting the best trigger kit is paramount. The market offers a plethora of AR15 trigger kits, each promising to deliver exceptional results. However, discerning shooters know that not all triggers are created equal. High-quality trigger kits typically feature precision machining, durable materials, and ergonomic designs that cater to various shooting styles and preferences. Among the top contenders are drop-in triggers, which are favored for their ease of installation and immediate improvement in pull weight and crispness. One standout option is the single-stage trigger, which is renowned for its simplicity and consistent performance. This type of trigger is characterized by a single, unchanging pull weight from start to finish, making it a favorite among competitive shooters who demand fast and predictable responses. On the other hand, the two-stage trigger offers a distinct advantage for precision shooting. The initial stage allows the shooter to take up slack and prepare for the shot, followed by a clean break at the second stage. This design provides enhanced control and reduces the likelihood of jerking the trigger, which can throw off accuracy. For those seeking the ultimate in customization, adjustable triggers offer the flexibility to fine-tune pull weight, over-travel, and reset to personal preferences. These triggers are particularly beneficial for shooters who transition between different types of shooting activities, such as hunting and target practice, and require a versatile setup. Maintaining your AR15 trigger assembly is just as important as selecting the right kit. Regular cleaning and lubrication ensure that your trigger maintains its performance over time. It’s essential to disassemble the trigger group carefully, following the manufacturer’s instructions, and clean each component with a suitable solvent. Pay special attention to the sear and hammer contact points, as these areas are prone to accumulating grime and debris that can affect trigger function. After cleaning, a light application of high-quality gun oil or grease on the moving parts will protect against corrosion and wear. It’s crucial to avoid over-lubricating, as excess oil can attract dirt and lead to malfunctions. Reassemble the trigger group with precision, double-checking that all pins and springs are correctly in place to ensure safe operation. In conclusion, upgrading your AR15 with a high-performance trigger kit can transform your shooting experience. Whether you opt for a single-stage, two-stage, or adjustable trigger, the key is to choose a kit that aligns with your shooting goals and preferences. With proper maintenance, your enhanced trigger assembly will provide years of reliable service, helping you achieve the accuracy and performance you desire. Remember, the heart of your AR15’s performance lies in the quality of its trigger, so invest wisely and maintain diligently for the best shooting experience possible.
Essential Maintenance Tips for Your AR15 Trigger Assembly
The Ultimate Guide to AR15 Trigger Assembly and Maintenance
Maintaining your AR15 trigger assembly is crucial for ensuring the reliability and longevity of your firearm. A well-maintained trigger not only provides a crisp and consistent pull but also enhances the overall safety and performance of your rifle. In this guide, we’ll explore some essential maintenance tips that will help you keep your AR15 trigger assembly in top-notch condition. First and foremost, it’s important to understand the basic components of your AR15 trigger assembly. This includes the trigger itself, the hammer, the disconnector, the trigger and hammer springs, and the pins that hold everything in place. Familiarizing yourself with these parts will make maintenance and potential troubleshooting much easier. Before you begin any maintenance, always ensure that your firearm is unloaded and safe to handle. Once you’ve verified this, you can proceed to disassemble the trigger assembly. This process typically involves removing the two pins that hold the trigger and hammer in place. It’s a straightforward task, but care should be taken not to lose any small parts or springs during disassembly. Cleaning is a fundamental aspect of trigger maintenance. Over time, carbon buildup and debris can accumulate within the trigger assembly, potentially affecting its function. Use a quality gun cleaning solvent and a small brush to gently scrub away any fouling from the trigger mechanism. Pay special attention to the crevices and contact points where grime is most likely to collect. After cleaning, it’s essential to lubricate the moving parts of the trigger assembly. A light application of gun oil on the hammer and trigger pins, as well as the surfaces where the disconnector and trigger interface, will reduce friction and wear. Be cautious not to over-lubricate, as excess oil can attract dirt and lead to a gummy buildup. Inspecting the components for wear and damage is another key step in maintaining your AR15 trigger assembly. Look for any signs of unusual wear, cracks, or deformation on the trigger, hammer, disconnector, and springs. If any parts appear compromised, it’s important to replace them immediately to prevent malfunctions or potential safety hazards. Reassembling the trigger assembly is just as important as taking it apart. Ensure that all components are correctly oriented and that the springs are properly seated. When reinserting the pins, they should fit snugly without requiring excessive force, which could indicate misalignment. A properly reassembled trigger should move freely without binding or excessive play. Finally, it’s advisable to perform a function check after reassembly to confirm that everything is working as it should. This involves cocking the hammer, engaging the safety, and pulling the trigger to ensure that the hammer does not fall when the safety is on. Then, with the safety off, pull the trigger to check that the hammer falls correctly. Additionally, hold the trigger to the rear, cock the hammer, and then slowly release the trigger to listen for the disconnector to engage and release properly. By following these essential maintenance tips, you can ensure that your AR15 trigger assembly remains reliable and effective. Regular cleaning, lubrication, inspection, and proper reassembly will not only extend the life of your firearm but also provide you with the confidence that your rifle will perform when you need it most. Remember, a well-maintained trigger is the linchpin of a well-functioning AR15, so give it the attention it deserves.
Upgrading Your AR15: Selecting the Right Trigger for Your Needs
The Ultimate Guide to AR15 Trigger Assembly and Maintenance
When it comes to upgrading your AR15, selecting the right trigger assembly is a critical decision that can significantly enhance your shooting experience. The trigger is the heart of your rifle’s action, and a quality trigger can improve accuracy, comfort, and overall performance. Whether you’re a competitive shooter, a hunter, or a tactical operator, understanding the nuances of AR15 trigger assemblies and maintenance is essential for achieving the best results. The first step in upgrading your trigger is to identify your specific needs. Are you looking for a lighter pull weight for precision shooting, or do you require a more robust trigger for rapid firing scenarios? Triggers come in various styles, including single-stage and two-stage triggers, each with its own set of characteristics. Single-stage triggers have a consistent pull weight from start to finish, which is ideal for quick, reactive shooting. On the other hand, two-stage triggers offer a “staging” area where the shooter can feel a noticeable stop before reaching the break point, allowing for more deliberate and controlled shots. Once you’ve determined the type of trigger that suits your shooting style, it’s important to consider the quality of the components. High-grade materials such as aircraft-grade aluminum, hardened steel, and advanced coatings can ensure durability and longevity. Additionally, the precision of the machining process can greatly affect the smoothness and consistency of the trigger pull. Opt for reputable manufacturers that are known for their attention to detail and rigorous quality control standards. Installing your new trigger assembly is a task that requires patience and attention to detail. Always ensure your rifle is unloaded before beginning any work. Familiarize yourself with the AR15’s lower receiver components, as you’ll need to remove and replace the trigger, hammer, disconnector, and their respective springs and pins. It’s advisable to work in a well-lit area and use a proper punch set to avoid damaging the pins or receiver. If you’re not confident in your ability to install the trigger safely, seek assistance from a professional gunsmith. Maintenance of your AR15 trigger assembly is just as important as the initial selection and installation. Regular cleaning and lubrication will keep your trigger functioning smoothly and reliably. After each use, disassemble the trigger components and clean them with a solvent to remove any buildup of carbon, dust, or debris. Once clean, apply a high-quality gun oil to the moving parts, taking care not to over-lubricate, as excess oil can attract dirt and lead to malfunctions. In addition to cleaning, periodically inspect your trigger assembly for signs of wear or damage. Springs can lose tension over time, and pins can become worn or bent. Replacing these small parts before they fail is a proactive approach to maintaining your AR15’s performance. Keep spare parts on hand, so you’re always prepared for routine maintenance or unexpected repairs. In conclusion, upgrading your AR15 with the right trigger assembly can transform your shooting experience. By carefully selecting a trigger that meets your needs, investing in quality components, and committing to regular maintenance, you’ll ensure that your rifle remains a reliable and precise tool for whatever your shooting endeavors may be. Remember, a well-maintained trigger is a cornerstone of your AR15’s functionality, so take the time to understand and care for it properly. With these tips in mind, you’re well on your way to mastering the art of AR15 trigger assembly and maintenance.


