“Revolver Reliability Restored: Expert Solutions for Common Wear Challenges”
Troubleshooting Cylinder Alignment Problems in Revolvers
Identifying and Fixing Common Revolver Wear Issues
Revolvers are renowned for their robustness and reliability, but like any mechanical device, they are not immune to wear and tear. Over time, parts can become worn or misaligned, leading to performance issues that can affect accuracy and safety. One of the most critical areas to monitor in a revolver is the cylinder alignment. Proper alignment is essential for ensuring that the bullet travels safely down the barrel without causing damage to the firearm or posing a risk to the shooter.
The first step in troubleshooting cylinder alignment problems is to inspect the cylinder and the forcing cone, which is the part of the barrel that guides the bullet from the cylinder into the barrel itself. Look for signs of uneven wear or scratches, which could indicate that the cylinder is not properly aligning with the barrel. Additionally, check for any debris or obstructions that might be causing the cylinder to misalign.
Once you’ve confirmed that there is an alignment issue, it’s time to delve deeper into the revolver’s mechanics. The cylinder stop, also known as the cylinder bolt, is a small part that locks the cylinder in place when the hammer is cocked. If this part is worn, the cylinder may rotate past the correct alignment point. Inspect the cylinder stop for wear and replace it if necessary.
Another critical component to examine is the hand, which is the part that rotates the cylinder as the hammer is cocked. A worn hand can cause the cylinder to under-rotate or over-rotate, leading to misalignment. If you notice that the hand is not engaging properly or is excessively worn, it may need to be replaced or adjusted by a qualified gunsmith.
The timing of the revolver is also a key factor in cylinder alignment. Timing refers to the sequence of events that occur as the trigger is pulled and the hammer falls. If the timing is off, the cylinder may not be in the correct position when the hammer strikes the firing pin. This can be caused by wear on various internal parts, such as the trigger, hammer, or the internal notches on the cylinder itself. Carefully inspect these parts for wear and consult with a professional if you’re unsure about the condition of these components.
In addition to these mechanical aspects, it’s important to consider the role of ammunition in cylinder alignment. Using the wrong type of ammunition or ammunition that is out of specification can cause excessive pressure and stress on the revolver, leading to misalignment issues. Always use the correct caliber and type of ammunition recommended by the manufacturer.
Finally, regular maintenance is crucial for preventing cylinder alignment problems. Keep your revolver clean and well-lubricated, and be sure to follow the manufacturer’s guidelines for maintenance and inspection. If you’re not comfortable performing these checks yourself, don’t hesitate to seek the assistance of a professional gunsmith. They have the expertise and tools necessary to diagnose and fix any issues with your revolver, ensuring that it operates safely and accurately.
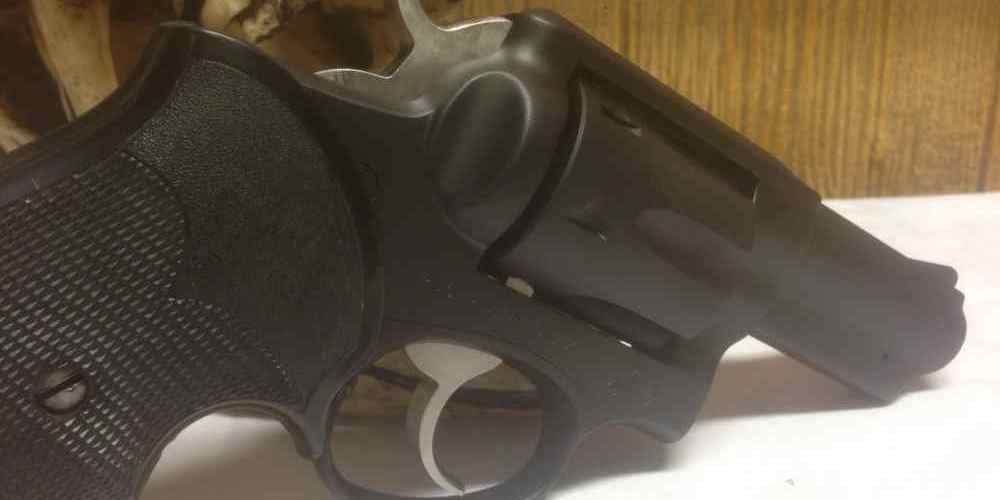
In conclusion, identifying and fixing common revolver wear issues, particularly those related to cylinder alignment, requires a methodical approach. By inspecting the various components for wear, ensuring proper timing, using the correct ammunition, and maintaining your firearm regularly, you can keep your revolver in top working condition. Remember, when in doubt, consult with a professional to address any concerns you may have about your revolver’s performance and safety.
The Essential Guide to Revolver Timing and Lock-Up Corrections
Identifying and Fixing Common Revolver Wear Issues
Revolver enthusiasts and gunsmiths alike understand the importance of maintaining the intricate mechanics of these classic firearms. Over time, revolvers can develop wear issues that affect their timing and lock-up, which are crucial for safe and accurate shooting. In this essential guide, we’ll explore how to identify and correct common wear problems to keep your revolver in top condition.
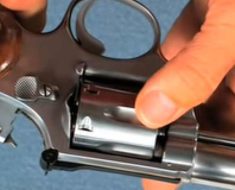
Timing is the process by which a revolver’s cylinder aligns with the barrel at the moment of firing. Precise timing ensures that the bullet passes seamlessly from the cylinder into the barrel without any interference. When timing is off, it can lead to spitting lead or even a catastrophic failure. To check for timing issues, slowly cock the hammer and watch the cylinder. Each chamber should lock into place just before the hammer is fully cocked. If you notice the cylinder is slow to lock or does not lock at all, it’s a clear sign that timing needs adjustment.
Lock-up, on the other hand, refers to how securely the cylinder is held in place when the gun is ready to fire. A good lock-up is essential for accuracy, as any movement of the cylinder can throw off the bullet’s trajectory. To test lock-up, with the gun unloaded, cock the hammer to full lock and attempt to rotate the cylinder. There should be minimal to no movement. If there is noticeable play, it’s time to address the lock-up.
One common cause of timing and lock-up issues is wear on the ratchet and hand. The hand is the small part that pushes the ratchet to rotate the cylinder. Over time, the teeth of the ratchet or the tip of the hand can wear down, leading to improper engagement. Replacing or carefully reshaping these parts can often restore proper function. However, this is a delicate task that may require the expertise of a skilled gunsmith to ensure that the correct tolerances are maintained.
Another area prone to wear is the cylinder stop and its corresponding notches on the cylinder. The cylinder stop is a spring-loaded latch that pops up into a notch on the cylinder to prevent it from moving during firing. If the edges of the notches or the stop itself become rounded or chipped, the cylinder may not lock up as tightly as it should. In some cases, the cylinder stop spring may also weaken, reducing its effectiveness. Replacing or repairing these components can significantly improve lock-up.
Endshake, or the forward and backward movement of the cylinder along its axis, can also affect timing and lock-up. Excessive endshake can be corrected by adding shims or by stretching the yoke, which is the part that connects the cylinder to the frame. This adjustment must be done with precision to avoid over-tightening, which could hinder cylinder rotation.
Finally, it’s important to regularly inspect the overall condition of your revolver. Look for signs of wear, cracks, or other damage to the frame, cylinder, and internal parts. Regular cleaning and proper lubrication can prevent many timing and lock-up issues before they start.
In conclusion, maintaining the timing and lock-up of your revolver is essential for its performance and longevity. By understanding how to identify common wear issues and knowing the corrective measures to take, you can ensure that your revolver remains a reliable and accurate firearm. Whether you’re a seasoned gunsmith or a dedicated owner, staying vigilant about these aspects of revolver care will keep you shooting safely and accurately for years to come.
Addressing Endshake: How to Tighten Your Revolver’s Tolerances
Identifying and Fixing Common Revolver Wear Issues
Revolver enthusiasts and gunsmiths alike understand that with regular use, these reliable firearms can develop wear issues that affect performance and accuracy. One of the most common problems encountered is endshake, which refers to the back-and-forth movement of the cylinder along the axis of the cylinder pin. This movement can lead to misalignment between the cylinder and the barrel, resulting in decreased accuracy and potentially hazardous conditions. Fortunately, addressing endshake and tightening your revolver’s tolerances is a manageable task with the right knowledge and tools.
Endshake is typically caused by the repeated impact of the cylinder against the frame during firing, which can gradually wear down the cylinder stop notches or the front and rear surfaces of the cylinder where it locks into the frame. To assess the extent of endshake in your revolver, you can perform a simple check by holding the firearm by the grip in one hand and using the thumb and forefinger of your other hand to gently push the cylinder back and forth. Minimal movement is normal, but if you notice a pronounced play, it’s time to take action.
The first step in correcting endshake is to measure the gap precisely. Using a set of feeler gauges, you can determine the amount of endshake by inserting the appropriate gauge between the cylinder and the frame at the front and rear of the cylinder. Record these measurements for reference as you proceed with the repair.
Once you have quantified the endshake, you can begin the process of tightening the revolver’s tolerances. One common method involves the use of endshake bearings, which are thin washers that fit over the cylinder pin and take up excess space. These bearings come in various thicknesses, allowing you to select the size that will restore your revolver to its optimal cylinder-to-frame gap. To install an endshake bearing, you’ll need to partially disassemble your revolver, removing the cylinder from the frame. Slide the appropriate bearing onto the cylinder pin before reassembling the revolver, ensuring that the cylinder rotates freely without excessive play.
Another technique for addressing endshake is to stretch the cylinder slightly. This method requires a specialized tool known as a cylinder stretcher or a frame stretcher, which applies pressure to the front and rear of the cylinder, elongating it just enough to eliminate the unwanted movement. This approach is more permanent than using bearings and should be performed with caution to avoid overstretching the cylinder.
For those who are less inclined to tackle these repairs themselves, consulting a professional gunsmith is always a wise choice. A skilled gunsmith will have the experience and precision tools necessary to diagnose and correct endshake issues effectively, ensuring that your revolver operates safely and accurately.
In conclusion, maintaining tight tolerances in your revolver is crucial for optimal performance and longevity. Identifying and fixing common wear issues like endshake can seem daunting, but with a methodical approach and the right tools, it’s a challenge that can be confidently met. Whether you choose to use endshake bearings, stretch the cylinder, or seek professional assistance, taking the time to address these issues will result in a smoother, more reliable firearm. Remember, regular maintenance and attention to detail are the hallmarks of any responsible gun owner, and by keeping your revolver in top condition, you’ll enjoy its dependable service for many years to come.
Revolver Rejuvenation: Replacing Worn-Out Springs and Screws
Identifying and Fixing Common Revolver Wear Issues
Revolver Rejuvenation: Replacing Worn-Out Springs and Screws
Revolver enthusiasts and gunsmiths alike understand that the longevity of a firearm is contingent upon regular maintenance and timely repairs. Among the myriad components that ensure the smooth operation of a revolver, springs and screws are often the unsung heroes, quietly bearing the brunt of wear and tear. Over time, these small but critical parts can degrade, leading to a host of issues that can affect the performance and reliability of your firearm. Fortunately, with a bit of technical know-how and a friendly guiding hand, identifying and fixing common wear issues in these areas can be straightforward and immensely rewarding.
The first step in the rejuvenation process is to carefully inspect your revolver for signs of wear. Springs, for instance, are essential for the proper functioning of the trigger, hammer, and cylinder. A weak or broken spring can manifest as a lightened trigger pull, misfires, or a cylinder that fails to advance correctly. Similarly, screws can become loose or stripped over time, which may lead to parts becoming misaligned or even detaching during operation.
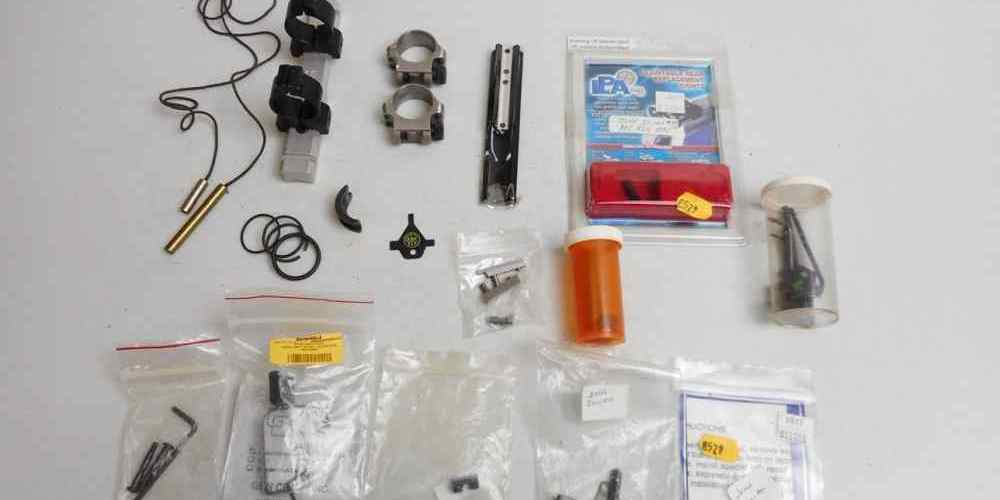
Once you’ve identified that a spring or screw is the culprit behind your revolver’s maladies, the next step is to acquire the appropriate replacement parts. It’s crucial to select springs and screws that are not only compatible with your specific model but also of high quality to ensure durability and proper function. Many manufacturers and aftermarket suppliers offer parts kits that include a range of springs and screws, allowing for a comprehensive approach to maintenance.
Replacing springs in a revolver can be a delicate task, requiring patience and attention to detail. Before you begin, make sure your work area is well-lit and organized, with all necessary tools at hand. A set of gunsmithing screwdrivers, needle-nose pliers, and a small hammer are often indispensable for this type of work. When removing the old spring, take note of its orientation and how it interacts with other components; this will be invaluable information when installing the new spring.
Similarly, when dealing with screws, it’s essential to use the correct size and type of screwdriver to avoid damaging the screw heads. If you encounter a stripped screw, there are specialized tools designed to remove them without causing further damage to the firearm. Once the old screws are out, replacing them is typically a straightforward process. However, it’s important to avoid over-tightening, as this can strip the threads or even crack the frame of the revolver.
After replacing the worn-out springs and screws, it’s time to reassemble your revolver and perform a function check. This involves cycling the action, dry-firing (in a safe direction and with proper safety precautions), and ensuring that all parts are moving smoothly and engaging as they should. If everything checks out, your revolver is ready for a trip to the range to confirm that the repairs have restored its performance.
In conclusion, regular inspection and maintenance of your revolver can prevent small issues from becoming big problems. By identifying and fixing common wear issues related to springs and screws, you can extend the life of your firearm and enjoy a more reliable shooting experience. With the right parts, tools, and a bit of technical skill, you can ensure that your revolver remains a trusted companion for years to come.
Combatting Barrel Leading and Forcing Cone Erosion in Revolvers
Identifying and Fixing Common Revolver Wear Issues
Combatting Barrel Leading and Forcing Cone Erosion in Revolvers
Revolvers are renowned for their reliability and durability, but like any mechanical device, they are not immune to wear and tear. Two common issues that can affect the performance and accuracy of a revolver are barrel leading and forcing cone erosion. Understanding these problems and knowing how to address them is essential for maintaining your firearm in top condition.
Barrel leading occurs when lead from the bullet’s base is deposited onto the inside of the barrel as the bullet is fired. This is more prevalent with lead bullets than with jacketed ones, as the latter have a protective covering that minimizes lead transfer. Over time, this buildup can negatively impact the revolver’s accuracy and can even increase pressure inside the barrel, which may be dangerous. To combat barrel leading, it’s important to regularly clean the barrel using a solvent designed to dissolve lead deposits. A bore brush can be particularly effective in scrubbing away these stubborn accumulations. Additionally, using harder lead alloys or coated bullets can significantly reduce the amount of lead deposited in the barrel.
Transitioning to the issue of forcing cone erosion, this phenomenon is a bit more complex. The forcing cone is the part of the revolver where the bullet transitions from the cylinder into the barrel. The intense pressure and heat generated when a round is fired can cause the metal in this area to wear down over time. This erosion can lead to a decrease in accuracy and, in extreme cases, may even cause splitting or cracking of the barrel. To mitigate forcing cone erosion, it’s crucial to inspect this area regularly for signs of wear. If erosion is detected early, a gunsmith can often re-cut the forcing cone to restore its original dimensions and angle, thereby extending the life of the revolver.
Moreover, choosing ammunition with appropriate pressure levels for your specific revolver can help prevent excessive wear. Shooting high-pressure rounds or magnum loads frequently can accelerate forcing cone erosion, so it’s wise to use these more powerful rounds sparingly. Additionally, some shooters opt for revolvers with specially treated or harder metals in the forcing cone area to resist erosion better.
Another factor to consider is the alignment of the cylinder and barrel. If the cylinder is not perfectly aligned with the barrel when the hammer strikes, it can exacerbate wear on the forcing cone. Ensuring that your revolver’s timing and alignment are correct is an important preventative measure. This may require the expertise of a qualified gunsmith, who can adjust the timing and ensure that the cylinder locks up correctly before the gun is fired.
In conclusion, while barrel leading and forcing cone erosion are common issues in revolvers, they can be managed with proper maintenance and care. Regular cleaning, using the right type of ammunition, and having your revolver inspected by a professional are all key steps in preserving its accuracy and longevity. By being proactive and attentive to these aspects of revolver upkeep, shooters can enjoy the dependable performance of their firearms for many years to come. Remember, a well-maintained revolver is not only more reliable but also a safer tool in the hands of a responsible owner.


