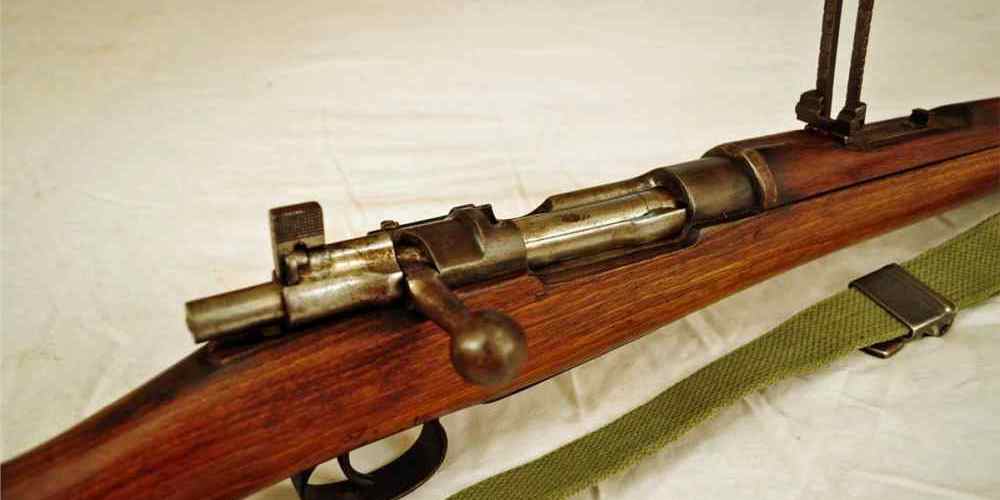
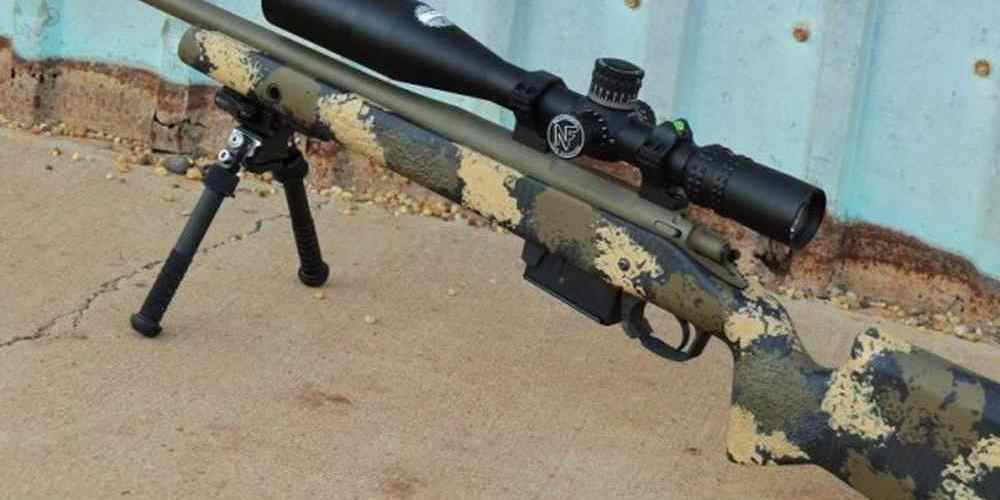
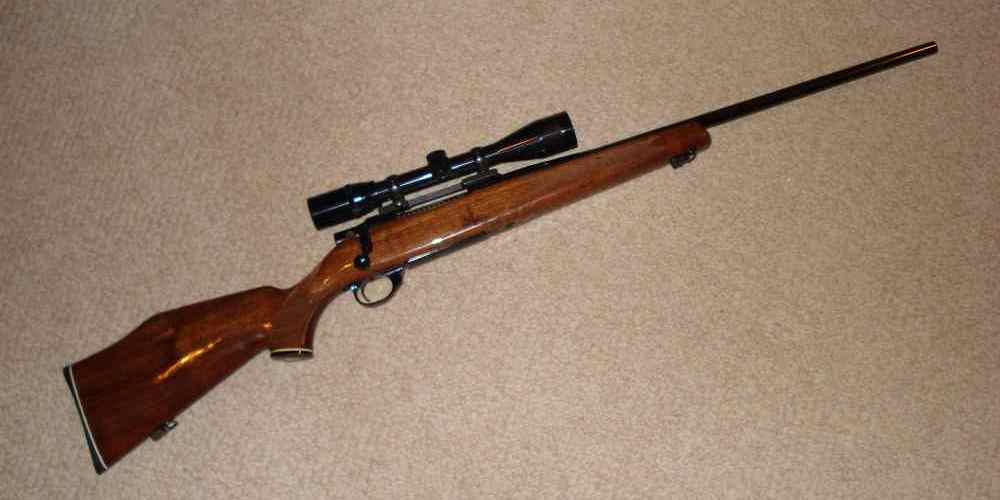
“Keep your rifle bolt clean and ready for action with DIY cleaning!”
Step-by-Step Guide to Cleaning a Rifle Bolt: What You Need to Know
Cleaning a rifle bolt is an important part of maintaining your firearm. It’s a relatively simple process, but it’s important to do it correctly to ensure your rifle is in good working order. Here’s a step-by-step guide to help you get the job done right.
1. Start by disassembling the bolt. This will vary depending on the type of rifle you have, so make sure to consult your owner’s manual for instructions.
2. Once the bolt is disassembled, use a brush to remove any dirt or debris from the parts.
3. Next, use a cloth or paper towel to wipe down the parts. This will help remove any remaining dirt or debris.
4. Now it’s time to lubricate the parts. Use a gun oil or lubricant specifically designed for firearms.
5. Reassemble the bolt and make sure all the parts are in the correct order.
6. Finally, test the bolt to make sure it’s working properly.
Cleaning a rifle bolt is an important part of maintaining your firearm. With a few simple steps, you can ensure your rifle is in good working order. Follow this guide and you’ll be ready to hit the range in no time!

How to Properly Disassemble and Reassemble a Rifle Bolt for DIY Cleaning
Cleaning your rifle bolt is an important part of maintaining your firearm. Doing it yourself can save you time and money, but it’s important to do it correctly. Here’s how to properly disassemble and reassemble a rifle bolt for DIY cleaning.
First, make sure your rifle is unloaded and the safety is on. Then, remove the bolt from the rifle. If you have a bolt-action rifle, you’ll need to pull the bolt handle back and lift the bolt out of the rifle.
Next, you’ll need to disassemble the bolt. Start by removing the firing pin and spring. Then, unscrew the bolt handle and remove the bolt head. Finally, remove the extractor and ejector.
Now that the bolt is disassembled, you can begin cleaning. Use a brush and solvent to clean the bolt body, firing pin, and other components. Make sure to get into all the nooks and crannies. Once you’re done, dry the parts with a clean cloth.
Finally, it’s time to reassemble the bolt. Start by replacing the extractor and ejector. Then, replace the bolt head and screw the bolt handle back on. Finally, replace the firing pin and spring.
Once the bolt is reassembled, you can put it back in the rifle. Make sure the safety is still on and the rifle is unloaded. Now your rifle is ready to go!
Cleaning your rifle bolt is an important part of maintaining your firearm. With a little bit of time and effort, you can do it yourself and save money. Just make sure to follow these steps to properly disassemble and reassemble your rifle bolt for DIY cleaning.
Tips and Tricks for DIY Cleaning of a Rifle Bolt: What You Need to Know
If you’re a gun enthusiast, you know that keeping your rifle bolt clean is essential for optimal performance. But if you’re new to gun maintenance, you may be wondering how to clean your rifle bolt. Don’t worry, it’s not as complicated as it may seem! Here are some tips and tricks for DIY cleaning of a rifle bolt that will help you keep your gun in top condition.
1. Start by disassembling the bolt. This is the most important step in cleaning your rifle bolt. Make sure you have the right tools for the job, such as a screwdriver, Allen wrench, and a cleaning rod.
2. Once the bolt is disassembled, use a brush to remove any dirt or debris from the bolt. Make sure to get into all the nooks and crannies.
3. Next, use a cleaning solvent to remove any residue or gunk from the bolt. Make sure to use a solvent that is specifically designed for gun cleaning.
4. Once the bolt is clean, use a lubricant to protect it from corrosion and wear. Make sure to use a lubricant that is designed for gun use.
5. Finally, reassemble the bolt and make sure all the parts are secure.
Cleaning your rifle bolt is an important part of gun maintenance. With these tips and tricks, you can easily do it yourself and keep your gun in top condition.


