“Build Your AR15: The Ultimate Guide to Crafting Your Own Rifle!”
The Benefits of Building Your Own AR15: Why You Should Consider Assembling Your Own Rifle
Building your own AR15 rifle can be a rewarding and educational experience. Not only will you gain a better understanding of the inner workings of the rifle, but you will also be able to customize it to your exact specifications. Here are some of the benefits of building your own AR15:
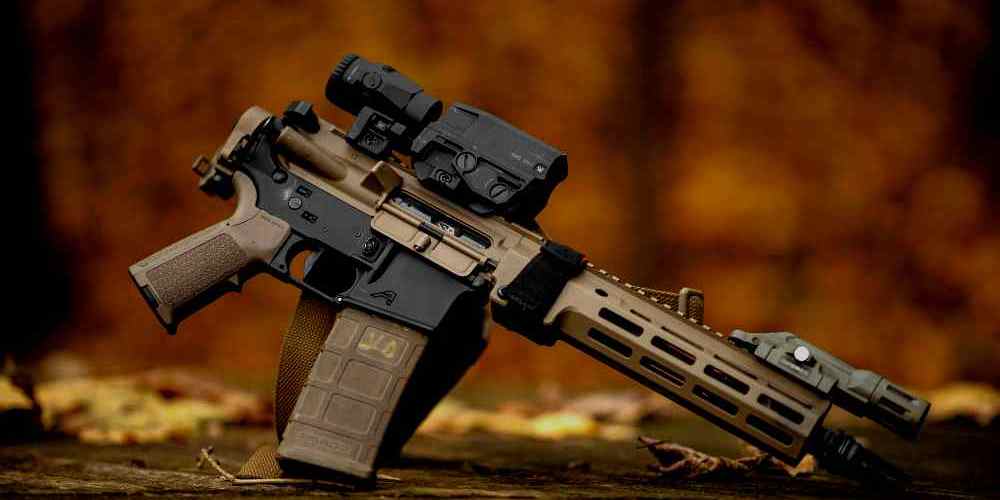
1. Cost Savings: Building your own AR15 can save you money. You can purchase the parts separately and assemble them yourself, which can be much cheaper than buying a pre-assembled rifle. 2. customization: When you build your own ar15, you can customize it to your exact specifications. You can choose the parts that you want, such as the barrel, stock, and trigger, and you can even customize the look of the rifle with different colors and finishes. 3. Quality Control: When you build your own AR15, you can be sure that the parts are of the highest quality. You can inspect each part before you assemble it, and you can be sure that everything is in perfect working order. 4. Knowledge: building your own AR15 can give you a better understanding of the inner workings of the rifle. You will learn how the different parts work together, and you will gain a better appreciation for the craftsmanship that goes into making a quality rifle. Building your own AR15 can be a fun and rewarding experience. Not only will you save money, but you will also be able to customize your rifle to your exact specifications. You will also gain a better understanding of the inner workings of the rifle, and you will be able to ensure that the parts are of the highest quality. So, if you’re looking for a new rifle, consider building your own AR15.
The Basics of Building an AR15: What You Need to Know Before You Start
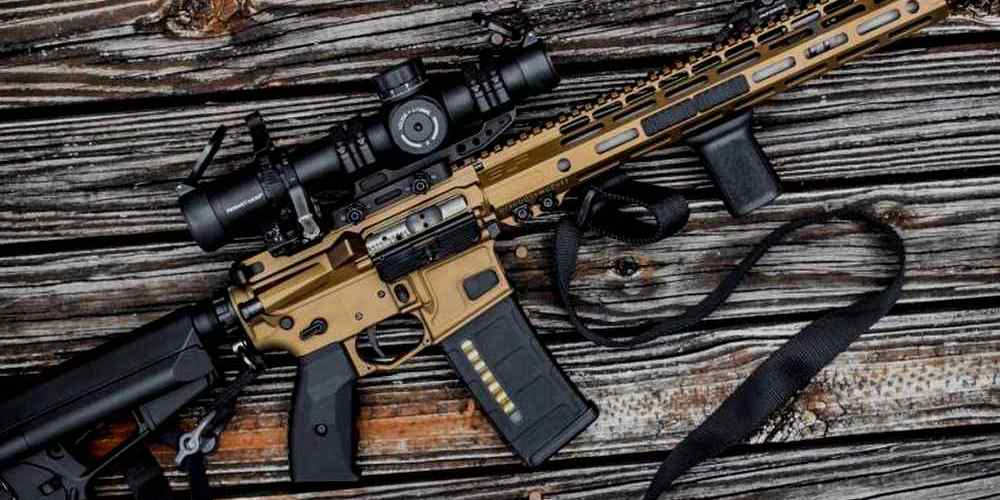
Building an AR15 can be a fun and rewarding experience, but it’s important to understand the basics before you start. This guide will provide you with the information you need to get started. First, you’ll need to decide what type of AR15 you want to build. There are several different types of AR15s, including the standard A2, the M4, and the M16. Each type has its own unique features and benefits, so it’s important to do your research and decide which one is right for you. Once you’ve decided on the type of AR15 you want to build, you’ll need to purchase the necessary parts. This includes the lower receiver, upper receiver, barrel, bolt carrier group, charging handle, and other components. You can purchase these parts individually or as a kit. Next, you’ll need to assemble the parts. This is where having a good understanding of the AR15 platform is essential. You’ll need to know how to properly install the parts and ensure that everything is properly aligned and secured. Finally, you’ll need to test your AR15. This is an important step to ensure that your rifle is functioning properly and safely. You should also take the time to familiarize yourself with the different types of ammunition and the proper way to use them. Building an AR15 can be a fun and rewarding experience, but it’s important to understand the basics before you start. With the right knowledge and the right parts, you can build a reliable and accurate rifle that you can be proud of.
Tips and Tricks for Building an AR15: How to Assemble Your Rifle with Ease
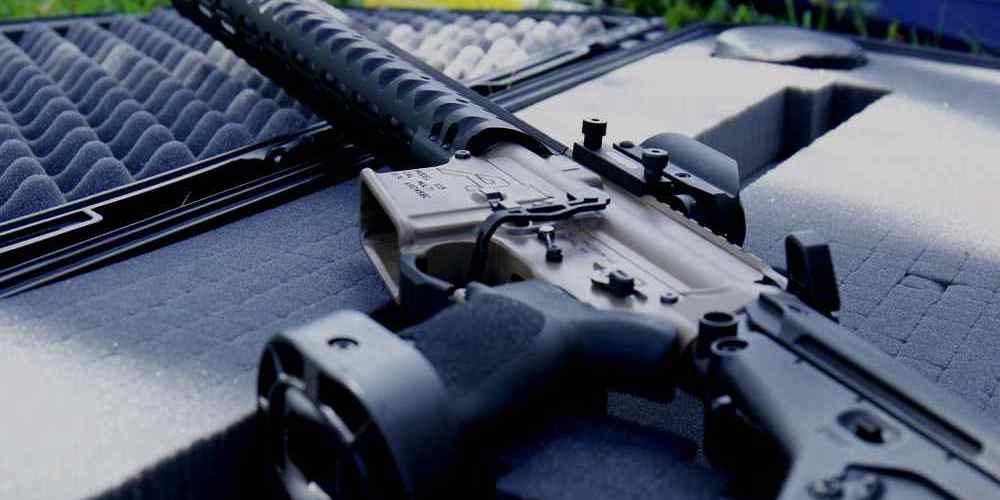
1. Start with the Lower Receiver: The lower receiver is the foundation of your AR15 rifle. It is the part that houses the trigger, magazine release, and other components. Assemble the lower receiver first, making sure to follow the manufacturer’s instructions. 2. Install the Trigger Group: The trigger group is the heart of your AR15. It is responsible for firing the rifle. Install the trigger group according to the manufacturer’s instructions. Make sure to use the correct tools and lubricants. 3. Install the Barrel: The barrel is the part of the rifle that propels the bullet. Install the barrel according to the manufacturer’s instructions. Make sure to use the correct tools and lubricants. 4. Install the Upper Receiver: The upper receiver is the part of the rifle that houses the bolt carrier group and other components. Install the upper receiver according to the manufacturer’s instructions. Make sure to use the correct tools and lubricants. 5. Install the Bolt Carrier Group: The bolt carrier group is the part of the rifle that cycles the action. Install the bolt carrier group according to the manufacturer’s instructions. Make sure to use the correct tools and lubricants. 6. Install the Handguard: The handguard is the part of the rifle that protects your hands from the heat of the barrel. Install the handguard according to the manufacturer’s instructions. Make sure to use the correct tools and lubricants. 7. Install the Stock: The stock is the part of the rifle that allows you to shoulder the rifle. Install the stock according to the manufacturer’s instructions. Make sure to use the correct tools and lubricants. 8. Install the Sights: The sights are the part of the rifle that allow you to aim accurately. Install the sights according to the manufacturer’s instructions. Make sure to use the correct tools and lubricants. 9. Test Fire: Once you have assembled your AR15, it is time to test fire it. Make sure to use the correct ammunition and follow all safety protocols. Building an AR15 can be a daunting task, but with the right tools and knowledge, it can be done with ease. Follow these tips and tricks and you will be able to assemble your rifle with confidence.


