Installing a Custom Charging Handle Latch: A Comprehensive Guide
The charging handle is a vital component of any AR-15 or similar rifle platform, serving as the primary means to cycle the bolt carrier group. Upgrading to a custom charging handle latch can enhance the weapon’s ergonomics, reliability, and overall performance. This article delves into the nuances of installing a custom charging handle latch, providing firearm enthusiasts and professionals with detailed insights, practical advice, and expert recommendations.
Understanding the Role of the Charging Handle Latch
The charging handle latch is the small lever on the side of the charging handle that locks it into place within the upper receiver. Its primary function is to secure the charging handle so it does not move during firing or handling but allows for easy manipulation when cycling the action.
In stock AR-15 models, the charging handle latch is often small and sometimes difficult to operate quickly or under stress. This has led to an increase in aftermarket options designed to improve tactile feel, ambidextrous operation, and durability.
- Ergonomics: Custom latches often feature larger surfaces or enhanced shapes that make them easier to grip and operate, especially with gloves or in adverse conditions.
- Ambidexterity: Many custom latches offer ambidextrous designs that allow users to manipulate the charging handle with either hand — crucial for tactical scenarios.
- Durability: Upgraded materials and coatings improve resistance to wear and environmental factors like corrosion.
Understanding these benefits is key before embarking on an installation project, as they inform which latch design best suits your needs.
Selecting the Right Custom Charging Handle Latch
Choosing a custom charging handle latch involves balancing several factors: compatibility with your rifle model, intended use (competition, tactical, hunting), material preferences, and budget. Here are some important considerations:
- Compatibility: Most AR-15 charging handles are standardized, but some rifles use proprietary systems. Confirm that your chosen latch matches your specific model (e.g., AR-15 vs. AR-10).
- Material: Common materials include aluminum alloys (lightweight yet strong), steel (durable but heavier), and polymer composites (lightweight but less durable).
- Ambidextrous Design: Decide if you want a right-side-only latch or one accessible from both sides for versatility.
- Tactile Features: Look for enhanced grip textures or extended levers if rapid operation is important.
- Brand Reputation: Consider products from reputable manufacturers like Radian Weapons, BCM (Bravo Company Manufacturing), or Geissele Automatics known for quality parts.
A well-chosen latch can dramatically improve your shooting experience. For example, competitive shooters have reported faster reload times when using ambidextrous latches with extended levers during timed drills.
The Tools and Preparation Needed for Installation
Installing a custom charging handle latch is generally straightforward but requires attention to detail and some basic tools. Preparing properly ensures a smooth process without damage to components.
- Tools Required:
- A set of small punches or pins
- A flathead screwdriver or specialized tool for prying
- A clean cloth or microfiber towel
- A small hammer (optional)
- Lubricant such as CLP (Cleaner Lubricant Protectant)
- Safety First: Always ensure your firearm is unloaded before beginning any maintenance or installation procedure. Remove magazines and check chamber clearance multiple times.
- Workspace Setup: Choose a well-lit area with ample space. Lay out all parts carefully on a clean surface to avoid losing small components such as springs or pins.
If you are unfamiliar with firearm disassembly procedures, reviewing your rifle’s user manual or watching instructional videos from trusted sources can be very helpful before attempting installation.
Step-by-Step Installation Process
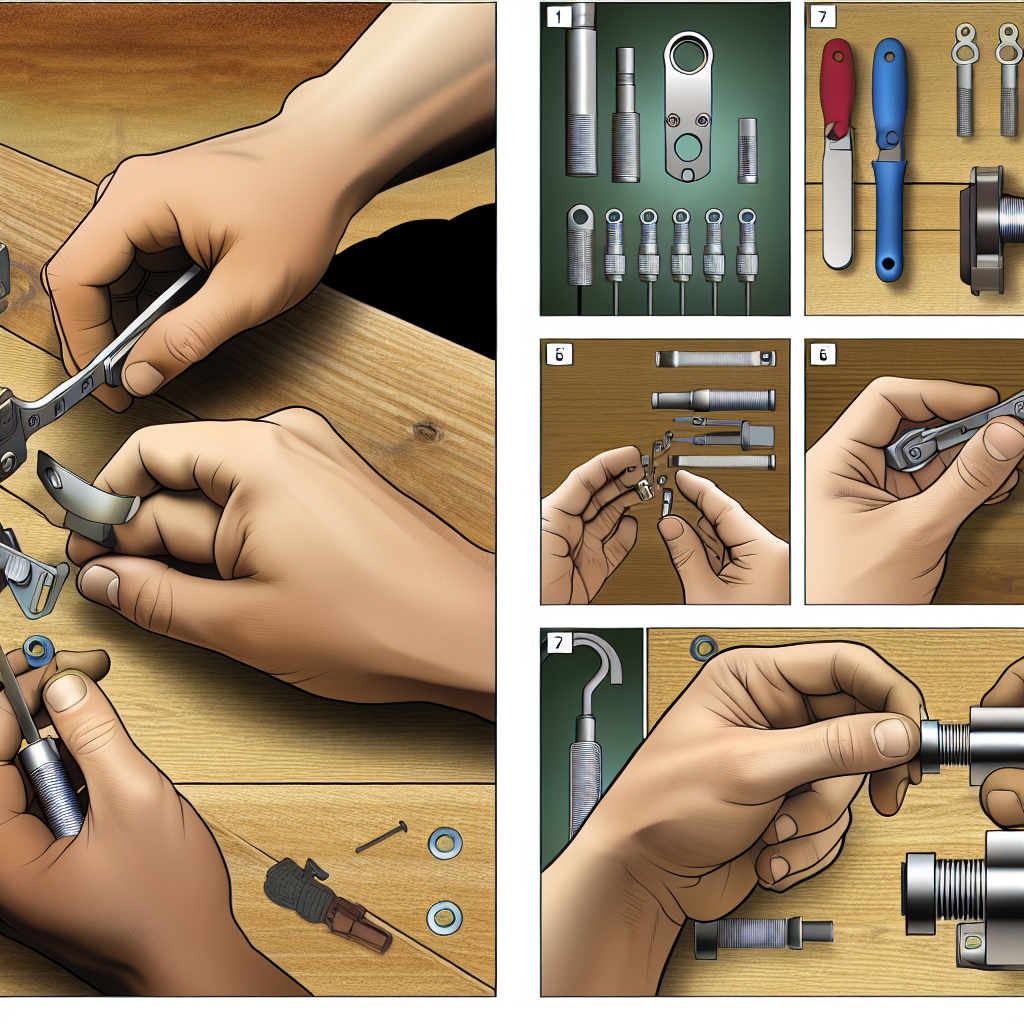
The installation of a custom charging handle latch typically involves removing the existing latch from your stock charging handle and attaching the new one. Below is a detailed step-by-step guide:
Step 1: Remove the Charging Handle from Your Rifle
This step varies depending on your rifle model but generally follows this process:
-
<liPull back on the charging handle to retract the bolt carrier group slightly.
<liDepress both latches (if ambidextrous) and carefully slide the charging handle out of the upper receiver track.
Step 2: Disassemble Your Existing Charging Handle Latch
-
<liUse a punch tool to gently push out any retaining pins holding the latch assembly in place. Some models may have spring-loaded detents that need careful handling.
<liOnce pins are removed, gently separate the latch from the main body of the charging handle while retaining springs for reuse if compatible with your new latch.
Step 3: Prepare Your New Custom Charging Handle Latch
With these steps completed, you can enjoy the improved functionality of your custom charging handle latch.