How to Build a Tactical AR-15 Pistol
The AR-15 platform is renowned for its versatility, modularity, and adaptability. Among the many configurations available, the AR-15 pistol has gained popularity for its compact size, maneuverability, and tactical utility. Building your own tactical AR-15 pistol can be a rewarding project that allows you to customize every component to your specific needs. This comprehensive guide will walk you through the essential steps, considerations, and best practices to build a high-performance tactical AR-15 pistol.
Understanding the Basics: What Is an AR-15 Pistol?
Before diving into the build process, it’s crucial to understand what distinguishes an AR-15 pistol from a rifle or traditional firearm.
- Barrel Length: An AR-15 pistol typically features a barrel shorter than 16 inches. The most common lengths range between 7.5 and 10.5 inches.
- No Shoulder Stock: Unlike rifles, pistols do not have a shoulder stock. Instead, they use pistol braces or stabilizing braces designed for one-handed shooting.
- Legal Classification: Due to federal laws (in the United States), AR-15 pistols are classified differently from rifles and short-barreled rifles (SBRs). This distinction impacts how they can be purchased, registered, and carried.
The compact nature of the AR-15 pistol makes it ideal for close-quarter engagements, home defense scenarios, and tactical use where space is limited. Many law enforcement agencies and civilian enthusiasts appreciate this platform’s balance of firepower and portability.
Selecting Quality Components for Your Tactical AR-15 Pistol
The foundation of any successful build is high-quality parts that meet your intended use case. Each component should be chosen with care to ensure reliability, durability, and performance.
Upper Receiver Group
The upper receiver houses critical components such as the barrel, bolt carrier group (BCG), and handguard. For a tactical build:
- Barrel: Select a cold hammer-forged or stainless steel barrel with a length between 7.5” and 10.5”. A 9” barrel is often considered optimal for balancing velocity and maneuverability. Look for barrels with a twist rate of 1:7 or 1:8 to stabilize heavier bullets commonly used in tactical applications (e.g., 62-grain M855 rounds).
- Muzzle Device: A flash hider or compensator reduces muzzle flash and recoil signature—important factors in low-light environments or rapid-fire scenarios.
- Handguard: Free-floating M-LOK or KeyMod handguards allow attachment of accessories like lights, lasers, or vertical grips without affecting barrel harmonics.
Lower Receiver Group
The lower receiver contains the trigger group and is where you attach the pistol brace. Key considerations include:
- Pistol Brace: Modern designs like the SB Tactical SBA3 provide adjustable length and enhanced stability while remaining compliant with ATF regulations.
- Trigger: A crisp trigger pull enhances accuracy under stress; consider aftermarket triggers rated around 3.5 to 4 pounds pull weight.
Bolt Carrier Group (BCG)
The BCG must be made from high-quality steel (e.g., Carpenter 158 or 9310) with proper coatings such as nickel boron or phosphate for corrosion resistance and smooth cycling.
Buffer System
A carbine buffer system is standard in most builds; however, some builders prefer specialized buffers or springs tuned for short barrels to optimize cycling reliability.
Step-by-Step Guide to Building Your Tactical AR-15 Pistol
This section outlines each stage of assembly from start to finish.
Step 1: Prepare Your Workspace
- Select a clean, well-lit area free from distractions.
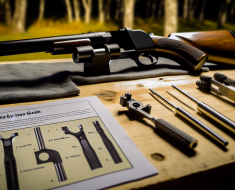
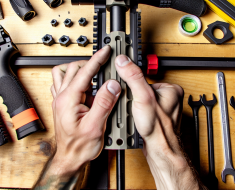
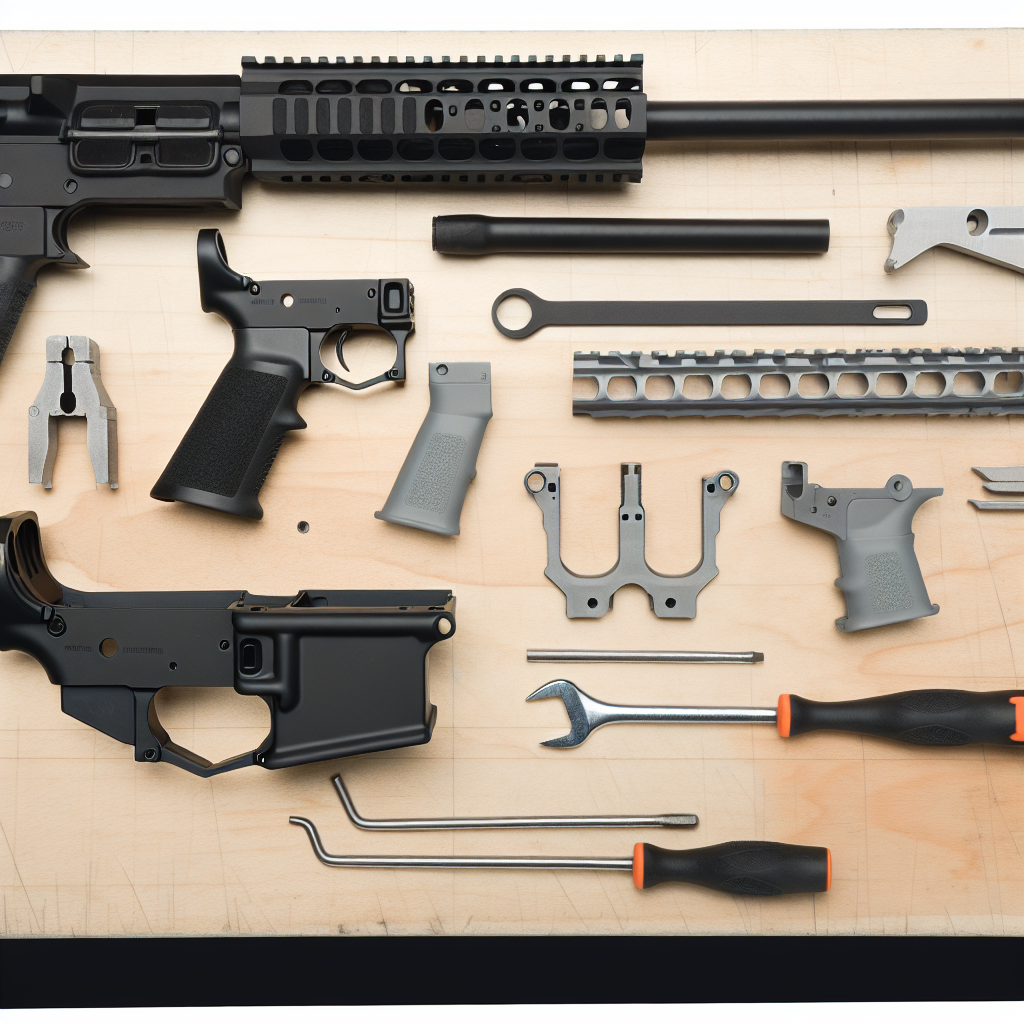
- Gather necessary tools: armorer’s wrench, torque wrench, punches set, bench vise with upper/lower receiver blocks, roll pin punches, small hammer, safety glasses.
Step 2: Assemble the Lower Receiver
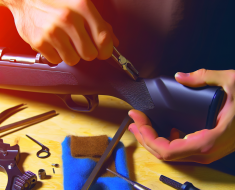
- Install the trigger group carefully following manufacturer instructions—this includes trigger, hammer, disconnector springs.
- Add magazine catch assembly and bolt catch using roll pins; these steps require precision alignment to avoid binding during operation.
- Attach pistol grip ensuring proper installation of safety selector detent and spring inside grip cavity.
Step 3: Install Buffer Tube and Pistol Brace
- Screw in buffer tube into lower receiver until proper engagement with takedown pin detent occurs; secure end plate with castle nut tightened using armorer’s wrench.
- Add buffer spring followed by buffer weight inside tube; attach your chosen pistol brace securely at end of buffer tube.
to manufacturer specifications to ensure a secure fit. Once the barrel is properly installed, proceed to attach the handguard and any additional accessories you desire.
With the upper and lower receivers assembled, your tactical AR-15 pistol is now ready for final assembly and testing.