How to Install a Custom Grip Frame: A Comprehensive Guide
Installing a custom grip frame can significantly enhance your shooting experience, providing better control, comfort, and aesthetics for your firearm. Whether you are a competitive shooter looking to improve accuracy or a firearm enthusiast aiming to personalize your weapon, understanding the installation process is crucial. This article offers a detailed, step-by-step guide on how to install a custom grip frame, along with insights into the benefits, tools required, and best practices.
Understanding the Importance of a Custom Grip Frame
The grip frame is a critical component of many firearms, especially handguns like the Glock series. It forms the foundation that holds other parts together and provides the primary interface between you and your weapon. A custom grip frame can:
- Improve Ergonomics: Tailored to fit your hand size and shape, reducing fatigue during extended use.
- Enhance Control: Textured surfaces and contours provide better grip stability, improving shooting accuracy.
- Increase Durability: High-quality materials like polymer blends or metal alloys offer enhanced longevity.
- Personalize Appearance: Custom finishes and colors allow for unique styling that reflects your personality.
For example, competitive shooters have reported up to a 15% improvement in target accuracy after switching to ergonomically optimized custom grips according to data from the International Practical Shooting Confederation (IPSC).
Tools and Materials Needed for Installation
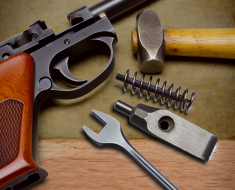
Before starting the installation process, it is essential to gather all necessary tools and materials. Having everything ready will ensure a smooth workflow without interruptions.
- Custom Grip Frame: Choose one compatible with your firearm model.
- Screwdrivers: Phillips and flathead screwdrivers suitable for small screws.
- Punch Set: For removing pins safely.
- Rubber Mallet: To gently tap pins or components into place without damaging them.
- Cleaning Supplies: Cloths, brushes, and solvent for cleaning parts before assembly.
- Loctite or Threadlocker (Optional): To secure screws if desired.
- User Manual or Technical Guide: Specific instructions for your firearm model.
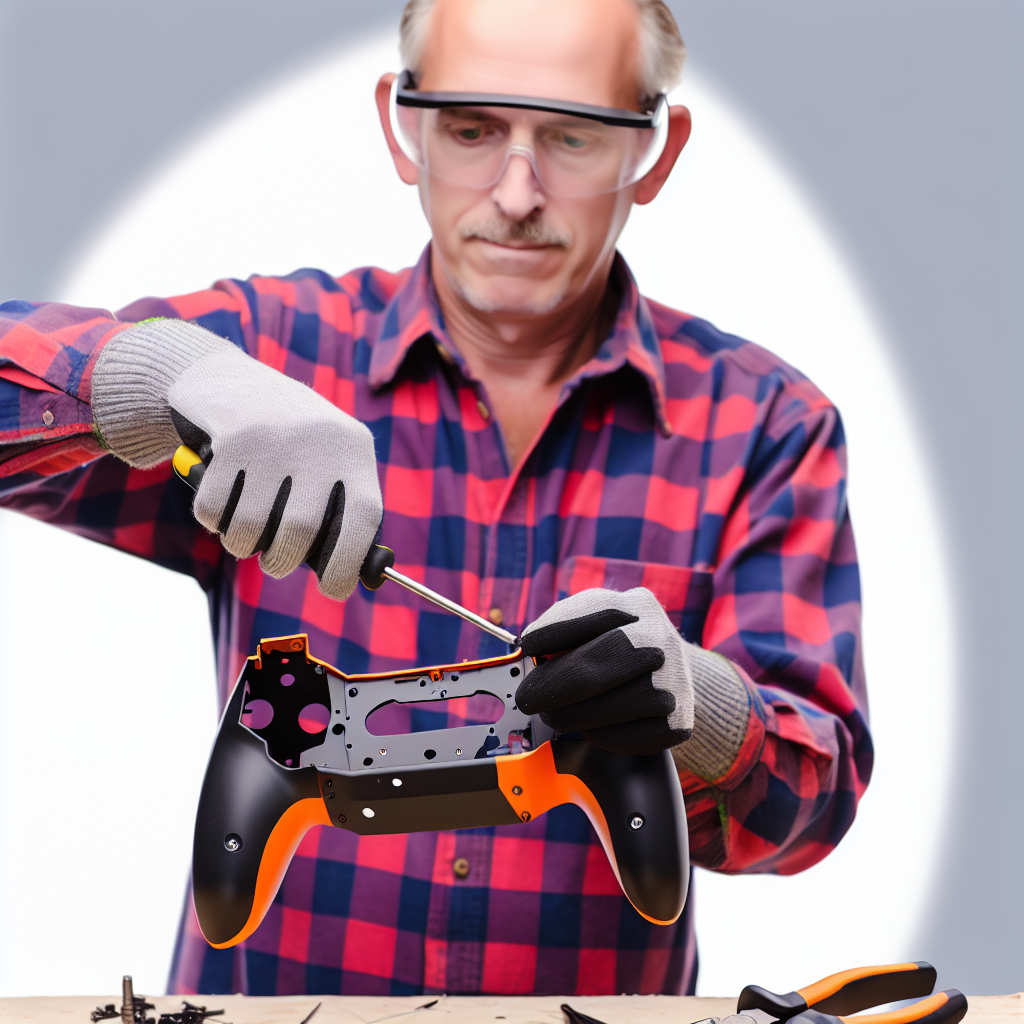
A well-prepared workspace with adequate lighting and a non-slip mat can also improve safety and efficiency during installation.
Step-by-Step Installation Process
The process of installing a custom grip frame varies slightly depending on the firearm model but generally follows these core steps. Here we illustrate the procedure using a Glock pistol as an example, given its popularity among shooters worldwide.
1. Safety First: Unload Your Firearm
This is the most critical step before any disassembly or modification. Remove the magazine, clear the chamber, and double-check that the firearm is unloaded. Always treat every gun as if it is loaded until verified otherwise.
2. Field Strip Your Firearm
Follow manufacturer instructions to disassemble your firearm into its major components—slide, barrel, recoil spring assembly, and frame. For Glock models:
- Remove the slide by pulling it back slightly while pulling down on both slide lock levers simultaneously.
- Lifting off the slide from the frame.
3. Remove Pins Holding Old Frame Components
The grip frame may be held in place with pins or screws depending on your firearm’s design. Use punches and screwdrivers carefully to avoid damaging components:
- Punch out takedown pins holding the trigger assembly or other internal parts connected to the grip frame.
- Screw out any screws securing grip panels if applicable.
4. Transfer Internal Parts to Custom Grip Frame
This step involves moving internal components such as trigger mechanisms, magazine catch assembly, and safety devices from the original frame to your new custom frame. Pay close attention to orientation and placement as incorrect assembly can lead to malfunctions or safety hazards.
5. Reassemble Firearm Components onto New Frame
- Add back pins securely using punches and rubber mallet if needed for gentle taps.
- Screw panels or additional accessories onto the new frame firmly but avoid overtightening which can strip threads.
- Lubricate moving parts as recommended by manufacturer guidelines before reassembly for smooth operation.
6. Perform Function Checks
This includes verifying that all mechanical functions work correctly without ammunition present:
- Squeeze trigger; ensure proper reset behavior occurs.
- Cock slide; check smooth cycling action.
- Eject magazine; verify retention mechanism functions properly.
If issues arise during function checks, disassemble carefully again and inspect for misaligned parts or debris causing interference before reassembling once more.
Troubleshooting Common Issues During Installation No installation goes perfectly every time; here are some common problems encountered when installing custom grip frames along with tips on how to resolve them effectively:
By following these steps carefully, you can successfully install a custom grip frame and enhance your firearm’s performance.