How to Install a Match-Grade Barrel: A Comprehensive Guide
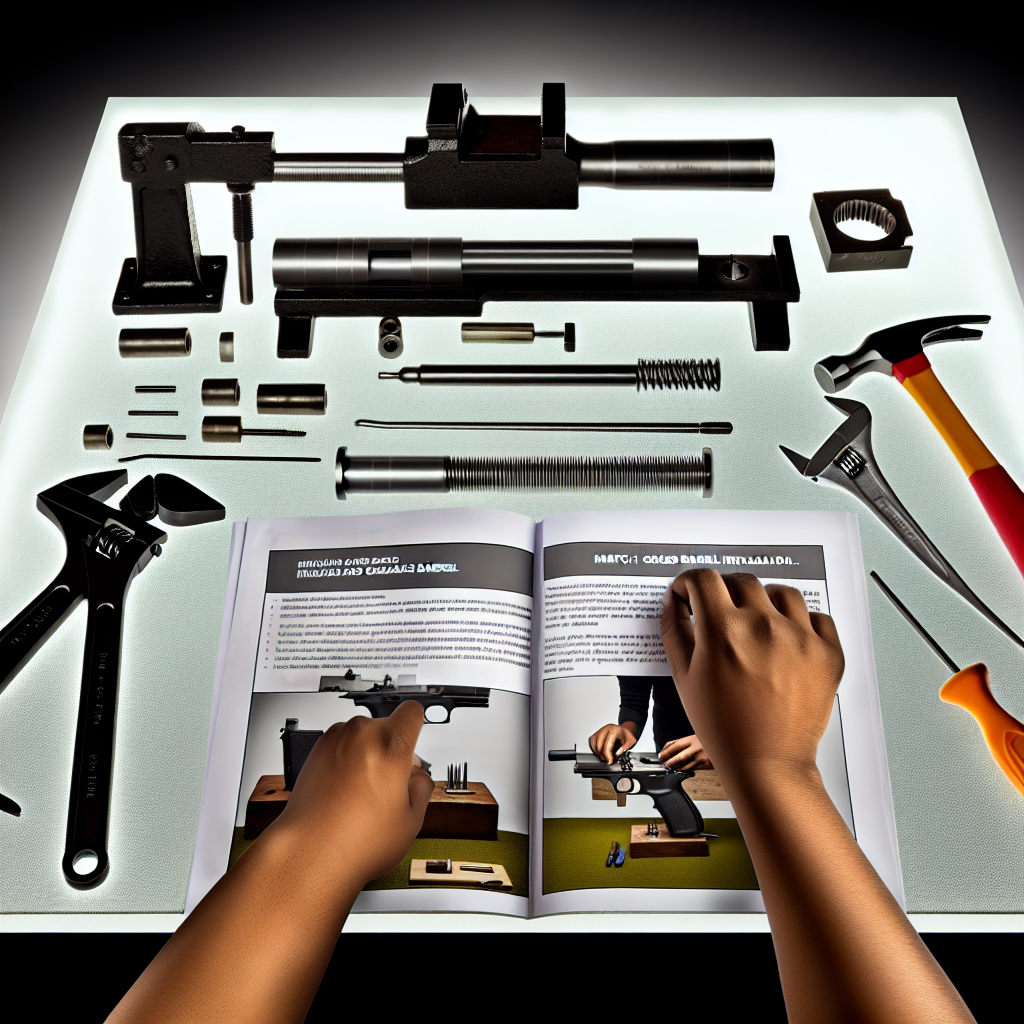
Upgrading your firearm with a match-grade barrel can significantly enhance accuracy, consistency, and overall shooting performance. Whether you’re a competitive shooter, a precision rifle enthusiast, or simply aiming to improve your firearm’s capabilities, understanding how to properly install a match-grade barrel is essential. This article will walk you through the process step-by-step, providing valuable insights, best practices, and expert tips to ensure optimal results.
What Is a Match-Grade Barrel and Why Upgrade?
A match-grade barrel is manufactured with higher precision and tighter tolerances compared to standard barrels. These barrels are crafted using superior materials and advanced machining processes designed to maximize accuracy and shot-to-shot consistency. Typically used in competition shooting or long-range applications, match-grade barrels can drastically reduce group sizes and improve bullet trajectory.
Key benefits of upgrading to a match-grade barrel include:
- Enhanced accuracy: Tighter bore dimensions and rifling provide better bullet stabilization.
- Improved consistency: Superior manufacturing reduces variations in each shot.
- Increased durability: Higher-quality steel and treatments extend barrel life.
- Better heat dissipation: Precision machining often results in improved cooling characteristics.
A 2019 study conducted by the National Institute of Standards and Technology (NIST) found that firearms equipped with match-grade barrels consistently outperformed those with standard barrels by an average of 20-30% in group size reduction during controlled tests at 100 yards.
Preparing for Installation: Tools and Safety Considerations
Before diving into the installation process, preparation is crucial. Installing a barrel requires precision tools, mechanical aptitude, and strict adherence to safety protocols. Improper installation can lead to poor accuracy or even dangerous malfunctions.
Essential Tools for Barrel Installation
- Armorer’s wrench: Designed specifically for torqueing barrel nuts and other firearm components.
- Bore guide: Helps align the barrel correctly during installation.
- Torque wrench: Ensures proper torque application for securing components.
- Action wrench or vise block: Holds the receiver securely without damaging it.
- Bedding compound (optional): Used for free-floating barrels to reduce contact points that may affect accuracy.
- Cronograph or calipers: For measuring headspace if required during the installation process.
Safety Precautions
- Unload your firearm completely: Verify no ammunition is present in the chamber or magazine.
- Work in a clean, well-lit area: Minimize distractions and maintain organization of parts.
- Wear safety glasses: Protect eyes from metal shavings or accidental tool slips.
- If unsure about any step: Consult a professional gunsmith or experienced technician before proceeding.
The Step-by-Step Process of Installing a Match-Grade Barrel
The exact procedure may vary depending on your firearm model (e.g., AR-15, bolt-action rifle), but the fundamental steps remain consistent across platforms. Below is a generalized guide focusing on bolt-action rifles as they commonly receive match-grade barrel upgrades. Adjust accordingly for other firearms.
Step 1: Disassemble Your Rifle
The first step involves separating the barreled action from the stock and removing any accessories attached to the barrel. Follow your manufacturer’s instructions carefully for disassembly. Common steps include:
- Remove the bolt from the action by pulling it back and disengaging the bolt catch or release lever.
- Screw out or loosen screws holding the action into the stock using appropriate screwdrivers or hex keys.
- Cautiously remove any scope mounts or muzzle devices attached to avoid damage during handling.
Step 2: Remove the Existing Barrel
This step requires precision as you’ll be detaching the current barrel from the receiver without damaging either component. Most bolt-action rifles feature barrels threaded into the receiver or secured via set screws or pins. The process generally involves:
- Securing the receiver firmly in an action wrench or vise block mounted on a sturdy workbench.
- If applicable, heating the receiver slightly with a heat gun can help loosen thread-locking compounds—avoid open flames due to risk of damage.
- Screwing off the old barrel counterclockwise using an armorer’s wrench designed for your rifle model until fully removed.
If unsure whether your rifle’s barrel is threaded or pinned, consult your firearm’s manual or manufacturer support resources before attempting removal.
Step 3: Prepare Your New Match-Grade Barrel
Your new barrel might come unchambered (barrel blank) or pre-chambered by the manufacturer. Ensure it matches your rifle’s caliber specifications exactly before proceeding. Key preparations include:
- Cleaning: Remove any protective oils or coatings using solvent and lint-free cloths to prevent contamination during installation.
Cleaning: Remove any protective oils or coatings using solvent and lint-free cloths to prevent contamination during installation.
Following these steps will help ensure a successful installation of your match-grade barrel, enhancing your rifle’s accuracy and performance.