How to Cerakote Your Firearm Like a Pro
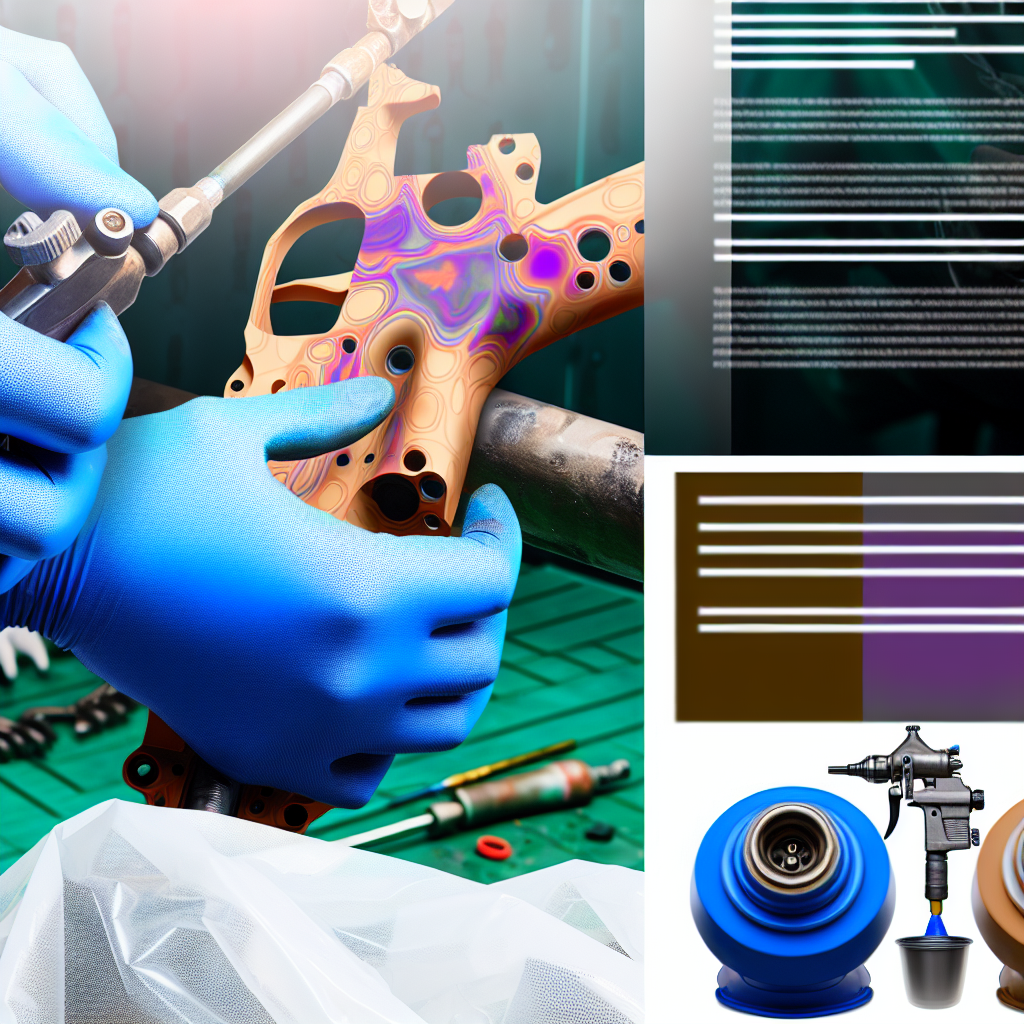
Cerakoting your firearm is an excellent way to enhance its durability, resistance to corrosion, and overall aesthetic appeal. Whether you’re a gun enthusiast looking to customize your weapon or a professional gunsmith aiming to offer top-notch services, mastering the art of Cerakote application can significantly elevate your craft. This comprehensive guide will walk you through the entire process, from preparation to finishing touches, ensuring you achieve professional-grade results.
What is Cerakote and Why Choose It?
Cerakote is a proprietary ceramic-based finish designed specifically for firearms and other high-wear equipment. Introduced in 2004 by NIC Industries, Cerakote has become the industry standard for firearm coatings due to its unique blend of durability, chemical resistance, and aesthetic versatility.
Unlike traditional bluing or parkerizing finishes, Cerakote offers superior protection against abrasion, corrosion, and impact. Its thin profile (typically 0.001″ to 0.003″) means it won’t affect the firearm’s tolerances or performance. Additionally, Cerakote is available in over 500 colors and textures, allowing for nearly limitless customization options.
According to a 2019 report by the National Shooting Sports Foundation (NSSF), firearms treated with Cerakote coatings have shown a 30-50% increase in lifespan under harsh environmental conditions compared to untreated or traditionally coated firearms. This makes it an ideal choice for military, law enforcement, and civilian shooters alike.
Essential Equipment and Materials Needed
Before diving into the application process, assembling the right tools and materials is crucial. Professional results stem from using high-quality products and maintaining strict attention to detail throughout each step.
- Cerakote Coating Kit: Purchase genuine Cerakote products from authorized distributors. These kits usually include primers, base coats, topcoats, and reducers.
- HVLP Spray Gun: A high volume low pressure spray gun ensures even application without excessive overspray.
- Air Compressor: Required for operating the spray gun at consistent pressure.
- Sandblasting Equipment: Essential for properly prepping metal surfaces by removing rust, old finishes, and oils.
- Personal Protective Equipment (PPE): Respirator mask, gloves, safety goggles, and protective clothing are mandatory for safety during prep and spraying.
- Bake Oven or Heat Source: Cerakote requires curing at elevated temperatures (typically around 250°F).
- Cleaning Supplies: Isopropyl alcohol (IPA), degreasers like acetone or brake cleaner for final surface cleaning.
The upfront investment in quality equipment can range from $300 for basic setups to over $2000 for professional-grade gear. However, these costs are offset by enhanced finish quality and durability that professional clients expect.
Step-by-Step Guide: Preparing Your Firearm
The foundation of a flawless Cerakote finish lies in meticulous surface preparation. Skipping or rushing this phase leads to poor adhesion and flaking down the line.
1. Disassemble the Firearm
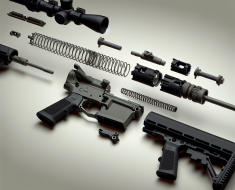
Completely disassemble your firearm into individual parts—slide, barrel, frame, trigger components—to ensure every surface receives proper coating. Use manufacturer guides if needed to avoid damaging intricate mechanisms.
2. Degrease Thoroughly
Wipe down all metal parts with acetone or brake cleaner followed by isopropyl alcohol. This removes oils from machining and handling that can interfere with coating adhesion.
3. Sandblasting/Media Blasting
This is arguably the most critical step. Using aluminum oxide or glass bead media blast all parts evenly until they achieve a uniform matte finish with no shine remaining. This roughens the surface microscopically for superior mechanical bonding of Cerakote layers.
- Avoid using steel shot which may embed particles into soft metals like aluminum.
- If sandblasting isn’t accessible, fine grit sanding (400-600 grit) can suffice but won’t be as effective.
4. Clean Again Post-Blasting
The blasting process leaves dust residues; clean again with IPA wipes ensuring no particulates remain on any part before moving on to spraying.
The Art of Application: Spraying Techniques for Perfect Coverage
The application phase demands patience and precision akin to painting fine art—each layer affects final appearance and protection level dramatically.
Selecting Your Color Scheme
Cerakote’s wide color palette enables everything from classic matte black tactical finishes to vibrant camo patterns or even custom artwork inspired by case studies such as military sniper rifles featuring multi-tone desert camo used by US special forces units in Afghanistan.
Misting vs Wet Coats
- Misting: Applying thin “mist” coats gradually builds coverage without runs or drips but takes longer per part due to multiple layers required.
- Wet coats: Thicker layers applied less frequently can speed up process but require skillful control to avoid imperfections.
Spray Gun Setup Tips are crucial for achieving an even application. Ensuring the right pressure and nozzle size can make a significant difference in the final result.
With practice and attention to detail, you can achieve a professional-looking Cerakote finish on your firearm.