Tips for Sighting in Your Custom Rifle: Achieving Precision and Accuracy
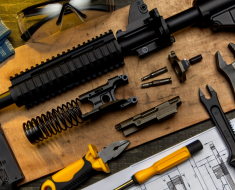
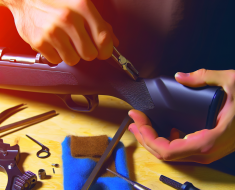
Custom rifles represent the pinnacle of precision shooting, offering enthusiasts and professionals alike a tailored firearm experience designed to meet specific needs. However, even the most expertly crafted custom rifle requires proper sighting in to unleash its full potential. Sighting in, or zeroing, is the process of adjusting your rifle’s sights so that the point of aim aligns perfectly with the point of impact at a chosen distance.
This article explores essential tips for sighting in your custom rifle, ensuring accuracy and consistency whether you are hunting, target shooting, or competing. Through a detailed breakdown of techniques, tools, and best practices—supported by examples and case studies—you’ll gain the confidence to optimize your rifle’s performance.
Understanding the Basics: What Does It Mean to Sight In a Rifle?
Sighting in a rifle involves adjusting the optic or iron sights so that bullets hit exactly where you intend at a specific range. The process ensures that when you aim at a target, the bullet strikes precisely where your crosshairs or iron sights indicate.
Custom rifles often come equipped with high-end optics such as scopes or red dots, but regardless of the sighting system, calibration remains critical. Without proper zeroing:
- Your shots may consistently miss the intended target area
- You risk wasting ammunition due to repeated adjustments
- Your confidence in your firearm’s accuracy diminishes
For example, according to data from the National Shooting Sports Foundation (NSSF), hunters who take the time to properly sight in their rifles report significantly higher first-shot success rates—up to 30% more than those who do not.
Preparing Your Custom Rifle for Sighting In
Before beginning the sight-in process, preparation is key. A systematic approach reduces errors and ensures reliability.
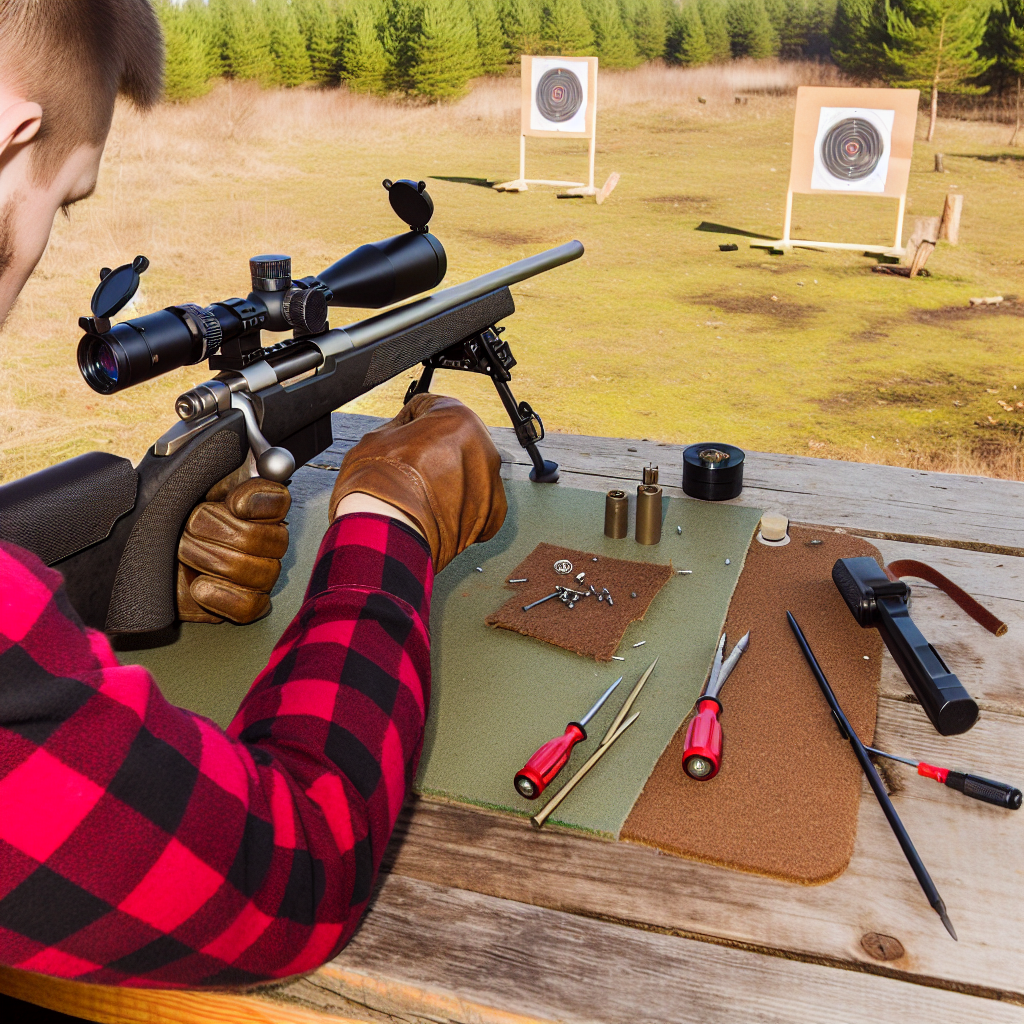
1. Ensure Rifle Stability and Safety
The foundation of any accurate shot is stability. Using a solid rest—such as sandbags, shooting sticks, or a bench rest—is crucial when sighting in your rifle. This eliminates human-induced motion that can skew shot placement.
- Example: A study published in the Journal of Applied Firearms Technology found that bench rests improve shot groupings by an average of 40% compared to unsupported shooting positions.
Additionally, always verify that your rifle is unloaded before handling it on the bench and follow all safety protocols during shooting sessions.
2. Select Appropriate Ammunition
The type of ammunition you use during sighting can dramatically influence results. Custom rifles are often optimized for specific loads or bullet weights; using inconsistent ammo can cause varying points of impact.
- Use match-grade or factory-recommended rounds for consistency
- Avoid mixing different brands or bullet types during zeroing
- Record ammo specifications for future reference
A case study involving long-range shooters found that switching from bulk factory ammo to match-grade rounds improved group size by nearly 50%, illustrating how critical ammunition selection is during sight-in procedures.
Step-by-Step Guide: How to Sight In Your Custom Rifle Effectively
Sighting in is both an art and science—precision matters at every stage. Follow this stepwise approach for optimal results:
1. Establish Your Zero Range
The “zero” distance depends on intended use:
- Hunting: Commonly zeroed at 100 yards/meters for versatility across moderate distances
- Target Shooting: Zero may be adjusted depending on competition distances (e.g., 200 yards/meters)
- Tactical/Long-Range: Zero may be set at longer ranges such as 300 yards/meters or more
Select your zero distance before heading to the range—it determines all subsequent adjustments.
2. Bore Sighting: The Initial Alignment
Bore sighting helps align your scope roughly with your barrel before live firing. This saves ammunition and time by bringing your point of aim close to point of impact.
- Bore Sight Tool Method: Use a laser bore sighter inserted into the barrel chamber; adjust scope reticle until aligned with laser dot on target at zero range.
- Bore Visibility Method: Remove bolt (for bolt-action rifles), look down barrel toward target, then adjust scope accordingly.
This initial step ensures shots will land on paper when you fire live rounds.
3. Firing Test Shots and Adjusting Windage/Elevation
Shoot a group of three to five rounds aiming at center target point from your stable rest position. Analyze group placement relative to crosshairs:
- If shots are left/right—adjust windage (horizontal)
- If shots are high/low—adjust elevation (vertical)
Adjustments depend on your scope’s click values; for example, many scopes have adjustments measured in Minutes of Angle (MOA) where one click equals ¼ MOA (~0.25 inches at 100 yards).
Example Calculation:
<ul