Installing a New Bolt Carrier Group on Your AR
The AR platform, especially the AR-15, has become one of the most popular and versatile rifles in the world. Whether for sport shooting, hunting, or tactical use, upgrading parts of your AR can dramatically improve its performance and reliability. One of the most critical components you can upgrade is the Bolt Carrier Group (BCG). Installing a new BCG is not only a straightforward process but also an essential step to enhance your rifle’s durability and function.
In this article, we will explore the importance of the BCG, how to select the right one, and provide a detailed guide on installing it properly. Along the way, we’ll look at case studies and statistics that demonstrate why this upgrade matters for both novice shooters and seasoned professionals.
Understanding the Role of the Bolt Carrier Group
The Bolt Carrier Group is often described as the heart of your AR-15. It performs several vital functions during each firing cycle:
- Chambering a Round: The BCG strips a round from the magazine and chambers it into the barrel.
- Firing: It houses the firing pin which strikes the primer to ignite the cartridge.
- Extraction and Ejection: After firing, it extracts and ejects the spent casing.
- Resetting: It resets the hammer for subsequent shots.
Given these responsibilities, a malfunctioning or poorly manufactured BCG can lead to failures such as misfeeds, jams, or even catastrophic failures that compromise safety.
A study conducted by Shooting Sports USA in 2020 found that nearly 40% of AR malfunctions reported in competitions were linked to worn or damaged BCGs. This statistic underscores how crucial maintaining or upgrading this part can be for consistent performance.
Choosing the Right Bolt Carrier Group for Your AR
Selecting a new BCG involves understanding compatibility, material quality, finish types, and specific features tailored to your shooting needs. Here are some key factors to consider:
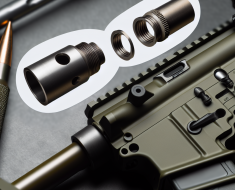
- Material Composition: Most high-quality BCGs are made from Carpenter 158 steel or 9310 steel due to their strength and durability. Carpenter 158 is often preferred for military-grade applications because of its toughness under stress.
- Finish Types: Common finishes include phosphate (MIL-SPEC), nickel boron (NiB), chrome-lined, and titanium nitride coatings. Each finish affects wear resistance, lubrication needs, and ease of cleaning.
- Weight Variants: Standard vs. lightweight BCGs affect recoil impulse and cycling speed. Lightweight options are popular in competition shooting for faster follow-up shots but may sacrifice some durability.
- MIL-SPEC vs. Enhanced Designs: MIL-SPEC BCGs adhere strictly to military specifications ensuring compatibility across platforms. Enhanced or aftermarket BCGs may offer improved gas management or increased durability but could require additional tuning.
For example, Bravo Company Manufacturing’s (BCM) M16 bolt carrier group uses Carpenter 158 steel with a phosphate finish and has earned praise among tactical shooters for reliability under harsh conditions. Conversely, Aero Precision’s NiB-coated BCG offers easier cleaning and reduced friction favored by competition shooters.
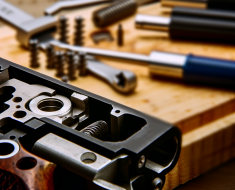
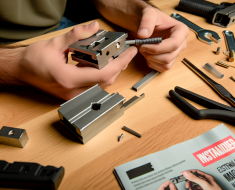
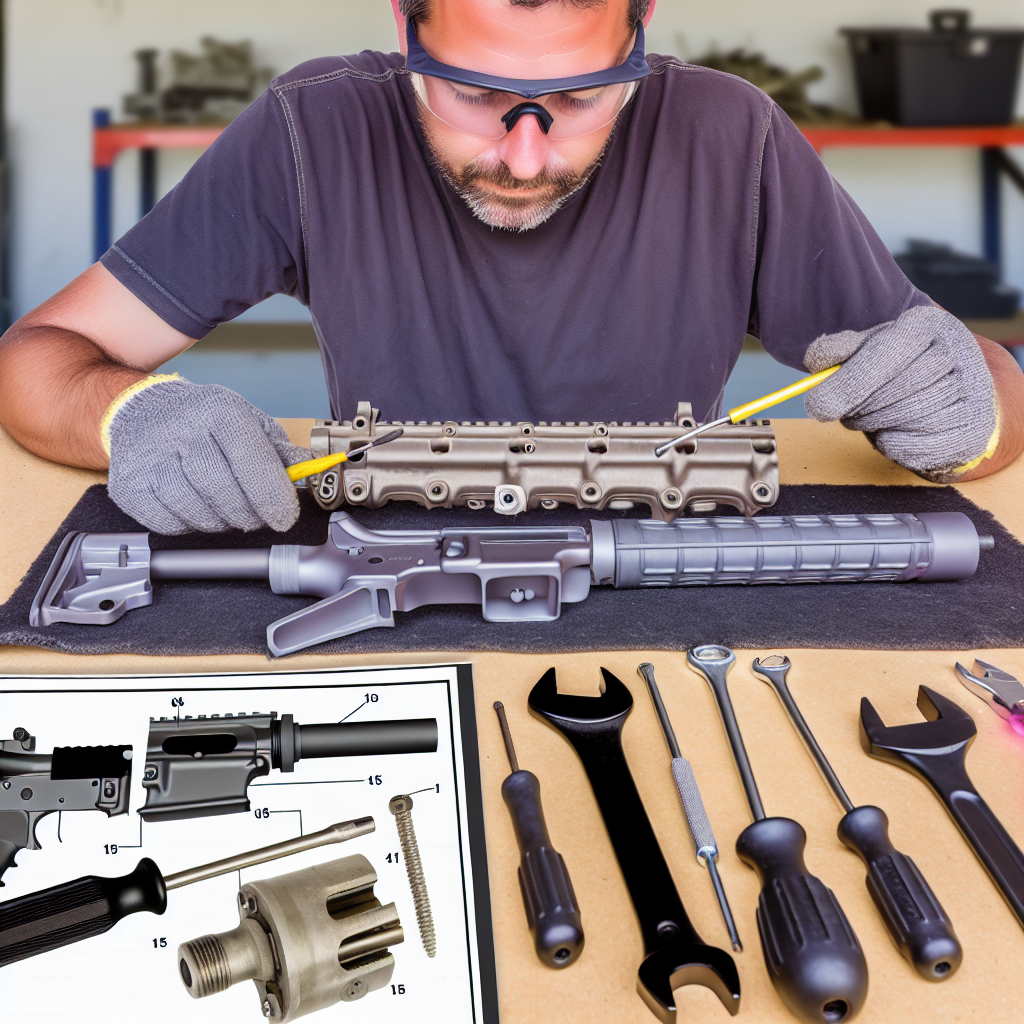
Tools Needed for Installation
The good news about installing a new BCG is that it requires minimal tools—most importantly because it involves replacing an existing component rather than fabricating new parts. Here’s what you’ll need before beginning:
- An AR-15 upper receiver assembly (with barrel installed)
- Your new Bolt Carrier Group
- A clean workspace with adequate lighting
- A chamber flag or snap cap (optional but recommended for safety)
- A quality set of gloves (optional)
No specialized gunsmith tools are necessary unless you plan further modifications beyond simply swapping out the BCG.
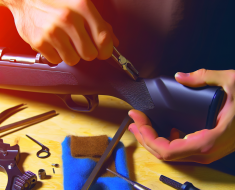
Step-by-Step Guide: Installing Your New Bolt Carrier Group
The installation process is straightforward but requires attention to detail to ensure safety and proper function.
Step 1: Ensure Safety First
Before handling your firearm in any way:
- Remove Magazine: Take out any magazines from your rifle.
- Clear Chamber: Pull back the charging handle to visually inspect that no round is chambered.
- Add Safety Flag/Snap Cap: Insert if available for extra safety during work.
Step 2: Separate Upper Receiver from Lower Receiver
The AR platform separates into two main parts via two takedown pins located above and below where these receivers join. Push these pins out carefully while supporting both halves to avoid damage or dropping parts.
Step 3: Remove Old Bolt Carrier Group and Charging Handle
- Pull back on the charging handle slightly — about halfway — then lift up to remove it from its track inside the upper receiver.
- The old bolt carrier group should now slide out smoothly once freed by moving back along with charging handle removal path.